What Causes an Alternator to Fail?
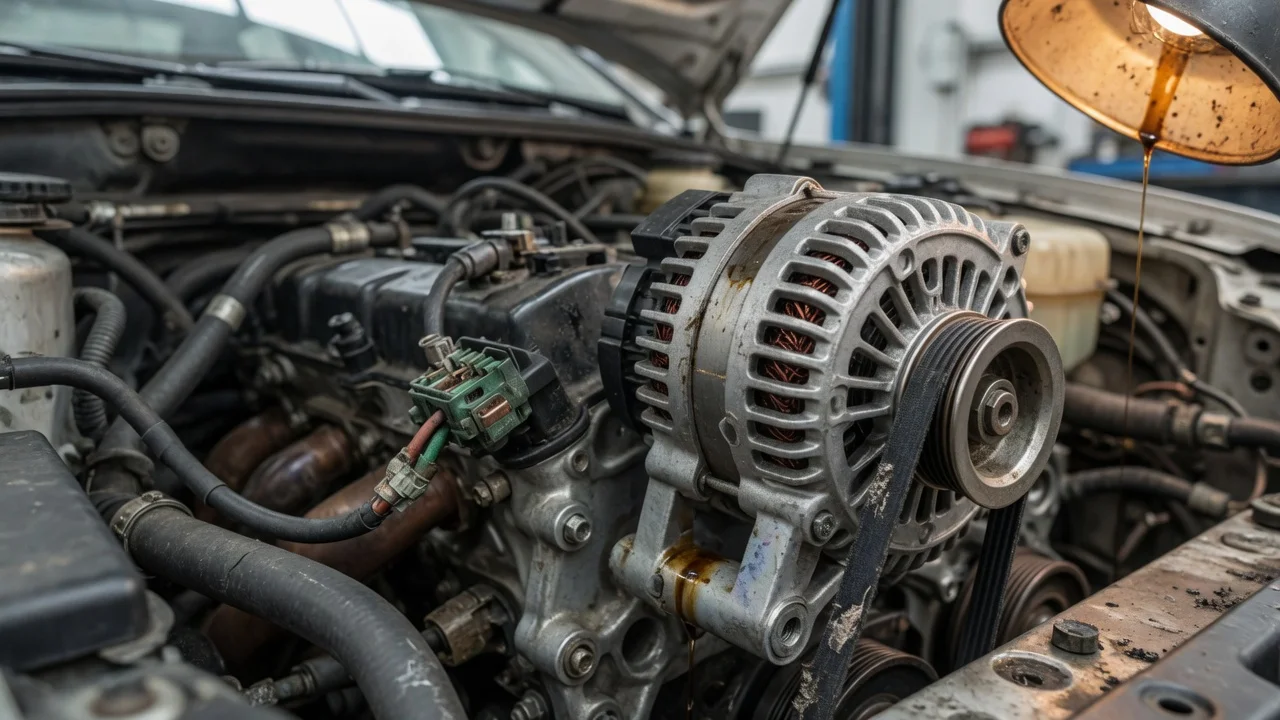
Direct Answer: Common Causes of Alternator Failure
An alternator can fail for several reasons, including worn bearings, a failed voltage regulator, damaged or worn brushes, broken internal wiring, diode failure, or overheating. In many cases the problem is not the alternator itself but a related component such as a slipping drive belt, corroded battery terminals, a weak battery, or excessive electrical load. Each cause produces slightly different symptoms, so the first step is to confirm that the alternator, rather than another part of the charging system, is responsible.
How an Alternator Works and What It Does
The alternator converts mechanical energy from the engine into electrical energy. A drive belt spins the alternator pulley, which turns a rotor inside a set of stationary windings. This creates alternating current, which internal diodes convert to direct current for the vehicle's electrical system. A voltage regulator controls output so the system stays near the correct charging voltage, typically around 13.5 to 14.5 volts with the engine running. The alternator also maintains the battery's charge after starting and supplies power for the ignition, lights, infotainment, climate control, and other accessories.
In practice, an alternator does not charge a fully depleted battery efficiently under light load. It is designed to maintain a healthy battery and run the vehicle's electrical systems, not to act as a full battery charger. If the battery is deeply discharged, repeated alternator strain can contribute to premature failure.
Common Mechanical and Electrical Failure Patterns
Worn bearings: The alternator shaft spins continuously while the engine runs. Over time, bearing lubricant breaks down and the bearings wear, causing noise, vibration, or eventual seizure. Failed voltage regulator: If the regulator fails, output may rise too high or fall too low. High voltage can damage the battery and vehicle electronics; low voltage can leave the battery undercharged. Worn brushes: Carbon brushes transfer current to the rotor. When they wear beyond their service limit, charging may become intermittent or stop entirely. Failed diodes: A failed diode can reduce charging output, drain the battery with the engine off, or introduce unwanted electrical noise. Broken or damaged internal wiring: Heat, vibration, and age can crack insulation or break internal connections, leading to intermittent or complete loss of charging. Slipping or broken drive belt: A glazed, loose, or failed belt prevents the alternator from spinning at the required speed, which can mimic alternator failure. Corroded or loose connections: Corrosion at battery terminals, the main charging cable, or ground connections raises resistance and can reduce system voltage. Weak or failing battery: A battery with a shorted cell or severe sulfation can force the alternator to work harder and may create symptoms that look like alternator problems. Overheating: Limited airflow, a failing cooling fan, or sustained high electrical load can raise alternator temperature and damage internal components. Excessive electrical load: Large aftermarket accessories or ongoing charging demands beyond the alternator's rated capacity can accelerate wear.
Warning Signs and What They Indicate
A battery warning light is often the clearest signal of a charging-system problem, but it does not prove that the alternator is faulty. The light may appear because system voltage is too low, because the alternator has stopped charging, or because a belt or connection fault has interrupted output. Other signs include dim or flickering headlights, a battery that repeatedly goes flat, difficulty starting after short drives, a whining or grinding noise from the alternator area, and a smell of hot electrical insulation or burning rubber.
What to Check Next
Before replacing the alternator, inspect the drive belt for glazing, cracking, or looseness. Check battery terminals and main ground connections for corrosion or looseness. Have the battery tested, because a failed battery can produce similar symptoms and may have caused the alternator to run under sustained stress. Measure charging voltage at the battery with the engine running; a healthy charging system generally reads above battery rest voltage, while a consistently low reading suggests a charging fault rather than a simple battery problem.
When to Stop and Seek Professional Diagnosis
Stop driving if the vehicle overheats, if the alternator seizes and the drive belt fails, or if you notice burning smells, smoke, or visible sparks. A seized alternator can prevent the belt from turning, which may disable the water pump and cause rapid engine overheating. If charging voltage is unstable or the warning light behaves intermittently, a professional diagnosis can separate alternator, regulator, wiring, belt, and battery faults. Treat a stored fault code as evidence to investigate rather than proof that a specific part has failed.
Qualified Verdict: Strength, Limits, and Suitability
A quality alternator is a durable component, but it is sensitive to belt tension, electrical load, battery condition, and operating temperature. Many vehicles can run well beyond 100,000 miles on the original unit when the charging system remains healthy. The main limitation is that alternator symptoms are shared with several simpler and cheaper faults, so replacement should follow basic inspection and voltage testing. Drivers with older vehicles, frequent short trips, heavy accessory use, or corroded connections should expect a higher chance of charging-system trouble. For most owners, the most cost-effective approach is to confirm battery, belt, connections, and charging voltage before committing to alternator replacement.
Steps to Replace or Inspect an Alternator
The exact procedure differs by model, engine layout, and drive-belt arrangement, so verify the applicable manufacturer guidance before starting. The following order applies to a typical alternator inspection or replacement.
Disconnect the negative battery terminal before working near the alternator or charging cables. Remove the accessory drive belt according to the vehicle's belt routing and tensioner procedure. Disconnect the alternator electrical connectors, noting their positions and any retaining clips. Unbolt the alternator mounting fasteners and remove the unit. Inspect the pulley, mounting points, connectors, and wiring for damage or corrosion. Fit the replacement alternator, then tighten fasteners to the manufacturer's specified torque values. Reconnect electrical connectors and refit the drive belt with the correct routing and tension. Reconnect the battery and start the engine. Confirm normal charging voltage and verify that the warning light is off and accessory loads do not cause abnormal fluctuation.
Completion check: the belt should run smoothly without squeal, the warning light should stay off while the engine is running, and charging voltage should remain within the specified range under normal load. If the warning light remains on or output is unstable, stop further use and seek professional diagnosis before road testing.