What Causes Alternator Failure?
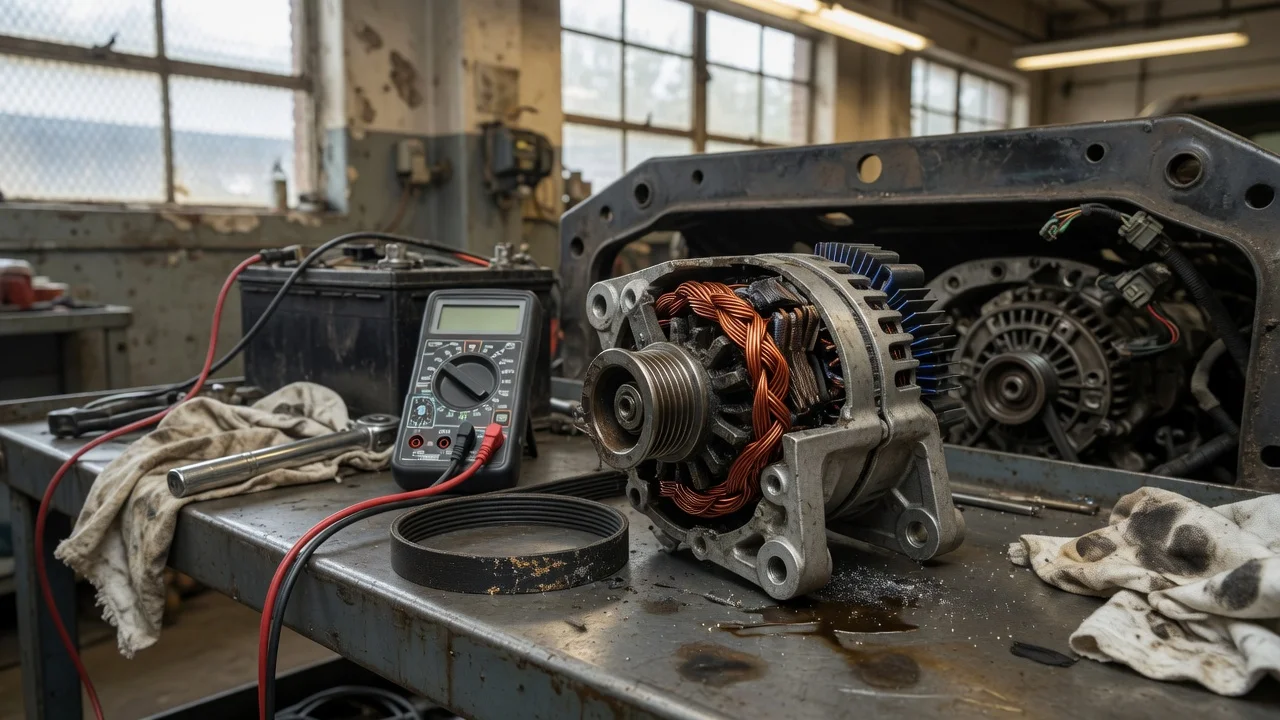
The short answer
Most alternator failures start inside the unit: worn brushes and slip rings, a failed rectifier (diode pack), a faulty voltage regulator, shorted rotor or stator windings, or bearings that seize or grow noisy. Heat, oil or coolant contamination, belt problems, electrical overload and a battery that will not accept a charge commonly accelerate that wear. The charging-system warning light, a weak battery and dim lights can also come from a slipping belt, corroded cables or a failed battery, so those parts belong in the same diagnosis. Exact charging voltage, control method and service life vary by model year, powertrain and whether the vehicle uses a conventional regulator or an engine-computer-controlled “smart” charging system.
How an alternator works
The alternator turns mechanical energy from the engine into electrical energy that keeps the battery charged and runs lights, ignition, pumps, fans and electronics while the engine is running. A belt spins a rotor, which acts as an electromagnet. That rotating field induces alternating current in the stator windings. A rectifier made of diodes converts that AC to DC the vehicle can use. A voltage regulator, either built into the alternator or commanded by the engine control module, limits output so the battery and electronics are not overcharged. Bearings support the rotor. Many designs still use carbon brushes riding on slip rings to feed current into the rotor field; some later units use different field-control arrangements, but the belt, rotor, stator, rectifier and regulator remain the parts that typically fail.
When output falls, the vehicle draws on stored battery energy. Accessories dim or drop out, starting becomes difficult, and the battery can be driven into a deep discharge. Overvoltage from a stuck regulator can boil a battery, damage lamps and stress electronic modules. Those two failure modes look different at a voltmeter and should not be treated as the same fault.
Internal parts that wear out
Brushes and slip rings: carbon brushes shorten with mileage. Once they no longer make consistent contact, field current collapses and charging stops, often intermittently at first. Rectifier diodes: a shorted diode can drain the battery with the engine off; an open diode cuts output and can cause a growl or whine that changes with electrical load. Heat and age are the usual drivers. Voltage regulator: a failed regulator may produce no charge, a low charge or an unregulated high voltage. On many late-model vehicles the engine computer sets the target, so a communication, ground or wiring fault can mimic a dead regulator. Rotor and stator windings: insulation breakdown, overheating or contamination can short or open a winding. Output then falls or becomes unstable across the rev range. Bearings and the pulley: dry, contaminated or overloaded bearings produce a whir, rumble or grind that rises with engine speed. A seized bearing can throw the belt. Many modern units use an overrunning or decoupler pulley; a failed clutch in that pulley causes belt chirp, vibration or a charging loss without a fully dead alternator.
Conditions that finish a weakening unit
Internal wear is the usual end point. The conditions below are what often bring that end point forward, and they can also create charging symptoms while the alternator itself is still intact.
Heat: high under-hood temperature, a slipping belt, poor airflow around the unit, or repeated full-load charging after a deep battery discharge overheats windings, diodes and the regulator. Contamination: engine oil, power-steering fluid or coolant on the housing and vents soaks brushes, attacks windings and washes lubricant from bearings. A leak at a valve cover, oil filter housing, coolant hose or nearby pump is a common companion finding. Belt drive: a loose or glazed belt slips and undercharges. An overtight belt overloads the front bearing. Misalignment wears the pulley and belt edge. These are drive problems that present as charging faults. Electrical overload: added lighting, audio, winches, inverters or other high-draw accessories force the alternator toward its current limit for long periods. Units are sized to the original electrical load; sustained demand above that rating shortens diode and winding life. The safe accessory budget is vehicle-specific and is not a single universal amperage. Battery condition: a sulfated, internally shorted or failing battery makes the alternator work at high output for longer than it was designed to. Replacing only the alternator after a no-charge event, without testing the battery and cables, is a frequent repeat-failure pattern. Wiring and grounds: high resistance at the output cable, fusible link, fusible box, battery terminals or engine/body grounds drops voltage at the battery even when the alternator is producing current. A poor sense-wire or field-control connection can also shut the unit down. Moisture and corrosion: road splash, a failed housing seal or storage in a damp environment pits slip rings and connectors. Age and duty cycle: stop-start traffic, short trips, high electrical load at idle and high mileage all increase hours at elevated temperature. There is no single mileage at which every alternator fails; published service life, if any, belongs to the vehicle maker for that application.
What the symptoms can mean
A charging warning lamp, repeated dead battery, dim or flickering lights, erratic gauges, a burning smell from the belt area, or a speed-related whir from the front of the engine are reasons to inspect the charging system. Those signs do not by themselves prove the alternator is the failed part. Treat a stored fault code as a pointer to test the circuit, not as proof that the unit must be replaced.
What you notice What it may indicate What to check next; Warning lamp on with the engine running Undervoltage, overvoltage, or a lamp/circuit fault Belt condition and tension; battery terminal tightness and corrosion; charging voltage at the battery with the engine running, using the maker’s spec for that vehicle; Battery goes flat overnight, lamp may be off Parasitic drain, a shorted diode, or a battery that will not hold charge Battery state of health; current drain with the vehicle asleep; diode/ripple test if drain traces to the alternator output; Lights brighten with revs, dim at idle Low output, slipping belt, or a system that charges poorly at idle Belt slip; output versus idle and off-idle speed; whether a smart-charging strategy is commanding a low setpoint; Whir, rumble or grind from the alternator Bearing wear or pulley clutch failure Noise that tracks engine speed with accessories off; pulley freewheel check where an overrunning pulley is fitted; Chirp or squeal at start or lockup Belt slip or a seized overrunning pulley Belt wear and alignment; pulley movement by hand with the engine off and the belt unloaded, following service guidance; Burning smell, smoke, or a hot battery Overcharge, a dragging bearing, or a slipping belt Stop use if smell or heat is present; check for overvoltage and belt damage before further running; Accessories cut out while driving Voltage collapse from a failed alternator, a dropped belt, or a bad connection Whether the belt is still on the pulleys; voltage while the fault is happening; do not keep driving if steering assist, lights or engine controls are dropping out
On many 12-volt systems a healthy charging reading at the battery, engine running, sits above rest voltage and below a damaging overcharge, often in a band around the mid-14-volt range. That figure is not universal. Idle versus cruise, temperature, battery state of charge and computer-controlled setpoints can move the reading by a volt or more on later vehicles. Compare any number to the service specification for that model, and confirm with a loaded output or ripple test rather than a single key-on snapshot. A reading that looks “normal” at the battery can still hide a high-resistance cable if the measurement is not taken at both the alternator output and the battery posts.
When to stop driving and who should test it
Stop using the vehicle if the belt is off or shredded, if there is a grinding noise from the alternator, if there is a burning smell or visible smoke, if the battery warning is on and electrical systems are failing, or if power steering, lights or engine running become unreliable. Continued driving can leave the vehicle without ignition or assist systems and can overheat the battery. A no-charge lamp with otherwise normal operation still warrants prompt testing; range on a partial charge is unpredictable because it depends on battery condition and electrical load.
A useful next step is a charging-system test that covers the battery, belt, cables and grounds as well as alternator output and AC ripple. That work needs a voltmeter at minimum, and often a current probe, a load tester and a scan tool on vehicles with computer-controlled charging. Replacement without that sequence is a guess, especially after jump-starts or water intrusion. Rebuild-versus-new, amperage rating and pulley type must match the original application; those details are model-specific and are not listed here. Manufacturer procedures, voltage targets and tightening values were not supplied for this guide, so any repair should follow the service information for the vehicle rather than a generic setpoint.