Rear Axle Bearing Pullers: Choosing a Remover and Slide Hammer
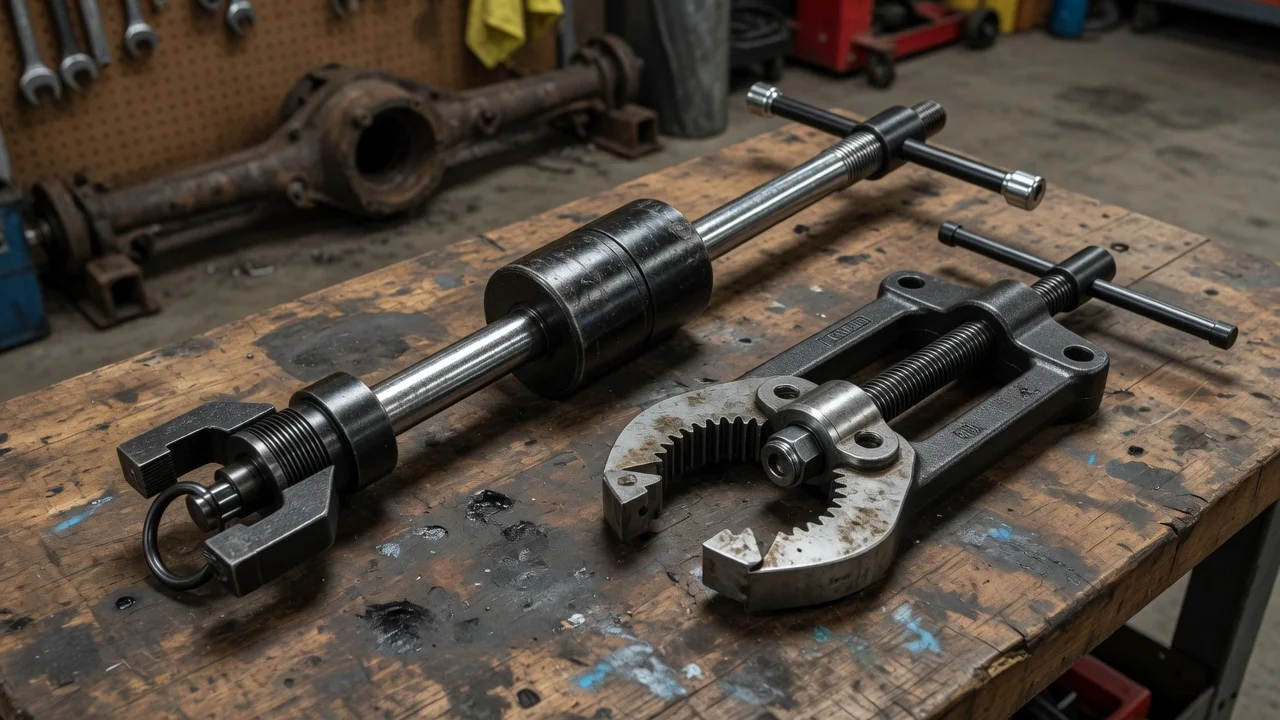
A rear axle bearing puller can turn a stubborn pressed-in bearing into a manageable driveway job, but only if the tool matches how your axle is built. Some kits pull the bearing out of the axle housing. Others pull the whole shaft. Neither replaces a press when the bearing is fixed to the shaft. This guide helps you match a remover and slide hammer to your vehicle configuration, judge kit contents honestly and avoid paying for pieces you will never use.
Define the job the product must do
Start with the axle, not the tool. On most solid rear axles the bearing sits either inside the end of the axle tube or on the axle shaft itself, and that design decides what you need. On C-clip axles, the shaft slides out once the differential cover is off and the clip is removed. The bearing and seal stay pressed into the housing, so an internal removal tool with expanding jaws, driven by a slide hammer, does the actual work. On axles held by a retainer plate at the brake backing plate, the bearing is pressed onto the shaft and usually secured with a retaining ring or collar. Here a slide hammer with an axle flange adapter can draw the shaft out of the housing, but separating the bearing from the shaft is normally a press job.
Next, be honest about how often you will use the tool. If you are replacing one noisy bearing on one vehicle, a loaner or rental program at a parts store, where offered, may cover the job. If you maintain several trucks or older rear-drive cars, owning a rear axle bearing puller kit makes more sense, especially when the service history shows repeated bearing noise or seal leaks. Also plan for workspace. The slide hammer needs a clear, straight path out from the axle end, which means the vehicle must be safely supported on stands with the wheel, drum or rotor and any parts blocking the axle end removed.
Check compatibility before you buy
Confirm the exact axle used in your vehicle configuration. The same model can leave the factory with different rear axles depending on drivetrain, towing package or production period. Rely on the axle identification tag, the build information or the manufacturer specifications in the service manual rather than the model name alone. The service information also tells you whether the shaft is C-clip or retainer-plate retained and identifies the bearing and seal involved, which gives you the dimensions to compare against any tool listing.
For an internal remover, the jaws or collet must pass through the bearing's inner bore and expand far enough to hook behind it, with enough reach to get past the seal. Compare the listed size range of each collet with the bearing you are replacing, not with a generic claim that the kit fits most axles. Check how the puller attaches to the slide hammer, because thread size and pitch differ between brands. An attachment that wobbles or needs a stack of couplers loses force and can strip its threads. If you need a rear axle shaft bearing puller that extracts the whole shaft, the flange adapter must mount securely to your wheel studs. A universal adapter with slotted holes should still seat flat against the axle flange.
Features that affect the choice
The slide hammer delivers the removal force, so its weight and stroke matter more than the number of pieces in the case. A heavier weight gives each blow more impact, and a longer shaft lets the weight build speed. A light hammer may simply bounce off a well-seated bearing. Look at the jaw design next. Expanding collets that tighten as you turn a center screw grip evenly around the bearing. Simple two-jaw hooks are compact, but they can tilt the bearing and gouge the housing if one side slips.
Treat labels such as heavy duty, professional grade or universal as claims rather than evidence. Useful evidence is concrete: a published collet size range, the thread specification of the hammer shaft, the material and heat treatment named by the maker, whether replacement jaws are sold separately, and close photos of the jaw lip. A remover set with fewer collets that match your axle is often a better buy than a large kit padded with adapters that fit nothing you own. If you also service front hubs or other bearings, check whether the same slide hammer accepts those attachments. That reuse is where a broader puller set earns its price.
Limitations and ownership costs
A rear axle bearing puller removes parts; it does not install them. Seating a new bearing squarely in the housing requires a bearing driver of the correct diameter, and the seal needs its own driver to avoid distortion. On press-fit shafts, the puller and hammer extract the shaft, but the bearing and retaining collar typically need a press and bearing separator, and the service information may specify particular removal steps. Heating or hammering near a retaining ring without that guidance risks damaging the shaft. During the job, inspect the bearing surface on the axle shaft. If the old bearing has worn a groove into the journal, a new standard bearing will not cure the noise, and you may need a new shaft or a repair-type bearing.
Budget for the parts that come with the job. Seals are normally replaced whenever the bearing is. C-clip axles require draining the differential and refilling it with the lubricant type and quantity listed in the maintenance schedule, and the cover needs a new gasket or sealant. Limited-slip differentials may also call for an additive, so follow the manufacturer specifications. The tool itself needs little care: keep the threads clean and lightly oiled, store the collets so their lips are not nicked, and replace worn jaws before they start slipping. Operating conditions matter too. Rusted axle tubes and heavily corroded bearings demand more force and wear the jaws faster.
Build a practical shortlist
Narrow the options with a short checklist. First, confirm the axle retention type and bearing size from the service information for your exact vehicle. Second, choose the matching tool type: an internal bearing remover with a slide hammer for C-clip axles, or a slide hammer with a flange adapter plus access to a press for retainer-plate axles. Third, verify that the collet range covers your bearing and leaves room for the jaw lip to catch. Fourth, check that the hammer threads, adapters and puller attachments are designed to work together without improvised couplers. Fifth, look for available replacement parts and clear instructions.
Then weigh frequency of use against cost. For a single repair, a loaner or rented tool plus a new seal may be all you need. For regular work on several rear-drive vehicles, a complete kit with a solid slide hammer, matched collets and a flange adapter pays off over time. Whatever you choose, follow the manufacturer's procedure, wear eye protection when using the slide hammer, and check for leaks and noise after the first drive.