Mustang Rear Axle Shafts: Identify the Correct Replacement
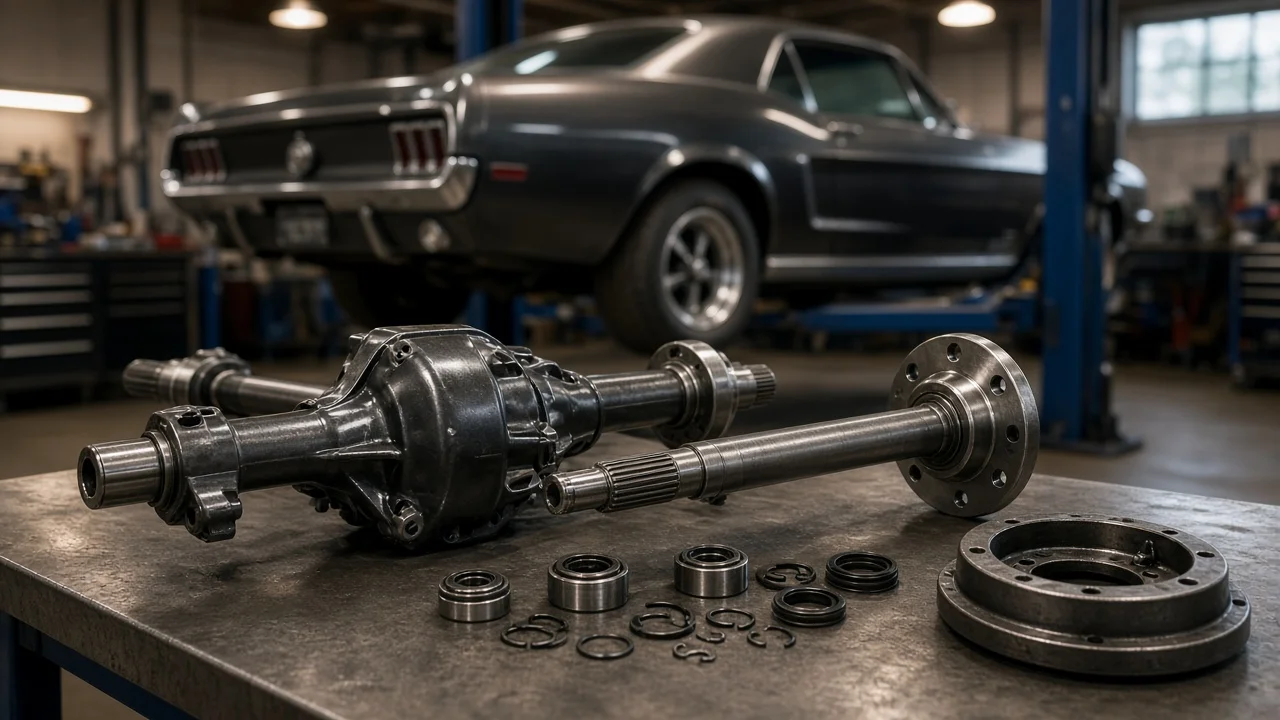
A Mustang rear axle shaft carries torque from the differential to the rear wheel and supports much of the car's weight at that corner. Choosing the right replacement depends on more than the model year, and a new shaft only helps when the shaft itself has failed. This guide covers confirming fitment, preparing safely, removing and installing the shaft, and checking the finished work.
Confirm the part and repair scope
Start with the vehicle configuration rather than the model name alone. Most Mustangs built through the 2014 model year use a solid rear axle, where each shaft slides into the axle housing and is typically held by a C-clip inside the differential. Some SVT Cobra models from that era, and all 2015 and later cars, use independent rear suspension with half shafts that have CV joints, so a solid-axle shaft will not fit them and the repair is different. Within the solid-axle years, rear axle assemblies vary by engine, ring gear size and differential type, and shafts can differ in spline count, overall length, wheel bolt pattern, stud size and whether an ABS tone ring is fitted. The most reliable way to identify the correct replacement is to use the VIN, the axle code on the vehicle certification label or the tag on the housing, then match it against the parts catalog and manufacturer specifications. If the axle assembly has been swapped or modified, measure the old shaft and count its splines instead of trusting the original build data.
Also confirm that the shaft is actually the failed component. A hum or growl that changes with road speed often points to the axle bearing, which can be replaced on its own unless the bearing surface on the shaft is scored or worn. Gear oil on the brake backing plate or inside the wheel usually means a failed axle seal, although a damaged bearing journal can cause repeat seal failures. Clear reasons to replace the shaft include a bent shaft after curb or collision damage, twisted or broken splines, a worn bearing journal or a cracked flange. Review the service history too: repeated seal and bearing work on the same side can signal a damaged shaft or a housing problem.
Prepare tools and safe access
Get the vehicle-specific service information before taking anything apart, because torque values, fluid type, fill capacity and sealant requirements vary by axle. Typical needs include a floor jack and rated jack stands, wheel chocks, basic hand tools, a torque wrench, a drain pan, a gasket scraper, a new cover gasket or the specified sealant, the correct gear oil plus any additive the service information calls for, and new axle seals. A slide hammer with a bearing puller and a seal driver are needed if you replace the bearing or seal, which is usually sensible while the shaft is out.
Work on level ground, chock the front wheels and support the car on jack stands at the lift points specified for your model; never rely on the jack alone with a wheel removed. The parking brake works through the rear brakes, so expect to release it while they are disassembled. This job involves both the brakes and the differential, which directly affect safety. Owners who have not serviced brakes or opened a differential before, or who find limited-slip internals they are unfamiliar with, should consider having a qualified shop handle it. The same applies to independent rear suspension cars, where half shaft replacement involves hub nuts and suspension components.
Remove without avoidable damage
With the car supported, remove the rear wheel and the brake parts that block the axle flange. On disc brakes, remove the caliper and hang it from the suspension so the brake hose is not stretched, then remove the caliper bracket if required and the rotor. On drum brakes, remove the drum. Move or disconnect the ABS wheel speed sensor if it sits near a tone ring on the shaft so it is not damaged. Clean around the differential cover, loosen its bolts, let the gear oil drain into the pan and then remove the cover.
On C-clip axles, rotate the differential until the pinion shaft lock bolt is accessible, remove the bolt and slide the pinion shaft out without letting the gears shift out of place. Push the axle shaft inward, remove the C-clip from its end, then pull the shaft straight out, keeping it level so the splines do not drag across the bearing and seal. If your axle uses a different retention method, follow the service information instead. If the shaft will not move inward, do not hammer it; look for rust at the flange or a problem inside the carrier. Inspect the side gear splines, carrier and housing bearing bore before fitting the new part, because damage there can ruin a new shaft quickly.
Install and restore the system
Compare the new shaft with the old one before installation: length, spline count, flange, studs and any tone ring should match. If you are replacing the bearing and seal, drive them in square and fully seated with proper tools, and lubricate the seal lip as directed. Slide the shaft into the housing while keeping it centered so the splines pass through the seal and bearing without contact, then turn it slightly until it engages the side gear. Push it inward, fit the C-clip into its groove and pull the shaft outward so the clip seats in the side gear recess.
Reinstall the pinion shaft and lock bolt, using a new bolt or thread locker if the service information requires it, and tighten to the specified torque. Clean both sealing surfaces, install the cover with the specified gasket or sealant, allow any sealant to cure as directed, and torque the bolts in the recommended pattern. Fill with the gear oil grade and quantity listed for your axle and check the level as the procedure describes; limited-slip differentials may need a friction modifier. Reinstall the ABS sensor, rotor or drum, caliper and wheel, tightening each fastener to manufacturer specifications. Pump the brake pedal until it is firm and confirm the parking brake holds before moving the car.
Check the completed work
Before lowering the car, spin the wheel by hand: it should turn smoothly without scraping, and the flange should show no visible wobble. Lower the car, confirm lug nut torque and start the road test at low speed. Listen for clicking, grinding or humming, and watch for an ABS or traction control warning light, which can mean a sensor was not reconnected or seated correctly. On limited-slip axles, chatter in tight turns can indicate incorrect fluid or a missing additive.
After the drive, inspect for gear oil at the cover, around the backing plate and inside the wheel. Recheck lug nut torque after the interval given in the service information, and recheck the fluid level if the procedure calls for it. Further diagnosis is needed if noise persists, the wheel shows runout, a seal leak returns or the shaft has noticeable in-and-out movement. Record the part, date and mileage in the service history so later inspections and the maintenance schedule have an accurate reference, particularly if the car sees track days or hard launches that add stress under those operating conditions.