Rear Axle Bearing Replacement: Removing and Replacing the Bearing
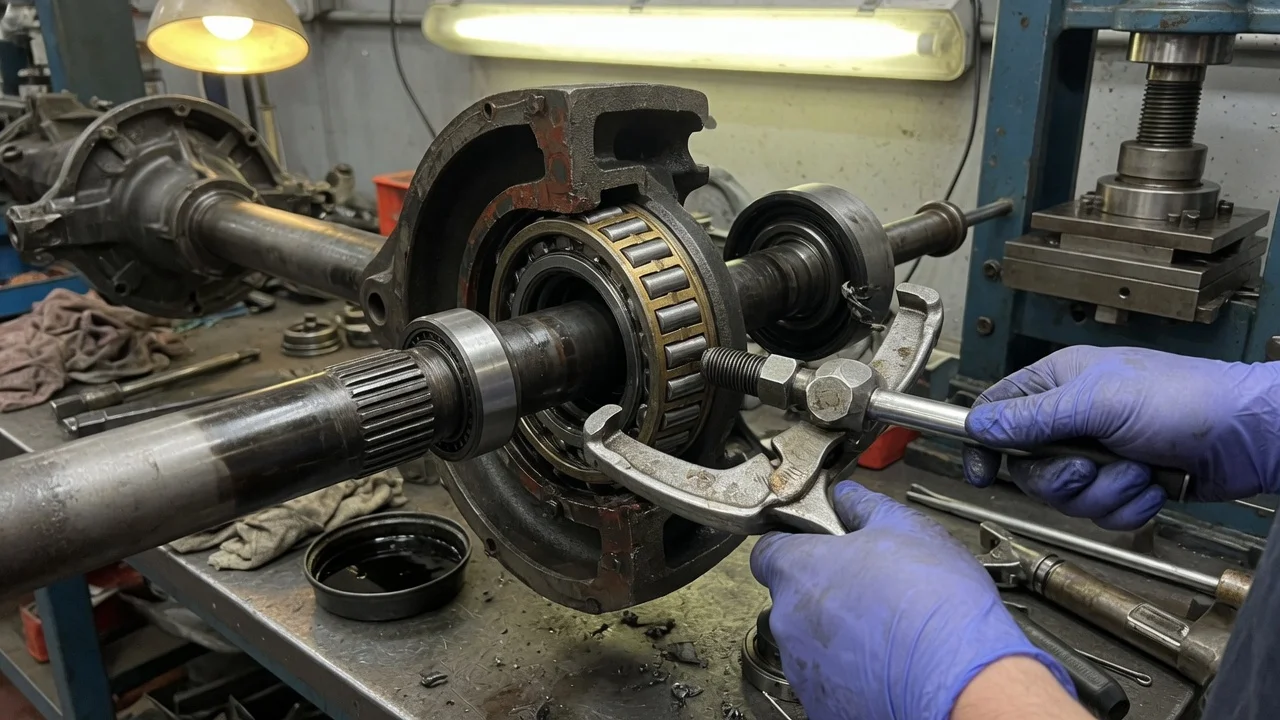
Rear axle bearing replacement is a common repair on rear-wheel-drive trucks, vans and cars, but the correct procedure depends on how the axle is built. Some bearings press into the axle housing, others press onto the shaft, and many front-wheel-drive vehicles use a bolt-on hub unit instead. This guide explains how to replace a rear axle bearing in a logical order, what to confirm before ordering parts and where the manufacturer specifications for your vehicle configuration must take over.
Confirm the part and repair scope
Before you replace a rear axle bearing, make sure the bearing is really the source of the symptom. A failing bearing typically produces a hum, growl or rumble that rises with road speed and may change when a curve loads one side of the vehicle. Worn tires, a differential pinion bearing, ring-and-pinion wear and even exhaust drone can sound similar, so careful inspection matters more than guesswork. With the rear safely supported and the wheels off the ground, rotate each side by hand, feel for roughness and check for play at the wheel. Also look at the brake backing plate and the inside of the wheel: gear oil there usually points to a leaking axle seal, which is normally replaced along with the bearing.
Fitment comes next. Rear axles differ by vehicle configuration, including model year, axle manufacturer, ring gear size, spline count, brake type and whether the differential is open or limited-slip. Many solid axles retain the shaft with C-clips inside the differential and use a bearing pressed into the housing. Others use a bearing pressed onto the shaft and held by a retainer plate bolted to the housing end. Full-floating axles and front-wheel-drive rear hub assemblies follow different procedures entirely. The axle tag, build data or a parts lookup by VIN is the reliable way to identify the correct bearing and seal; matching parts by appearance alone is a frequent cause of repeat work.
Prepare tools and safe access
Work on level, solid ground with the front wheels chocked and the axle supported on rated jack stands, never on a jack alone. Once the vehicle is secured, release the parking brake, because on many vehicles it acts on the rear wheels you need to remove. Typical tools include sockets and wrenches, a drain pan, a scraper and a new cover gasket or sealant, a slide hammer with an axle bearing and seal puller, a bearing and seal driver set, and a torque wrench. Retainer-plate axles also require a hydraulic press with suitable adapters. Have the correct gear oil ready, plus any friction modifier specified for a limited-slip unit. Torque values, fluid type and capacity, and fastener reuse rules must come from the service information for your exact axle, not from generic numbers.
This job suits an owner with solid mechanical experience, but it is not a beginner repair. Pressing a bearing and retaining collar onto a shaft involves very high force, and an incorrectly pressed collar can let the axle shaft work its way out of the housing. If you lack a press, the right adapters or confidence working inside a differential, have a shop press the bearing or handle the whole job.
Remove without avoidable damage
On a C-clip axle, remove the wheel and the brake drum or caliper and rotor, keeping the caliper supported so the hose is not stretched. If a wheel speed sensor sits in the axle housing, remove it to protect it. Drain the differential by removing the cover, then remove the pinion shaft lock bolt and slide out the pinion shaft, turning the carrier as needed; some limited-slip carriers need extra steps, so check the procedure for your unit. Push the axle shaft inward, remove the C-clip from the groove at the shaft end and withdraw the shaft carefully so the splines do not drag across surfaces. Then pull the seal and bearing from the housing with a slide hammer and puller. Avoid prying against the housing bore, because gouges can cause leaks or a loose bearing fit.
On a retainer-plate axle, the shaft comes out after the plate fasteners are removed, usually with a slide hammer attached to the hub flange. The bearing and retaining collar stay on the shaft and must be removed off the vehicle. A common shop method is to weaken the collar by drilling or notching it carefully and then splitting it with a chisel, without letting the tool reach the shaft. Never use a torch on the collar or bearing, as heat can change the shaft's hardness and weaken it. Then press the old bearing off, supporting the shaft so it cannot drop.
Before reassembly, clean and inspect the axle shaft. On C-clip axles the bearing rollers ride directly on the shaft, so pitting, grooves or discoloration on that surface mean the shaft needs replacement or, where approved for your axle, a repair bearing designed to run on a different section of the shaft. Also check the splines, the clip groove, the seal surface and the housing bore.
Install and restore the system
Install the new bearing squarely, applying force only to the race the service procedure specifies; for a bearing that goes into the housing, that is normally the outer race. A driver matching the race diameter spreads the force evenly and prevents the bearing from cocking in the bore. Seat it fully against its shoulder, then install the new seal with its lip facing the correct direction and lubricate the lip as directed. On retainer-plate shafts, confirm the retainer plate and any seal are on the shaft in the correct order before pressing on the bearing and then the new collar, following the press procedure and any seating checks in the service information.
Slide the axle shaft in while supporting its weight, so the splines engage the side gear without damaging the new seal. On a C-clip axle, install the clip, pull the shaft outward to seat it, refit the pinion shaft and install the lock bolt as specified, using new hardware or thread locker if required. Clean both sealing surfaces, reinstall the cover with a new gasket or the specified sealant, and fill the differential with the correct fluid to the specified level. On retainer-plate axles, tighten the plate fasteners to specification. Reinstall the wheel speed sensor, brakes and wheel, then torque the lug nuts to specification.
Check the completed work
Before driving, pump the brake pedal until it is firm, confirm the parking brake works and recheck the differential fluid level and cover for seepage. Spin each wheel by hand: it should turn smoothly without grinding or roughness. Road test at gradually increasing speeds, listening for the original noise, and use gentle curves to load each side. Watch for an ABS or traction control warning light, which can point to a damaged or poorly seated wheel speed sensor. After a short drive, inspect the backing plate, brake components and axle end again for gear oil.
If the noise is unchanged, the bearing may not have been the cause; the differential gears, pinion bearings, tires or the opposite wheel bearing deserve inspection next. A new leak at the axle end often indicates a crooked seal, a damaged seal surface or a scored housing bore. Noise that appears or worsens after the repair can mean a bearing that is not fully seated, the wrong part for the vehicle, or contamination during assembly. Treat any clunking, looseness or outward shaft movement as a safety concern and do not drive the vehicle until the cause is found. Operating conditions such as heavy towing or driving through deep water can shorten bearing life, so record them along with this repair in the vehicle's service history.