How to Remove a Rear Axle Bearing Without a Puller
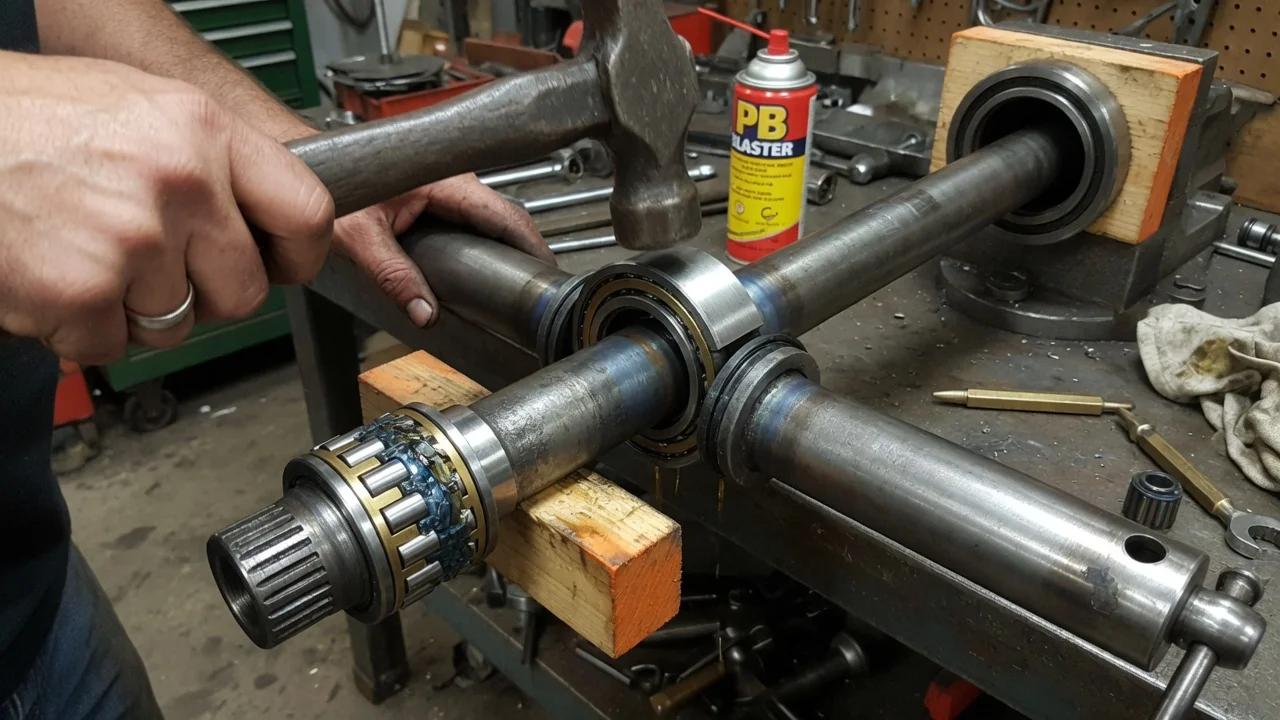
A worn rear axle bearing usually makes a growl or hum that rises and falls with road speed. On many rear-wheel-drive cars and trucks you can replace it at home. A puller or slide hammer makes the job easier, but it is not always essential. Whether you can remove the old bearing without one depends on how your axle holds it in place, so start by identifying that.
Confirm the part and repair scope
Make sure the noise really comes from a rear wheel bearing before ordering parts. Uneven tire wear, a worn differential or pinion bearing, and loose heat shields can sound similar. Bearing noise follows vehicle speed rather than engine speed and often changes as weight shifts in a turn. With the rear raised and supported, spin each wheel by hand and feel for roughness, then rock the tire top to bottom to check for play. Gear oil on the backing plate or brake parts points to a leaking axle seal, which is normally replaced with the bearing. Check the service history too: a recently replaced bearing that fails again may point to a damaged shaft, contaminated oil or an installation error.
Next, confirm your vehicle configuration, because the removal method depends on it. Many solid rear axles retain the shafts with C-clips inside the differential; the bearing is pressed into the axle housing and the shaft runs directly on its rollers. Other axles use a bolted retainer plate, with the bearing pressed onto the shaft and locked by a press-fit collar. Many front-wheel-drive and independent rear designs use a bolt-on hub assembly or a bearing pressed into a knuckle. The parts listing for your exact model and axle, or the factory service information, tells you which type you have. Only the C-clip design truly suits puller-free removal.
Prepare tools and safe access
Work on level ground, chock the front wheels and support the axle on rated jack stands; never rely on a jack alone. Keep the service manual for your vehicle at hand for torque values, gear oil type and capacity, and any limited-slip differential procedure, since these vary by model and should not be guessed. Typical tools include sockets, a torque wrench, a drain pan, a gasket scraper, a magnet or pick for the C-clips, a seal driver or matching socket, a hammer, a long brass drift, and a cold chisel or die grinder with a thin cutoff wheel. Wear eye protection whenever you cut or strike hardened steel.
Have the new bearing, axle seal, cover gasket or sealant, and the correct gear oil and any required friction modifier ready before starting. If your axle uses a pressed-on bearing and collar, arrange access to a hydraulic press or machine shop now. This job involves brakes and the parts that keep the wheel attached, so an owner without brake or drivetrain experience should work with an experienced helper or leave it to a shop.
Remove without avoidable damage
On a C-clip axle, remove the wheel and brake drum or caliper and rotor, then remove the differential cover to drain the gear oil. Remove the cross shaft retaining bolt and slide the cross shaft out far enough to clear the axle ends without disturbing the spider gears. Push the axle inward, remove the C-clip and pull the shaft out while supporting its weight so the splines do not drag through the bore. Inspect the shaft where the rollers run; if that surface is pitted or grooved, a standard bearing alone will not cure the noise, and the shaft or a bearing made for a repair journal is needed.
With the shaft out, pry out the old seal. On some housings part of the outer race is exposed behind the bearing, and a long drift passed through the axle tube can tap it outward, moving around the race in small steps so it does not cock. Where that access does not exist, cut a single notch across the outer race with a die grinder or chisel, stopping just short of the housing, then drive a chisel into the notch to crack and collapse the race. The hardened race splits readily once weakened, but the housing bore is softer and easily gouged. A scored bore can let the new bearing sit loose or the seal leak, so work slowly and remove every metal chip.
Axles with a bolted retainer plate are different: the shaft and bearing come out together once the retainer nuts are off. Some owners mount the brake drum backward and strike it outward, but a stubborn bearing may still need a slide hammer. On the bench, the retaining collar can be weakened by grinding partway into it and then split with a chisel, never cutting into the shaft. The bearing remains a tight interference fit, and cutting it off risks nicking the bearing seat. Because the new bearing and collar must be pressed on anyway, a press or machine shop is the sensible route for this design.
Install and restore the system
Clean the housing bore and check it for burrs. Lightly oil the outside of the new bearing and drive it in straight with a driver or socket that contacts only the outer race, never the rollers or cage, until it seats fully against its shoulder. Install the new seal the same way, oriented as your service information specifies, and lubricate its lip so it does not run dry at startup.
Slide the shaft in carefully, supporting it so the splines do not cut the new seal, and engage the side gear. Fit the C-clip, pull the shaft outward to seat the clip in its recess, then reinstall the cross shaft and tighten its bolt to the manufacturer specifications, using thread locker if called for. Refit the cover with a new gasket or sealant and fill with the specified gear oil to the level your manual lists, adding friction modifier if the limited-slip unit requires it. Reassemble the brakes, reconnect any wheel speed sensor, and torque the lug nuts to the specified value.
Check the completed work
Before lowering the vehicle, spin the wheel by hand: it should turn smoothly with only normal brake drag and no noticeable play. Pump the brake pedal until it is firm if brake parts were disturbed. Then road test at low speed in a safe area, listening for the original noise and any new clicking or grinding.
After the first drive, inspect the backing plate, wheel and differential cover for gear oil, and recheck the fluid level. A hum that remains suggests the noise came from the differential or tires, or that the shaft journal is worn. An ABS or traction control warning usually means the speed sensor or tone ring was disturbed. Fresh leaks, a clunk under acceleration or roughness that returns soon after the repair call for further inspection rather than another bearing. Recheck lug nut torque after a short distance, and follow your maintenance schedule for gear oil service under your operating conditions.