How to Test a Wastegate Actuator: Symptoms, Checks and Results
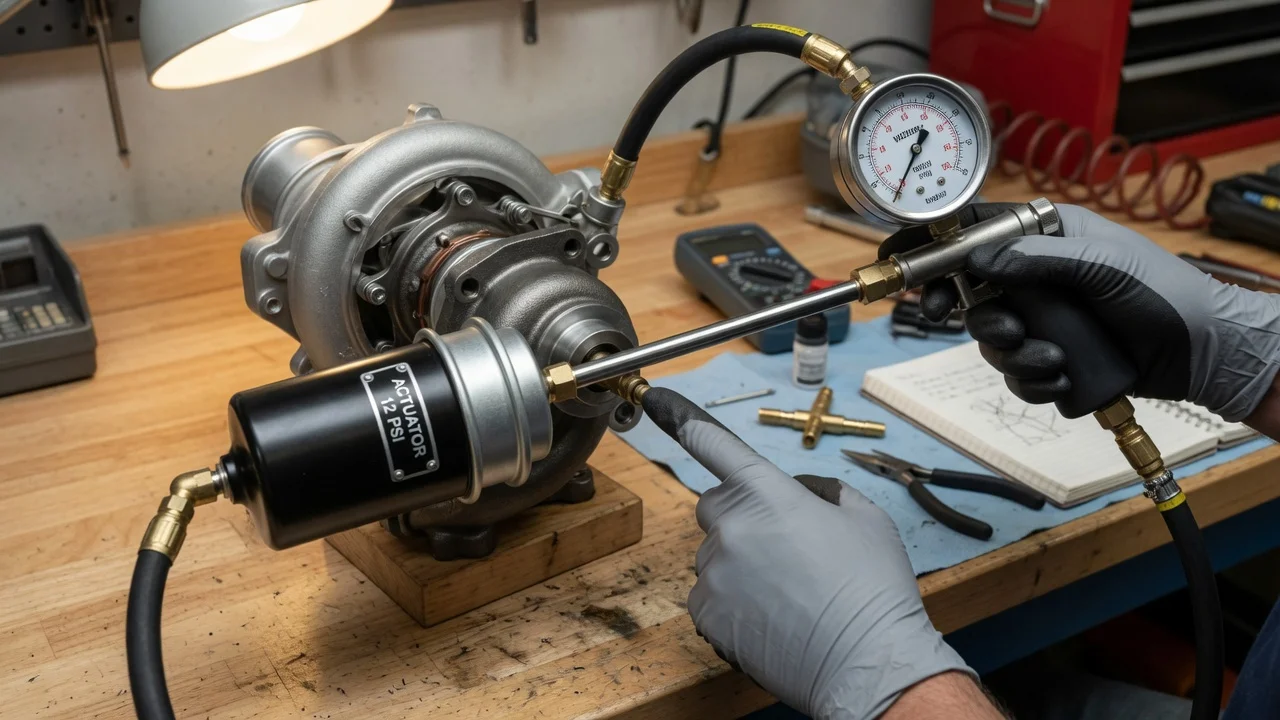
A wastegate actuator controls how much exhaust bypasses the turbine, which in turn limits boost pressure. When boost runs low, spikes or fluctuates, the actuator is a common suspect, but it is rarely the only one. Testing a wastegate actuator properly means recording the symptoms first, ruling out faults that mimic it, and then checking the actuator itself against the manufacturer specifications for your exact vehicle configuration. This guide walks through that process and explains what each result does and does not prove.
Establish the symptoms
Start by writing down exactly when the problem appears. Note whether it happens under light or heavy throttle, at a particular engine speed, only when the engine is cold or only after it is fully warm, and whether it is constant or intermittent. Record any warning lights and stored trouble codes. Generic codes such as P0299 (turbocharger underboost) or P0234 (overboost condition) point toward boost control in general, not to the actuator specifically, and many manufacturers add their own codes for actuator position or circuit faults.
Associated signs help narrow the field. Sluggish acceleration, reduced-power or limp mode, a boost gauge that surges, a rattle from the turbo area at idle or on deceleration, hissing under load, or unusual exhaust smoke each lean toward different causes. Also check the service history for recent work: a replaced turbo, disturbed vacuum lines, a new intake or exhaust component, or a tuning change can all alter boost behavior. Noting the operating conditions at the time of the fault, such as towing, high altitude or very low temperatures, makes later diagnosis far more efficient.
Distinguish plausible causes
The actuator moves the wastegate through a rod or linkage. Pneumatic actuators use a spring-loaded diaphragm driven by boost pressure or vacuum, usually regulated by a boost control solenoid. Electronic actuators use a motor and a position sensor commanded by the engine control module. A torn diaphragm, a seized rod, a stuck wastegate flap or a failed motor will all disturb boost, but so will problems upstream and downstream of the actuator.
Underboost with a hiss under load suggests a boost leak in the intercooler piping or couplers rather than the actuator. Boost that is normal at times but drops intermittently can indicate a cracked vacuum or pressure hose, a sticking boost control solenoid, or a wiring fault. Overboost points more toward a wastegate that cannot open: a seized flap, a rod adjusted too tight, a blocked control line or a solenoid stuck in one state. A rattle at idle is often linked to wear in the wastegate pivot or linkage rather than to the actuator body.
Other causes overlap with these patterns. A faulty boost or manifold pressure sensor can report incorrect values and trigger codes without any real boost problem. Exhaust leaks before the turbo reduce the energy reaching the turbine, and a restricted exhaust or worn turbocharger can produce low boost even with a healthy actuator. Keep each possibility open until a specific observation rules it out.
Checks in a useful order
Begin with safe observations, with the engine off and the turbocharger fully cooled, since turbo and exhaust components stay hot long after shutdown. Inspect the actuator body, rod and linkage for damage, corrosion, missing clips or signs of contact. Follow every hose connected to the actuator and boost control solenoid, looking for cracks, splits, softening, loose connections or incorrect routing. On electronic actuators, inspect the connector and harness for damaged pins, corrosion or chafing. Check intercooler piping and clamps for oil residue, which often marks a leak point.
Next, on many pneumatic designs you can check whether the rod moves. On pressure-type units, the rod or linkage can sometimes be moved by hand against spring tension; it should travel smoothly and return without binding. Do not force it. For a more meaningful wastegate actuator test, connect a hand pressure or vacuum pump with a gauge, matching the type of actuator, and apply it gradually while watching the rod. The rod should begin to move and the gauge should hold steady once you stop pumping. The pressure at which movement starts and the expected rod travel must come from manufacturer specifications; never exceed the values listed for your engine, because excessive pressure can damage the diaphragm.
Electronic actuators require a scan tool capable of reading commanded and actual position, and often of running an actuator self-test or calibration routine. Checking power, ground and signal circuits requires a wiring diagram and a multimeter. A smoke test of the intake and charge air system, live data logging of requested versus actual boost, and testing the boost control solenoid all need appropriate equipment and the correct data. If you lack these, a qualified technician can carry out these steps with the right information for your vehicle.
Interpret the findings
A pneumatic actuator whose rod moves smoothly at roughly the specified pressure and holds that pressure without leaking down has passed the basic bench check. That suggests the diaphragm and spring are intact, but it does not prove the wastegate flap inside the turbine housing moves freely through its full range or seals correctly, and it says nothing about the control solenoid or the hoses feeding it. If the gauge drops steadily with the pump stopped, the diaphragm or a connection is leaking; recheck the hose and fittings before condemning the actuator.
A rod that will not move, moves only partially or binds suggests either a seized actuator or a stuck wastegate. Disconnecting the rod from the wastegate arm, where the design allows, helps separate the two: if the arm moves freely once disconnected, the actuator is the likely fault; if the arm is stiff, the problem lies in the turbo. On electronic units, a large gap between commanded and actual position, or a failed self-test, points toward the actuator, its sensor or its wiring. Some electronic actuators are calibrated to the turbo, so replacement may require a specific setup procedure.
Before buying parts, confirm the result is consistent with the original symptoms. A healthy actuator combined with persistent underboost sends you back to leaks, sensors and the turbo itself. Clearing codes and verifying boost with a road test or data log after any repair shows whether the fault is actually resolved.
Urgency and next action
Some signs call for stopping hard driving immediately. Uncontrolled overboost, engine knocking or pinging under load, heavy smoke, oil leaking from the turbo area or a flashing check engine light can lead to engine or turbocharger damage. In those cases, avoid full throttle, and if the symptoms are severe, have the vehicle transported rather than driven. Underboost with reduced power is usually less immediately dangerous, but limp mode exists to protect the engine and should be investigated rather than ignored. No general rule can tell you how far a vehicle can safely be driven with a boost fault.
Whether you continue the diagnosis yourself or hand it to a shop, gather the useful information: the exact vehicle configuration, including engine code and model year, the stored codes and freeze-frame data, notes on when the fault occurs, the results of your inspection and any pressure readings, and relevant service history. Follow the maintenance schedule and service information for your vehicle when replacing hoses, solenoids or actuators, and use the manufacturer's procedure for adjustment or calibration, since incorrect setup can create new boost problems.