How to Replace a Glow Plug Control Module
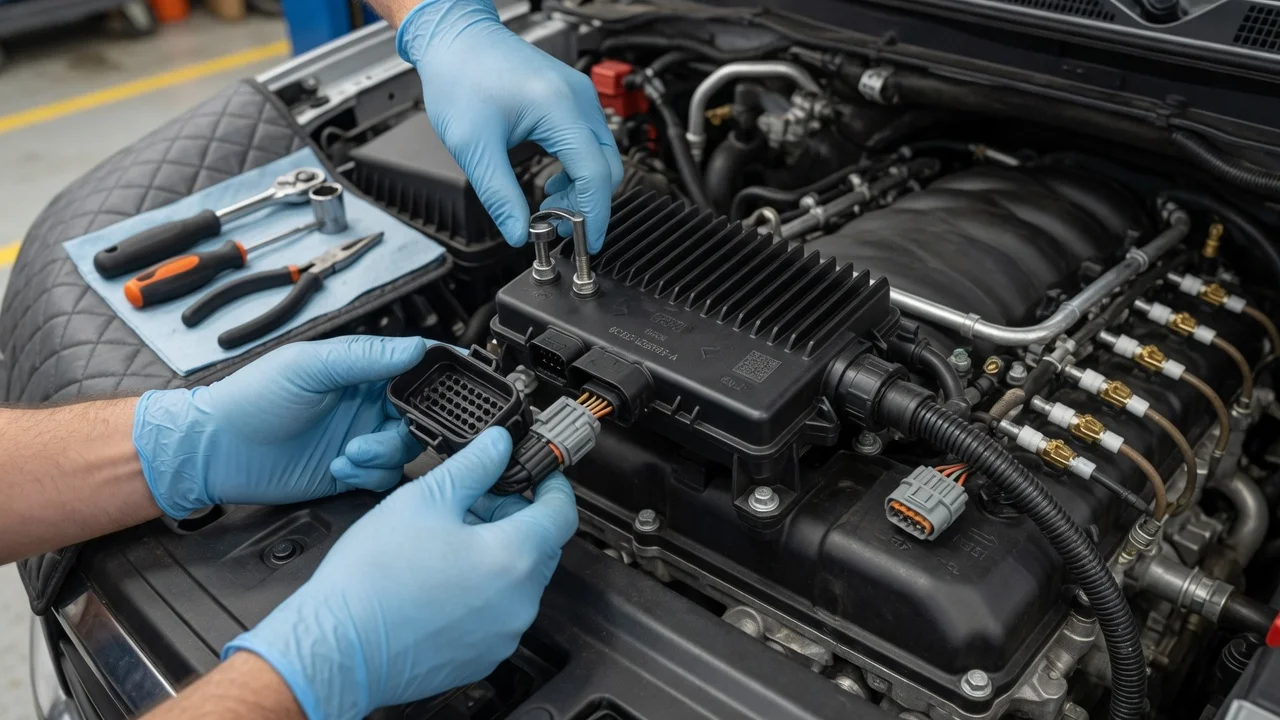
A glow plug control module switches the heavy current that heats a diesel engine's glow plugs before and after a cold start. When it fails, you may see a flashing or stuck glow plug lamp, stored trouble codes and hard starting in cold weather. Replacing the module is usually a manageable electrical job. It only pays off when the module is actually at fault and the work follows your vehicle's service information.
Confirm the part and repair scope
Only diesel engines use glow plugs, so start by confirming the fuel type and exact engine configuration. Glow systems vary by model year, engine code and cylinder count. Some use a separate control module, some use a simple relay, and some build the control into the engine computer. Match the replacement by the part number on the old unit or by the vehicle identification number, not by appearance. Connectors that look alike can carry different pin assignments or software.
Next, prove the module is the problem. Code P0670 points to the module control circuit, and P0683 points to communication between the module and the engine computer. Codes P0671 through P0678 usually identify individual glow plug circuits. A single shorted or open glow plug, a corroded connector or a chafed harness can trigger module codes, and a shorted plug may also damage a new module. Before buying parts, test glow plug resistance, harness continuity, module power and ground, and the command signal as your service manual describes.
Hard cold starting is not always a glow system fault. Similar symptoms can come from a clogged fuel filter, gelled winter fuel, air in the lines or a leaking injector. Low fuel pressure from a weak lift pump or high-pressure fuel pump can do the same. Anti-gel treatments and other fuel additives can help prevent some winter fuel problems, but they do not repair a failed module or damaged wiring and should not be counted as a fix.
Prepare tools and safe access
Get the vehicle-specific procedure first. It should give the module location, fastener torque values, connector release method and any programming requirement. Depending on the vehicle, the module may sit on a frame rail, near the battery, on the fender apron or on the engine. Some locations require removing trim, an air intake duct or a battery tray. Typical tools include sockets and extensions, a trim tool for connector locks and a digital multimeter. You will also want a scan tool that reads glow plug data and, ideally, an inductive current clamp.
Work on a cool engine and disconnect the negative battery cable before touching the module. On vehicles with two batteries, disconnect both. The module carries high current, and a tool that bridges its supply terminal to ground can cause burns or melt wiring. If the module sits near fuel lines, leave them closed. Common-rail and other diesel injection systems run at very high pressure and can stay pressurized after shutdown, so opening a fuel fitting is a separate procedure and not part of this job. If access requires lifting the cab, removing fuel system parts, or programming you cannot perform, leave this repair to a qualified shop.
Remove without avoidable damage
Photograph the module, harness routing and connector positions before removing anything. Release each connector by its lock instead of pulling on the wires. Aged plastic tabs on underbody modules break easily, and a cracked connector can cause the same intermittent fault you are trying to fix. Inspect the terminals for green corrosion, spread pins, heat discoloration or water intrusion. A damaged connector usually needs repair along with the module.
Remove the mounting fasteners and note any ground straps, heat shields or brackets. Some modules ground through their mounting surface or bolts, so keep every washer and spacer. If a bolt is seized, use penetrating oil and patience rather than force. A snapped stud in a frame rail or bracket turns a simple swap into a much larger job. Before going further, check that the new module matches the old one in part number, connector shape and mounting pattern.
Install and restore the system
Clean the mounting surface so the new module sits flat and, where the design relies on it, makes solid ground contact. Install it in the same orientation as the original. Many underbody units must face a specific direction so water drains away from the connectors. Tighten the fasteners to the specified torque. Overtightening can crack the housing, and undertightening can leave a poor ground. Use dielectric grease or sealing compounds only if the service information calls for them.
Push each connector in until its lock fully engages. Refit the harness clips and keep the wiring away from exhaust components and moving parts, then reconnect the battery. Check whether your vehicle requires the module to be programmed, configured or registered with the engine computer. Some replacements work immediately, while others set communication codes until a scan tool procedure is completed. Follow the specified procedure even if the part is sold as plug-and-play.
Check the completed work
Clear the stored codes, cycle the ignition and confirm the wait-to-start lamp behaves normally. With a scan tool, view the commanded glow plug state and any module status or circuit data. A current clamp on the main supply or on individual glow plug wires shows whether each plug draws current when commanded. Compare the readings with the service specification rather than an assumed value, because current draw differs by engine. A plug that draws little or no current points back to that plug or its wire.
The most meaningful test is a true cold start after the vehicle sits overnight in cool weather. The engine should start without long cranking and settle quickly with little white smoke or roughness. Recheck for codes after a few drive cycles. If codes return, the lamp keeps flashing or starting stays poor, recheck the individual plugs, harness condition, and battery and charging system. Then look at fuel supply items such as the fuel filter and injector function. If any fuel component was disturbed during the job, perform a leak check according to the service procedure before returning the vehicle to regular use.