How to Replace a Glow Plug Relay
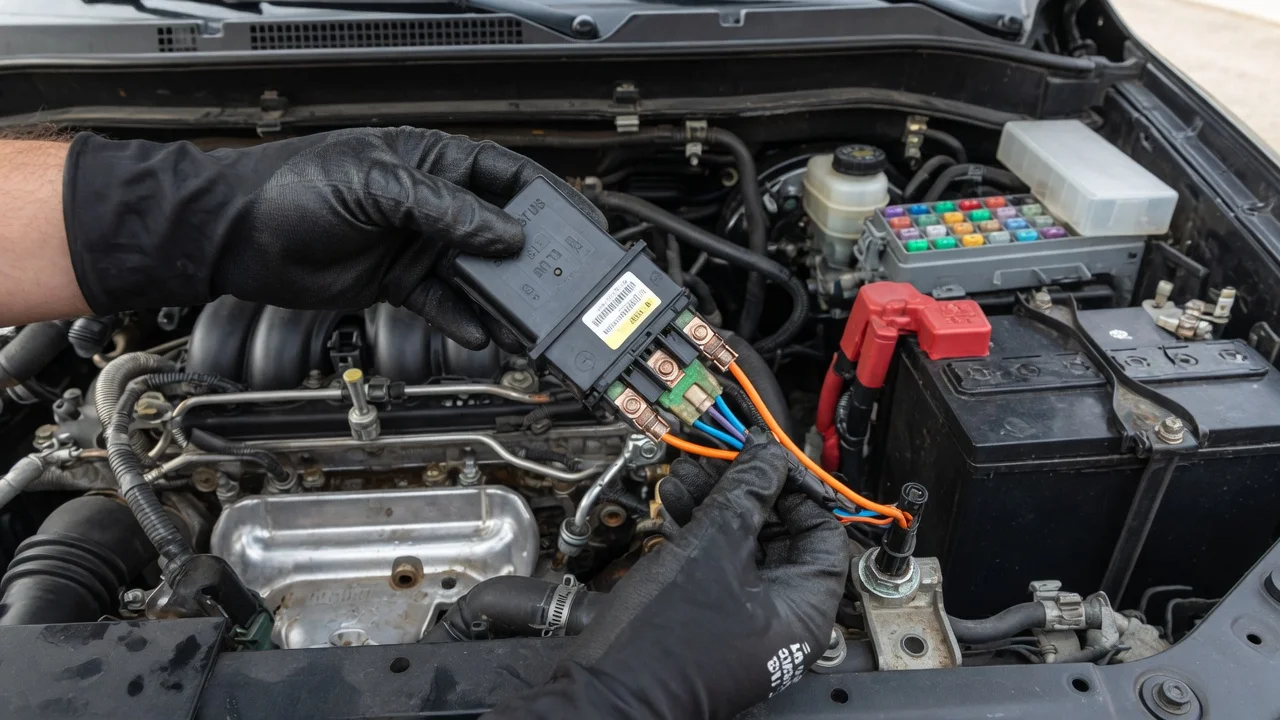
A failing glow plug relay can turn a cold diesel start into a long crank and a cloud of white smoke. Replacing the relay is usually a manageable electrical job, but it only helps when the relay is actually at fault. This guide explains how to confirm the diagnosis, prepare safely, swap the unit without damaging high-current wiring, and check that the glow system works properly once the new part is in place.
Confirm the part and repair scope
Glow plugs exist only on diesel engines, so this repair does not apply to gasoline vehicles, which rely on spark plugs and have no glow circuit. On diesels, the switching device may be a simple high-current relay or an electronic glow plug control module that manages each plug and reports faults. Which one your vehicle uses depends on model year, engine and sometimes production date, and the part can differ between trims of the same model with a different engine configuration. Match the replacement by the part number on the old unit or by a VIN-based parts lookup rather than by appearance alone.
Typical signs of a bad relay include hard starting when the engine is cold, extended cranking, white smoke and a rough idle until the engine warms up. A glow indicator that behaves oddly or stored trouble codes for the glow circuit can point the same way. Before buying a relay, rule out the more common causes: worn glow plugs, a blown fuse or fusible link, and damaged wiring. Fuel-side problems can mimic glow trouble too. A clogged fuel filter, air leaking into the supply lines, a weak lift fuel pump, low fuel pressure or a leaking injector can all cause hard starts. Fuel additives may be marketed for cold starting, but they are not a proven repair for any of these faults.
A basic check on a cold engine tells you a lot. With the key on, many relays click audibly as the glow cycle begins. Use a multimeter to confirm that battery voltage reaches the relay input and that the control signal arrives, then check for voltage at the output terminal or glow plug feed during the cycle. If the relay receives both power and a control signal but sends nothing out, it is the likely culprit. A relay stuck closed is also a failure: it keeps the plugs energized continuously, which can burn them out and drain the battery.
Prepare tools and safe access
Get the vehicle-specific service information before starting. You need the relay location, the wiring diagram, the tightening specifications for the terminal nuts and any procedure required after replacement. Relays may sit on an inner fender, near the battery, on the firewall or tucked beneath the intake, so access time varies widely. A typical kit includes a socket set with extensions, a digital multimeter, a clamp-on ammeter if you want to measure glow current, a small terminal brush, safety glasses and gloves. Have a phone or notepad ready to record where each wire connects.
Work with the engine cold and the ignition off, then disconnect the negative battery cable. Many diesel trucks carry two batteries, and both must be disconnected or the circuit stays live. The glow feed carries very high current, so a wrench touching the main terminal and the body at the same time can arc, melt metal and cause burns. This job does not require opening the fuel system. Leave fuel lines, the fuel filter housing and injector lines sealed; a high-pressure common rail system can hold dangerous pressure after shutdown and is not something to loosen for an electrical repair. If reaching the relay means removing parts around the injectors or high-pressure lines, that work suits an experienced technician better than a first-time owner.
Remove without avoidable damage
Photograph the relay and its wiring from several angles before touching anything, and label the leads with tape if they look similar. A conventional relay usually has a heavy battery feed, a heavy output to the glow plugs, a small control connector and a ground path through a wire or its mounting. Remove the nuts on the heavy terminals carefully; if a stud starts to turn, hold it so you do not twist it loose inside the housing or damage the cable end. Release the control connector by pressing its locking tab rather than pulling on the wires, because connectors near engine heat often become brittle.
Unbolt the relay from its bracket and note whether the mounting bolts complete the ground circuit. With the unit out, inspect everything it connected to. Corroded ring terminals, heat-darkened insulation, a melted connector or chafed wires near the engine can cause the original failure and will ruin a new relay if left alone. Repair or replace damaged wiring with parts rated for the same current before going further.
Install and restore the system
Compare the new relay with the old one to confirm identical terminal layout, mounting points and connector shape. Clean the mounting surface if it serves as a ground, then mount the relay in the same orientation as the original so the wiring reaches without strain and moisture does not collect around the terminals. Attach the heavy leads to the correct studs using your photos and the wiring diagram, since swapping the feed and output can prevent the system from working. Tighten the nuts to the specified value: too tight can crack the housing or strip a stud, while too loose creates resistance and heat. Refit any protective boots or covers.
Plug in the control connector until the lock engages fully. Reconnect the batteries, attaching negative cables last. A basic relay normally needs no setup, but some electronic glow plug control modules require code clearing or an initialization step with a scan tool. Follow the service information for your vehicle instead of assuming either way.
Check the completed work
Start with an electrical check. Turn the key on and confirm that the glow indicator behaves normally and the relay clicks. Measure voltage at the glow plug feed during the cycle, then confirm it drops when the cycle ends. Some engines continue powering the plugs briefly after starting to reduce smoke, so compare what you see with the expected behavior in the service information. A clamp-on ammeter around the feed cable shows whether the plugs are drawing current; a reading noticeably lower than specified suggests one or more failed plugs.
The real test is a cold start after the vehicle has sat overnight. A healthy glow system should allow the engine to start promptly with less smoke and a smoother idle. Clear any stored codes, drive normally and check that they do not return. After a few cold starts, feel the terminals and look for discoloration that would indicate a loose connection.
Some signs mean the job is not finished. Relay buzzing or chattering points to low voltage, a poor ground or a control fault. A fuse or fusible link that blows again suggests a short in a plug or the harness. Plugs that stay powered after the cycle indicate a control or relay problem. If the glow circuit tests correctly but cold starting is still poor, shift the diagnosis to the fuel side and engine condition: fuel filter restriction, air ingress, fuel pump output, injector performance and compression all deserve attention, with a leak check after any fuel-system work.