How Are Car Windows Checked for Water Sealing?
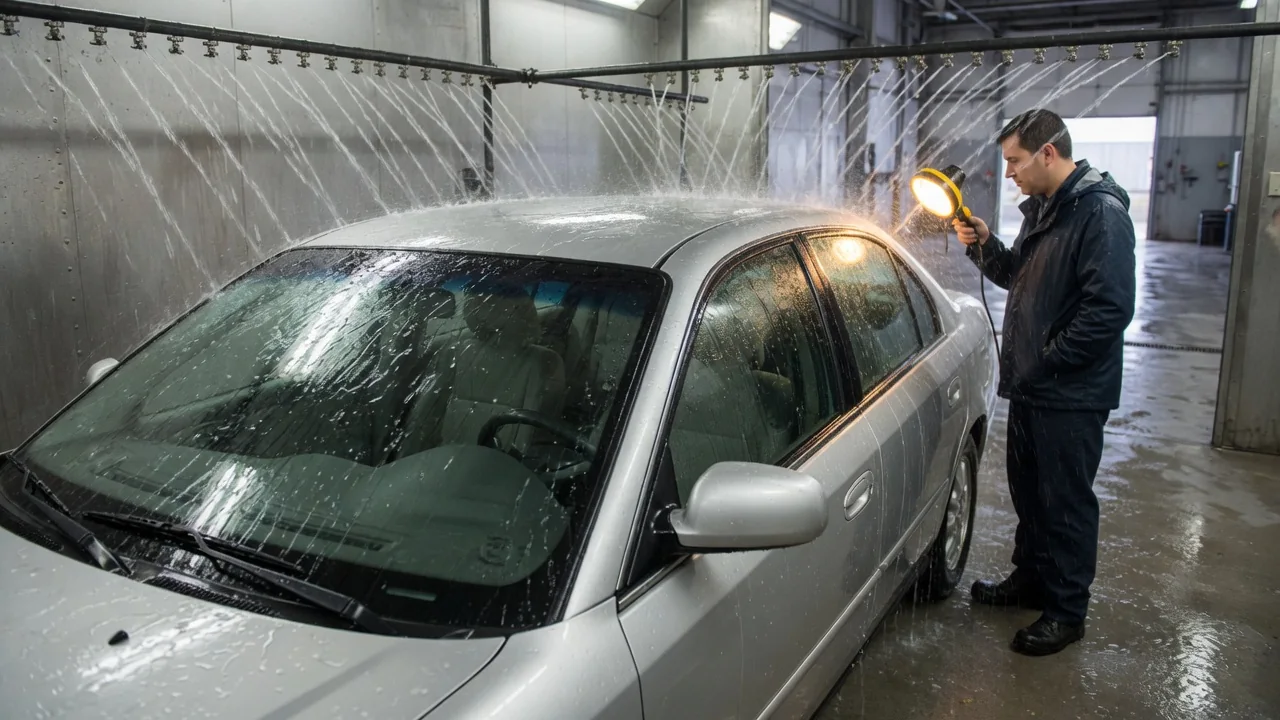
Car windows are checked for water sealing in two complementary ways. First, inspectors confirm that the glass is correctly bonded or sealed to the body. Then they expose the installed glass to water while someone watches for entry. When a leak does turn up, technicians trace its leak path backward from where the water appears. This guide explains each step in general terms, because exact procedures, materials and test settings vary by manufacturer and vehicle.
Bonded edges and how the seal is formed
Fixed glass, such as the windshield, many rear windows and some quarter windows, is typically held in place by a continuous bead of urethane adhesive. The bead runs between the dark ceramic band printed around the edge of the glass and a flange on the body opening, often called the pinch weld. On bonded glass, the water seal and the structural bond are the same bead, so a weak spot in the adhesive is also a weak spot against water. Movable door glass works differently. It is not bonded. It slides in rubber run channels and is sealed by weatherstrips at the beltline and around the door frame. A barrier behind the inner door panel keeps water that enters the door away from the cabin.
Checking a bonded edge starts before the glass goes in. The flange and the glass edge must be clean and free of rust. Old adhesive is trimmed or removed as the procedure requires. Both surfaces are then treated with the primers or activators specified by the adhesive system. The bead needs to be continuous, with a consistent profile and no gaps, especially at corners and where the bead begins and ends. When the glass is set, it should compress the bead evenly around the whole perimeter. In vehicle production, adhesive is commonly applied by robots, and bead placement is generally monitored automatically. In a repair shop, the installer checks for even gaps to the body, properly seated moldings and any visible sections of the bead.
The defects that cause leaks at bonded edges are usually small. Typical examples include a break in the bead, a section that did not adhere because of contamination or missing primer, and corrosion on the flange. A molding or clip can also hold the glass off its seat, or the glass can shift before the adhesive sets. Many of these flaws are hidden under trim or behind the glass itself, so visual inspection alone cannot confirm a watertight seal. A water or air test is the step that actually proves it.
Spray test methods at the factory and in service
At the factory, finished vehicles on many assembly lines pass through a water test booth, sometimes called a monsoon or rain booth. Nozzles spray the body from above and from the sides to simulate heavy rain. Inspectors then check the interior for moisture at likely trouble spots: headliner edges, pillar trim, the base of the windshield, under the dashboard, footwells and the cargo area. Each manufacturer sets its own nozzle layout, water pressure and test duration, so no single automotive glass water seal test applies to every vehicle.
In service, the usual equivalent is a controlled hose test. The interior is dried first so new water is easy to spot. One person runs water at moderate flow over one section of the glass at a time, starting low and working upward. A pressure washer is not used. Meanwhile, a helper inside watches with a flashlight. Starting low matters: if the top of the glass is sprayed first, water running down may enter lower and point to the wrong area. Each zone gets enough time for slow seepage to show before the person moves on. Dry paper towels placed against suspect seams can reveal small amounts of moisture.
Water can take a while to appear, or it may pool behind trim out of sight, so technicians often add air-based checks. One option is an ultrasonic leak detector. A small transmitter sits inside the closed cabin, and a receiver is passed around the glass edges outside. Sound escaping through a gap pinpoints an opening. Another approach applies soapy water to the outside of the seal while slight air pressure is created inside the cabin, for example by running the ventilation fan with the windows closed. Leaks then show as bubbles. These methods locate openings without soaking the interior, but a final water test is still the most direct confirmation.
Leak path: tracing water from entry to exit
Water rarely appears where it gets in. Once it passes a seal, it follows gravity and whatever surfaces it touches. It may run along the pinch weld, behind A-pillar trim, through the headliner or down wiring harnesses. It finally shows up in a footwell, on the dashboard or on a seat. Diagnosis therefore works backward. The technician notes where water appears, then removes trim to look for water tracks, mineral marks or rust staining. Those clues lead uphill toward the source. The suspected entry point is then confirmed by testing it in isolation.
A wet interior near a window is not always a glass leak. Other common sources include seam sealer on the body near the windshield frame, the cowl area below the windshield and its drains, roof rails, sunroof drain tubes, and the water barrier behind a door panel. Door glass has its own leak path. Some water inside the door shell is normal, and it is designed to drain out through holes at the bottom. It only reaches the cabin under certain conditions: the inner barrier is torn or loose, the drains are blocked, the weatherstrips are worn, or the glass is misadjusted and no longer seats firmly in its run channel. These overlapping possibilities are why testing is done one zone at a time.
Practical implications and limits
For owners, the most practical point concerns timing after glass replacement. Urethane adhesive needs time to cure. The safe drive-away time depends on the specific product and on temperature and humidity, so it should come from the installer rather than a general rule. Until the adhesive has cured, it is sensible to avoid high-pressure washes and to close doors gently. Installers often give this advice so that a sudden pressure spike in the cabin does not disturb the fresh seal. Warning signs of a sealing problem include damp carpet, unusual window fogging, a musty smell, water stains on the headliner, and a new whistle or wind noise near a glass edge.
Every test has limits. A static spray does not fully reproduce driving conditions. Air pressure around the body changes with speed, and wind drives rain at angles a hose may miss. Temperature swings also make seals and body panels expand and contract. As a result, an intermittent leak may pass one test and still return. It may need retesting in conditions closer to the ones in which it occurs. The repair approach matters too. Spreading surface sealant over a leaking bonded edge can hide the symptom without restoring the bond, so a durable fix usually means removing the glass and reinstalling it with fresh adhesive. Trim removal steps, drain locations, adhesive requirements and cure times are vehicle-specific and belong to the manufacturer's service information.