What to Expect During Professional Tire Installation
The Short Answer
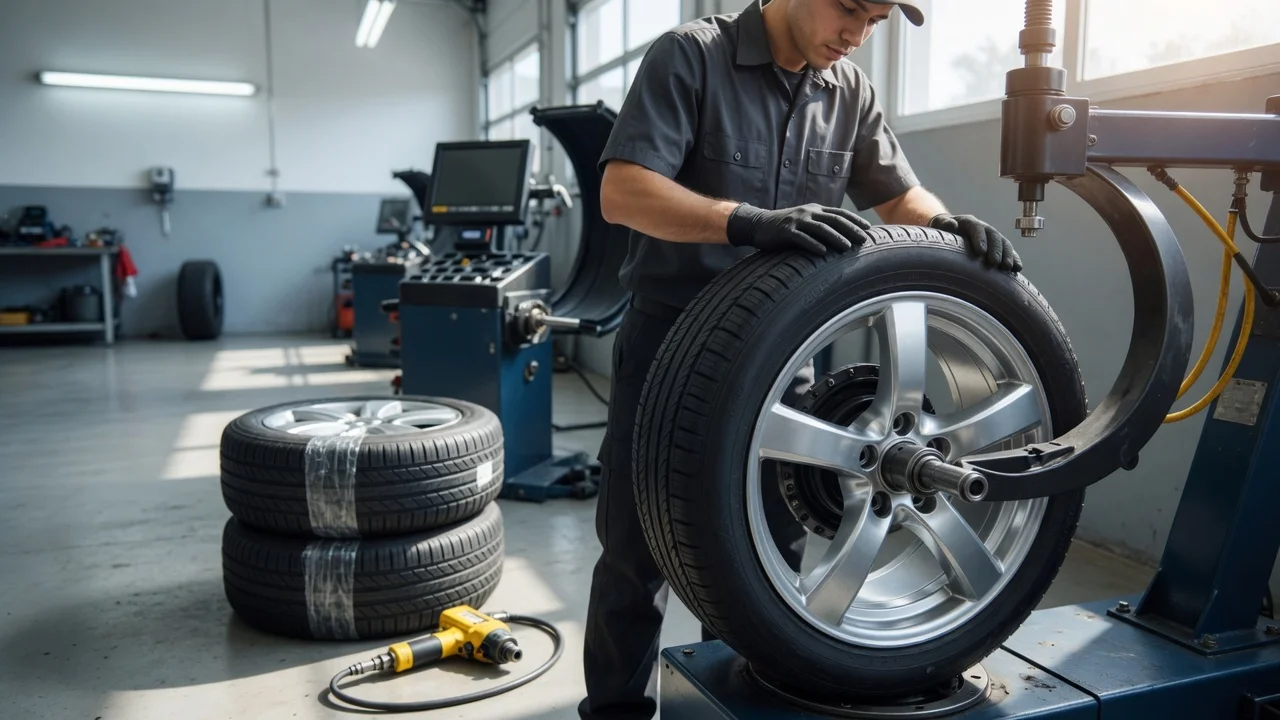
A professional tire installation usually involves more than swapping rubber. A technician lifts the vehicle, removes each wheel, takes the old tire off the rim, inspects the wheel and valve, mounts the new tire, inflates it, balances the assembly, and refits the wheel with the fasteners tightened to the vehicle maker's specification. Depending on the vehicle and the shop, the visit may also include tire pressure monitoring system (TPMS) service, old-tire disposal and a recommendation for a wheel alignment. The exact steps, time required and fees vary by shop, vehicle and wheel type, so confirm what is included when you book.
This guide covers a standard passenger-vehicle installation of tires onto existing wheels. Specialty work, such as run-flat tires, very large or low-profile fitments, or commercial vehicles, can involve extra equipment or steps that are not covered in detail here.
Before You Arrive
A little preparation helps the appointment go smoothly and reduces the chance of surprises at the counter.
Confirm the tire size and type match what your vehicle maker specifies. The recommended size is typically listed on the tire information placard, often on the driver's door jamb, and in the owner's manual. Ask what the quoted price includes: mounting, balancing, valve stems or TPMS service parts, disposal of old tires, and taxes or shop fees. If your wheels use locking lug nuts, bring the key. Without it, the technician may not be able to remove the wheels. Mention any existing issues, such as vibration, pulling to one side or uneven wear, so the technician can look for related problems. Remove anything from the trunk that blocks access to the spare or that you would not want handled, if the spare is part of the service.
The Installation Process, Step by Step
Shops differ in equipment and routine, but most installations follow a similar sequence. Knowing it helps you understand the invoice and ask useful questions.
1) Lifting the Vehicle and Removing the Wheels
The vehicle is raised on a lift or with a jack at the maker's designated lifting points. Lifting at the wrong points can damage the body, underbody components or battery packs on electrified vehicles, which is one reason this step is best left to trained staff. The lug nuts or bolts are then removed and the wheels taken off.
2) Dismounting the Old Tires
The old tire is deflated, and a tire changer machine breaks the bead (the reinforced inner edge of the tire that seals against the rim) away from the wheel. The tire is then levered off the rim. On wheels with TPMS sensors mounted inside, technicians need to position the tools carefully to avoid damaging the sensor.
3) Inspecting the Wheel and Valve
With the tire off, the technician can check the rim for bends, cracks or corrosion along the bead seat, where the tire seals. Corrosion or damage here can cause slow leaks. The valve stem is commonly replaced with new tires; on vehicles with TPMS, the sensor may receive a service kit of new seals and fittings, or the sensor itself may need replacement if it is damaged or its battery is depleted. Ask the shop whether these parts are included or charged separately.
4) Mounting and Inflating the New Tires
The new tire is lubricated at the bead and fitted onto the rim using the tire changer. Directional or asymmetric tires must face the correct way, as marked on the sidewall. The tire is then inflated until the bead seats fully against the rim, after which the pressure is set for service.
5) Balancing
Balancing corrects uneven weight distribution around the tire and wheel assembly. The assembly is spun on a balancing machine, which identifies heavy spots, and small weights are attached to the wheel to offset them. An unbalanced assembly can cause vibration, often felt through the steering wheel or seat at certain speeds, along with uneven tire wear. Some shops offer road-force balancing, which presses a roller against the tire to simulate road load; ask whether it is available and whether it suits your vehicle.
6) Refitting the Wheels and Tightening the Fasteners
Each wheel goes back on the hub, and the lug nuts or bolts are tightened in a criss-cross (star) pattern to seat the wheel evenly. Final tightening should be done with a torque wrench or torque-limiting tools set to the value specified by the vehicle maker. Torque specifications vary by vehicle and wheel, so no single figure applies; the correct value comes from the manufacturer's guidance. Overtightening can stretch studs or distort brake rotors, while undertightening can allow a wheel to loosen.
7) Setting Pressure and Resetting TPMS
Tire pressure should be set to the vehicle maker's recommendation shown on the tire placard, not the maximum pressure molded into the tire sidewall. On vehicles with TPMS, some systems relearn sensor positions automatically after a short drive, while others require a scan tool or a specific reset procedure. The approach depends on the make, model and year.
Services That May Be Recommended
Several related services are often offered during a tire installation. They are separate from mounting and balancing and are not always necessary.
Service | What It Does | When It May Be Recommended; Wheel alignment | Adjusts the angles of the wheels relative to each other and the vehicle | Uneven wear on old tires, pulling, an off-center steering wheel, or recent suspension work; Tire rotation | Moves tires between positions to even out wear | Typically part of ongoing maintenance rather than new installation, unless only some tires are replaced; TPMS sensor replacement | Replaces a damaged or worn-out pressure sensor | Sensor fault, physical damage, or a warning light that persists after reset; Road hazard coverage | Shop or retailer coverage for certain tire damage | Optional; terms vary widely, so read what is and is not covered
Alignment is not part of tire installation itself, but a misaligned vehicle can wear new tires prematurely. If the shop recommends one, it is reasonable to ask what measurement or wear pattern prompted the recommendation.
Checks Before You Drive Away
Confirm the installed tires match the size, model and load and speed ratings you ordered, as shown on the sidewall. Check the tire's manufacturing date code, part of the DOT code on the sidewall, if tire age matters to you. Make sure the TPMS warning light is off, or ask how the system will relearn if the light remains on. Ask whether the lug nuts were torqued to specification and whether the shop recommends a recheck after an initial distance, and if so, at what interval. Return the wheel lock key to your vehicle if you supplied one. Review the invoice for valve stems, TPMS parts, disposal and balancing charges so you know what was done.
After the Installation
Many shops advise rechecking wheel fastener tightness after a short initial drive, because wheels can settle against the hub. The recommended interval varies, so follow the shop's or vehicle maker's guidance. It is also worth checking tire pressures when the tires are cold over the following weeks, since a slow leak at the bead or valve would show up as a gradual drop.
New tires can feel different from worn ones: grip, steering response and road noise may change, and some manufacturers note that new tires need a short break-in period before reaching full traction. Consult the tire maker's guidance for specifics. A persistent vibration, a pull to one side, or a warning light that will not clear is worth reporting to the installing shop promptly, as these can point to balancing, mounting, alignment or sensor issues that the shop should inspect.
Information Gaps to Keep in Mind
This guide describes the general process rather than any particular shop or vehicle. Installation time, pricing, included services, torque values, TPMS reset procedures and post-installation recheck intervals all depend on the vehicle and the service provider. For those details, rely on your owner's manual, the tire manufacturer's guidance and the shop performing the work.