Car Tire Installation: Mounting, Balancing, and What to Expect
What tire installation means
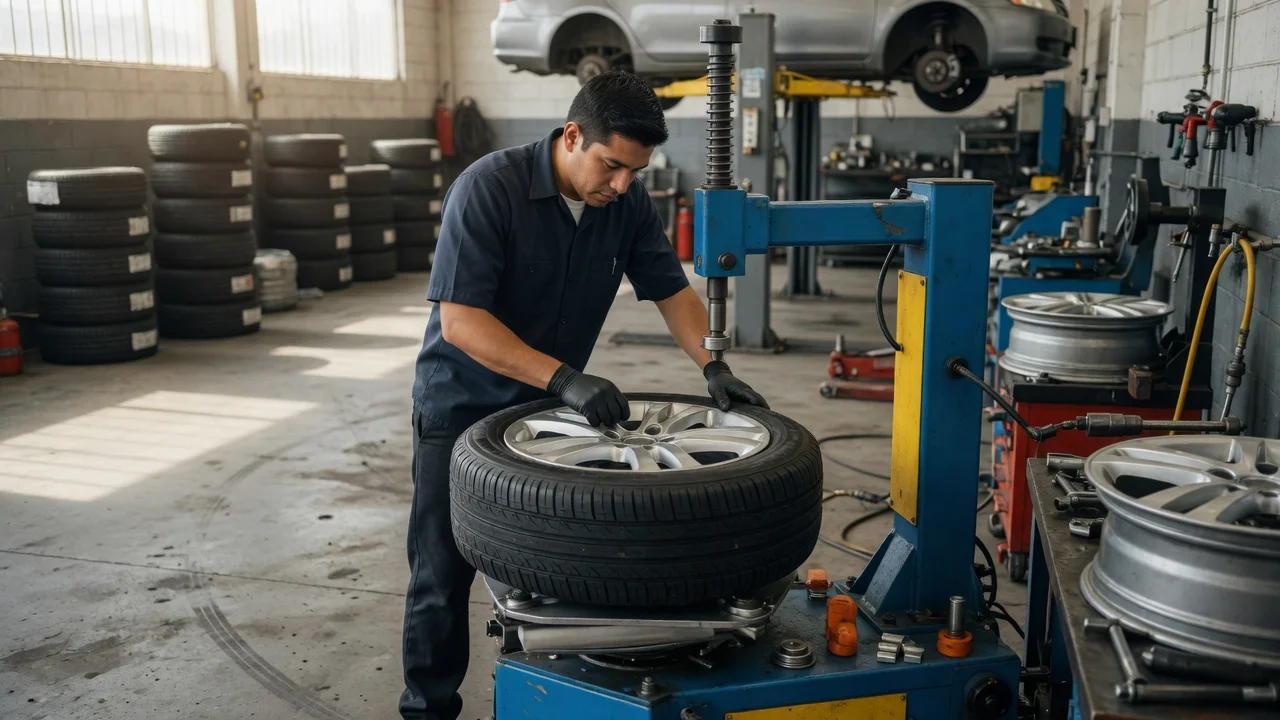
Tire installation is the process of fitting a new tire onto a wheel and putting that wheel-and-tire assembly back on the vehicle. In a shop, it typically includes demounting the old tire, inspecting the wheel, replacing or servicing the valve stem, mounting the new tire, balancing the assembly, and torquing the lug nuts or bolts. Installation is not simply inflating a tire: the air pressure used during initial bead seating and the final operating pressure are different steps in the same procedure. The most material qualification is that passenger tires, light-truck tires, run-flat tires, and low-profile tires can require different handling, especially when seating the bead or protecting the wheel finish.
Mounting and balancing: how they work
Mounting positions the tire beads on the wheel's bead seats so the tire locks onto the rim and forms an airtight seal. Many modern tires and wheels are marked to help the installer position the tire's high point relative to the wheel's low point, which can reduce the correction weight needed later. Balancing then corrects uneven weight distribution in the rotating tire-and-wheel assembly. Small clip-on or adhesive weights are placed at calculated points so that the assembly rotates smoothly. A poorly balanced assembly can produce steering-wheel shake or vibration, often becoming noticeable at highway speed. The practical effect is that mounting and balancing work together: mounting establishes the seal and seating, while balancing controls the vibration the driver feels afterward.
Valve stems and wheel inspection
A new tire usually merits a new valve stem, especially with a rubber snap-in stem. The valve stem seals against the wheel and is the point where the tire is inflated and pressure is checked. During installation, the wheel should also be inspected for corrosion, cracks, bends, or damage to the bead-seat area before the new tire is mounted. A damaged or heavily corroded wheel can prevent a clean seal even when the tire itself is new.
What happens during a professional installation
A typical professional installation follows a repeatable sequence. The steps below describe the general flow, but exact settings and tightening values should be checked against the vehicle and tire manufacturer's guidance for the specific model.
Secure the vehicle and remove the wheel-and-tire assembly. Deflate the old tire completely and break both beads away from the wheel. Demount the old tire without damaging the wheel or the tire-pressure sensor, if equipped. Clean and inspect the rim and bead-seat surfaces. Replace the valve stem or service the sensor and its sealing hardware. Apply a suitable tire-mounting lubricant to the beads. Mount the new tire with attention to any orientation or rotation-direction markings. Seat the beads using controlled air pressure, respecting the maximum seating pressure stated for the tire. Inflate to the vehicle's specified pressure and verify that both beads are seated evenly. Balance the assembly and fit the indicated correction weights. Mount the wheel on the vehicle, following the correct tightening pattern and final torque specification. Recheck pressure after the assembly has cooled or after a short service interval if specified.
The bead-seating step is the main safety boundary. Tire beads can seat suddenly and release stored energy, so seating should be performed with proper equipment and a pressure source that allows controlled inflation at a safe distance. An installer should never stand over the assembly during bead seating or use uncontrolled air pressure.
Torque and recheck
Lug nuts or bolts should be tightened in the pattern and to the torque value specified for the vehicle. Many shops use a torque wrench for the final setting even when a power tool is used for initial tightening. After installation, it is common to recheck torque after a specified distance or period, particularly with new or newly painted wheels. This recheck is a completion check, not an indication that the initial installation was loose: seating, corrosion, and thermal cycling can cause small changes in clamp load.
New tire break-in and expectations
New tires can feel different for the first several hundred miles. Mold-release lubricants, new tread depth, and slight differences in construction mean that maximum dry or wet grip may not be reached immediately. Drivers should avoid abrupt acceleration, hard cornering, and full-force braking during early use. A mild smell or a slight change in steering response after installation can be normal, but persistent vibration, a steering pull, air loss, or noise should be checked.
When to stop and get professional help
Stop driving and have the vehicle inspected if a tire loses pressure repeatedly, the wheel vibrates through the steering wheel or seat, the car pulls to one side after installation, or the tire shows a visible bulge, cut, or bead damage. Also stop use if you hear air leaking from the bead area, see that the tire is not seated evenly around the rim, or notice loose lug nuts. These conditions can indicate a failed seal, wheel damage, a damaged tire-pressure sensor, or incorrect mounting. A damaged tire or wheel can fail suddenly and should not be driven on until inspected.
This guide describes general tire-installation practice for passenger vehicles and light trucks. It does not replace the exact pressure, torque, seating, and service information in the owner's manual and tire placard for a specific vehicle. Where evidence is not available for a particular model, the material gap should be resolved through that vehicle's manufacturer guidance before installation.