How to Reset the Service Engine or Check Engine Light
The Short Answer
On many vehicles, disconnecting the 12-volt battery for a period of time clears stored fault codes and turns off the check engine light. This works only if the problem that triggered the light is gone. If the fault is still present, the engine computer will detect it again and the light will come back, sometimes within one drive.
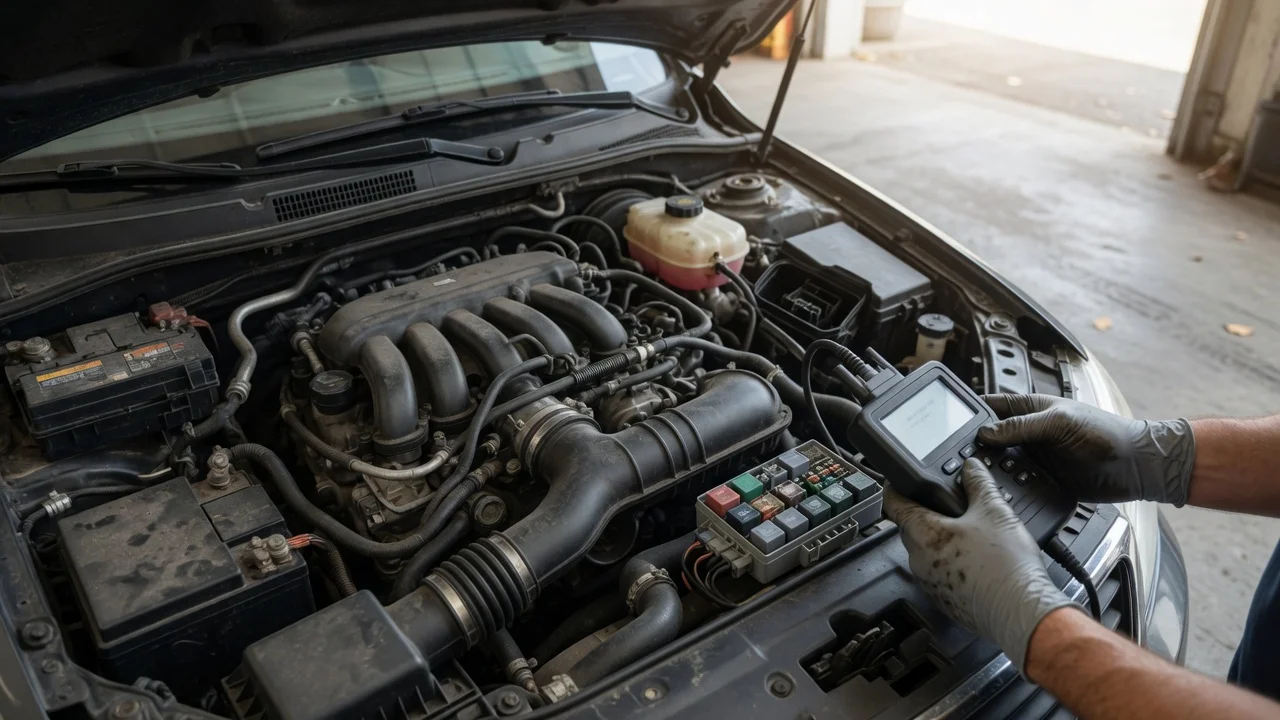
The check engine light is also called the malfunction indicator lamp. It comes on when the engine control module, the computer that manages the engine and emissions systems, detects a fault and stores a diagnostic trouble code. Turning the light off does not repair anything. The more reliable approach is to read the code with an OBD-II scanner, fix the cause, and then clear the code with the scanner.
Two conditions change this advice. First, if the light is flashing rather than steady, do not just reset it. A flashing light usually indicates a serious engine misfire that can overheat and damage the catalytic converter. Reduce load, avoid hard acceleration, and get the vehicle checked as soon as possible. Second, a "service due" or "maintenance required" reminder is not the same as the check engine light. That reminder is based on time or mileage and is normally reset through the instrument cluster or infotainment menu. The procedure varies by model and is described in the owner's manual. Disconnecting the battery generally does not reset it.
Why Battery Disconnection Is a Last Resort
Disconnecting the battery clears more than the fault code. The exact effects depend on the make, model, year and equipment, and the owner's manual is the authority for your vehicle. Common consequences include:
Emissions readiness monitors are reset. These are self-tests the engine computer runs during normal driving. Until they complete, the vehicle may fail or be turned away from an emissions or inspection test in regions that check them. Completing them takes a varied mix of driving, and the required conditions differ by manufacturer. The fault history is erased. Stored codes and freeze-frame data, a snapshot of conditions when the fault occurred, are lost. A technician would find that information useful for diagnosis. Adaptive settings may be lost. Some vehicles relearn idle speed, throttle position or transmission shift behaviour after power loss, and may run or shift unevenly for a while. Convenience features may need resetting. These can include the clock, radio presets, seat and mirror memory, and one-touch window operation. Some audio units need an anti-theft code to work again.
Battery disconnection also does not clear codes on every vehicle. Some control modules keep stored codes when power is removed. If the light stays on after reconnection, use a scanner instead.
Before You Start: Check the Simple Causes
A loose, damaged or missing fuel cap is a common reason for the check engine light on vehicles that monitor the fuel vapour system. Tighten the cap until it clicks, or replace it if the seal is worn. The light usually does not go off immediately. The system has to retest itself over later drives, so it may take some time to clear on its own.
Watch for symptoms that call for a professional rather than a reset. These include a flashing light, rough running, loss of power, unusual smells or smoke, overheating, or any warning light for oil pressure, brakes or charging.
The Preferred Method: Read and Clear the Code with a Scanner
In the United States, cars and light trucks from the 1996 model year onward are required to have an OBD-II diagnostic system with a standard connector. Other markets have similar on-board diagnostic requirements, although the dates and coverage differ. The connector is usually under the dashboard on the driver's side.
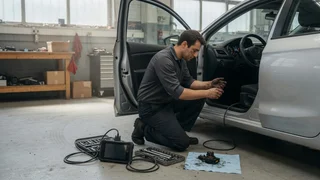
1) With the ignition off, plug the scanner into the diagnostic connector. 2) Turn the ignition on, or start the engine if the scanner's instructions say to. 3) Read and record every stored code and any freeze-frame data before clearing anything. 4) Look up the meaning of each code and repair the cause, or have it repaired. 5) Use the scanner's clear or erase function to turn off the light. 6) Drive normally and check that the light stays off. If the scanner shows readiness monitors, confirm they complete before any emissions test.
Basic code readers are inexpensive, and some auto parts retailers read codes for customers. Availability of that service depends on the retailer and location.
How to Reset the Check Engine Light by Disconnecting the Battery
Use this method only for a conventional 12-volt battery, and only after the cause has been dealt with. If you have a hybrid or electric vehicle, follow the manufacturer's 12-volt procedure and never touch high-voltage components, which are usually marked with orange cabling. If the battery is in a hard-to-reach spot such as under a seat or in the boot, or the vehicle uses remote jump-start terminals, check the owner's manual first.
What You Need
A wrench or socket that fits the battery terminal clamp, often a small metric size; Safety glasses and gloves; Any anti-theft radio code from the owner's documents, if your audio unit requires one; Optionally, a memory-saver device, if the manufacturer allows one, to keep settings while the battery is disconnected
Steps
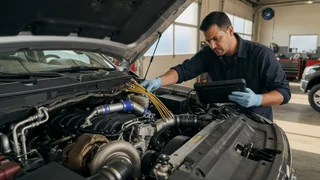
1) Park on level ground, set the parking brake, switch off the ignition and all accessories, and remove the key. On keyless vehicles, keep the key fob away from the car. Let the engine cool before reaching near hot parts. 2) Find the battery and identify the negative terminal, marked with a minus sign and often a black cover. The positive terminal is marked with a plus sign. 3) Loosen the negative clamp and lift the cable off the post. Always disconnect the negative first. If the wrench touches the positive terminal and bare metal at the same time while the negative is still connected, it can cause sparks, burns or damage. Batteries can give off flammable hydrogen gas, so keep flames and sparks away. 4) Move the cable aside so it cannot spring back against the post. Wrapping the clamp in a dry cloth helps. 5) Wait. Guidance on how long varies, and some control modules hold power for a while after disconnection. Waiting longer is the safer choice. Check the owner's manual or service information for your model if it gives a figure. 6) Reconnect the negative cable and tighten the clamp until it cannot be twisted by hand. Do not over-tighten, as the terminal can be damaged. 7) Turn the ignition on and check the dashboard. Then start the engine. Some vehicles idle unevenly at first while they relearn, and the manual may describe an idle relearn procedure. 8) Reset the clock, radio and other settings, and enter any radio code if prompted.
How to Know It Worked
The light should briefly come on as a bulb check when the ignition is switched on and then go out once the engine is running. If it stays on after reconnection, or returns during the next few drives, the fault is still present, or the vehicle does not clear codes on power loss. In either case, have the code read rather than repeating the disconnection.
When to Seek Qualified Service
Have the vehicle diagnosed by a qualified technician if any of the following apply:
The light flashes. The light returns after a reset. The code points to the ignition, fuel injection, catalytic converter or transmission. The vehicle runs poorly. You are working on a hybrid or electric vehicle beyond basic 12-volt tasks.
Repeatedly clearing a light to pass an inspection without fixing the fault will not get the readiness monitors to complete, and may conflict with local inspection rules. Those rules depend on the jurisdiction.
Limits of This Guide
This guide gives general procedures, not instructions for a specific make or model. It does not give exact disconnection times, terminal torque values or relearn procedures, because these vary between vehicles and no manufacturer instructions were supplied. Confirm those details in your owner's manual or the manufacturer's service information before you start.