How to Reset the Check Engine Light After a Repair
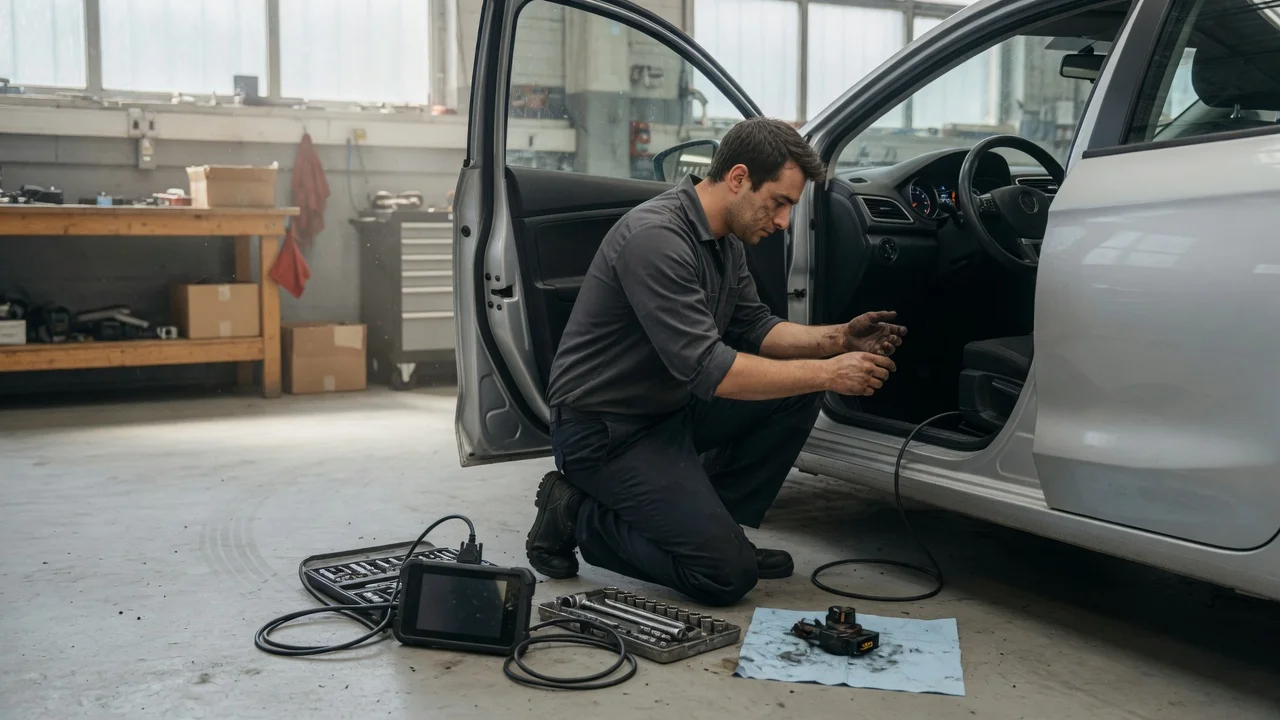
What turns the light off after a repair
The check engine light, also called the malfunction indicator lamp, is commanded on by the engine or powertrain control module when it stores a diagnostic trouble code for an emissions-related fault. After the repair is finished, the usual way to turn the lamp off is to connect an OBD-II scan tool and clear, or erase, those stored codes. If the fault is truly gone, the lamp should stay off. If the problem remains, the module will set the code again and the lamp will return, often after a short drive.
Two conditions change that answer. A flashing check engine light while the engine is running means a misfire severe enough to risk catalytic-converter damage; reduce engine load and arrange qualified service rather than treating the lamp as a simple reset job. Clearing codes also resets many onboard readiness monitors, so a vehicle that was repaired and reset may be “not ready” for an emissions inspection until those monitors complete during later driving. Inspection rules vary by jurisdiction, and the exact clear procedure, connector location, and affected modules depend on model year, market, and powertrain. When the vehicle maker’s service information differs from general OBD-II practice, follow the maker.
What you need before you start
Confirm the repair that caused the lamp to come on is complete, including any parts, fluids, connectors, and reassembly the job required. Record the stored codes and freeze-frame data before you erase them; once cleared, that snapshot is gone and later diagnosis is harder if the lamp returns. A generic OBD-II code reader that can display and clear codes is sufficient on most vehicles that use the standardized 16-pin diagnostic connector. On typical U.S.-market cars and light trucks that is model year 1996 and later; other markets adopted similar connectors on different timelines, so applicability is unknown without the specific vehicle.
An OBD-II scan tool or code reader that can erase diagnostic trouble codes; Access to the diagnostic connector, commonly under the instrument panel on the driver’s side, though the exact location is vehicle-specific; The ignition on so the modules can communicate; follow the tool’s prompt for key-on, engine-off versus running; A notepad or the tool’s save function for codes and freeze-frame data before clearing; The owner’s manual or maker service information if the vehicle is a hybrid, plug-in hybrid, battery-electric, or has a 12-volt battery isolation procedure
How to clear the lamp with a scan tool
Use the scan tool path below unless the manufacturer specifies a different sequence for that model. This article cannot validate a torque spec, fuse location, or menu name against a shop manual for an unnamed vehicle, so stop and use maker instructions when a step does not match what you see.
Park on level ground, apply the parking brake, and keep the area clear of moving parts. Do not work under a vehicle supported only by a jack. If the lamp is flashing with the engine running, do not continue a reset-only job. A flashing lamp is a stop condition for this procedure; have the misfire diagnosed and repaired first. Locate the diagnostic connector and plug in the scan tool. If the connector is not where a generic diagram would suggest, use the owner’s manual rather than forcing a fit. Turn the ignition to the on or run position so the tool can communicate. Follow the tool if it asks for engine off. On some start-stop and hybrid systems the 12-volt network must be awake; do not jump or isolate high-voltage components yourself. Read and save all stored and pending codes, plus freeze-frame data, before you erase anything. Choose the tool command that clears or erases codes. After a successful clear, the check engine lamp should go out with the ignition on. If it stays on, the module is still seeing a current fault or the clear did not complete. Start the engine and confirm the lamp is off at idle. A brief bulb check when you first turn the key is normal and is not a stored fault. Drive the vehicle under the conditions that previously set the code, then scan again. Completion means the lamp stays off and no pending or confirmed codes return. If they return, the repair is incomplete or another fault is present; further diagnosis belongs with a technician who has maker-level information.
After a clear, readiness monitors often show incomplete. That does not by itself mean the repair failed. It means the control module has not yet finished its own checks. The lamp staying off after a representative drive is the check that the reset after repair worked. If an inspection is due soon, allow normal mixed driving so monitors can complete; the number of trips required is vehicle- and monitor-specific and is not a single figure that applies to every car.
If you do not have a scan tool
Disconnecting the 12-volt battery can clear codes on some vehicles because it removes power from keep-alive memory. It is a blunt method: it can also reset radio presets, clock, power-window logic, idle adaption, and security or comfort settings, and on some vehicles it is restricted or requires a specific isolation sequence. Hybrid, plug-in, and battery-electric models, and some start-stop systems, can have additional 12-volt and high-voltage procedures that require qualified service. Do not disconnect high-voltage service plugs or orange-cabled components. If you use a battery disconnect because no scan tool is available, follow the owner’s manual for which terminal to loosen, how to protect the vehicle’s electrical system, and what must be reinitialized afterward. A waiting time for residual power to bleed down is sometimes specified by the maker; that interval is vehicle-dependent and should not be guessed.
If the repair is complete and you never clear the codes, many control modules will turn the lamp off on their own after they run the failed monitor and see passing results over successive drive cycles. That path is slower and leaves the old code in history until the module ages it out, but it avoids an incomplete-monitor state from a manual erase. It is still worth scanning so you know which code was stored and can confirm it does not return.
When the lamp comes back, and when to stop
A lamp that returns after a clear means the control module is still detecting a fault. Treat that as evidence that the repair did not fully correct the condition, a related part is failing, or a connector, fuse, or calibration step was missed. A pending code with the lamp still off can be an early warning that the same test is failing again. Repeatedly clearing codes without fixing the cause will not keep the lamp off and can leave readiness monitors incomplete for inspection. Intermittent faults, aftermarket programmers, and some evaporative-emission leaks are common reasons a lamp returns days later; those are leads for diagnosis, not a confirmed cause without test results for that vehicle.
Stop and seek qualified service if the lamp flashes, if there is a loss of power, unusual noise, overheating, fuel smell, or warning messages for oil pressure, coolant, or hybrid/EV systems, or if clearing codes requires access you cannot make safely. Those conditions are outside a lamp-reset procedure.