How to Replace Brake Pads and Rotors Together
Before you start
Confirm the vehicle is safely supported and that you have the correct replacement brake pads and rotors for the axle you are servicing. This process runs locally on the vehicle and requires mechanical access to the brake assembly. You need a jack, jack stands, wheel removal tools, a caliper spreader or suitable tool, brake cleaner, and tools that fit the caliper bolts and caliper bracket bolts. If the vehicle uses an electronic parking brake or a brake-by-wire system, consult the vehicle service information before retracting the rear caliper; some systems require a service or scan-tool procedure instead of manual retraction.
Step-by-step instructions
Work on one side at a time and keep the other side assembled as a reference. Loosen the wheel lug nuts slightly while the wheel is still on the ground. Raise that corner with a jack, place a jack stand in a suitable support location, and lower the vehicle onto the stand. Remove the wheel and set it aside.
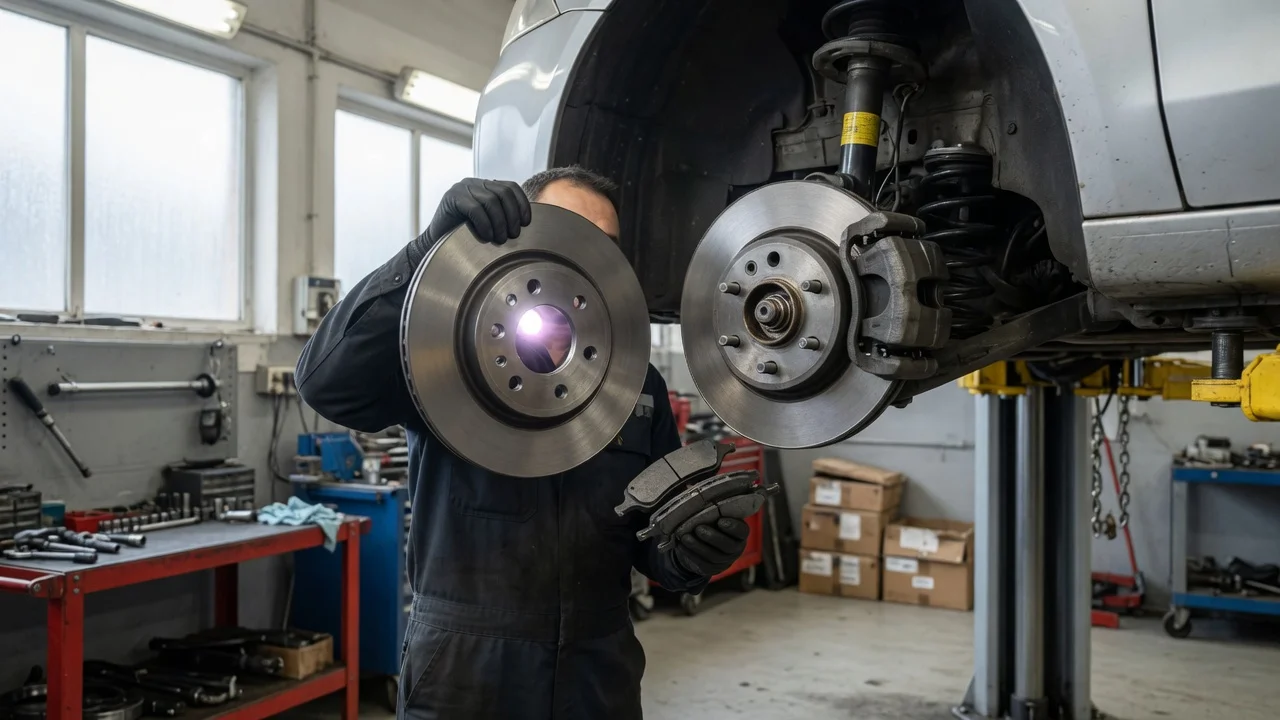
Remove the caliper bolts that attach the caliper to the bracket, then lift or suspend the caliper so the brake hose is not supporting its weight. Remove the old brake pads. If the caliper bracket blocks rotor removal, remove the bracket bolts and the bracket. Remove the old rotor, which may require light tapping around the hub area if it is stuck.
Clean the new rotor surface with brake cleaner to remove protective residue, then install the new rotor. Reinstall the caliper bracket if it was removed and tighten its bolts to the specified torque. Compress the caliper piston slowly and evenly. If the caliper has a threaded or electronic parking brake mechanism, use the correct retraction method for that vehicle.
Install the new brake pads in the caliper or bracket, depending on the design. Place the caliper over the pads, reinstall the caliper bolts, and torque them to the vehicle specification. Refit the wheel and snug the lug nuts, then lower the vehicle and torque the lug nuts in the recommended pattern.
Check the output
Before driving, pump the brake pedal slowly until it feels firm. Check the brake fluid level and top it off only if needed, using the fluid type specified for the vehicle. Confirm the lug nuts are tightened and that the wheel rotates without excessive drag. Road test at low speed in a safe area while listening for scraping or clunking and checking that the brake pedal does not feel spongy or sink.
A visible low-speed check may not reveal pad, rotor, or caliper problems that appear only under higher temperature or load. After the test, avoid rapid repeated hard stops until the pads and rotors have matched their surfaces gradually.
Common problems and next steps
A low or spongy pedal after replacement is often caused by air in the brake system or a caliper piston that has not been fully seated. Before blaming the new parts, recheck the caliper installation, brake hose condition, and bleed procedure for the axle. If the wheel is hard to turn by hand, the caliper may not be sliding correctly, the pads may be misaligned, or the rotor may be contacting the splash shield.
Pulsation during braking can appear when a rotor is not fully seated against a cleaned hub, when the hub face has rust buildup, or when lug nut torque is uneven. Scoring or a lip on the old rotor is usually replaced by the new rotor, but pad wear on one side may point to a sticking caliper slide pin or a restricted brake hose. If noise continues after the first road test, recheck the caliper hardware, pad retainers, and whether the brake shield needs to be moved away from the rotor.