How to Judge Rear Bumper Clearance While Parking
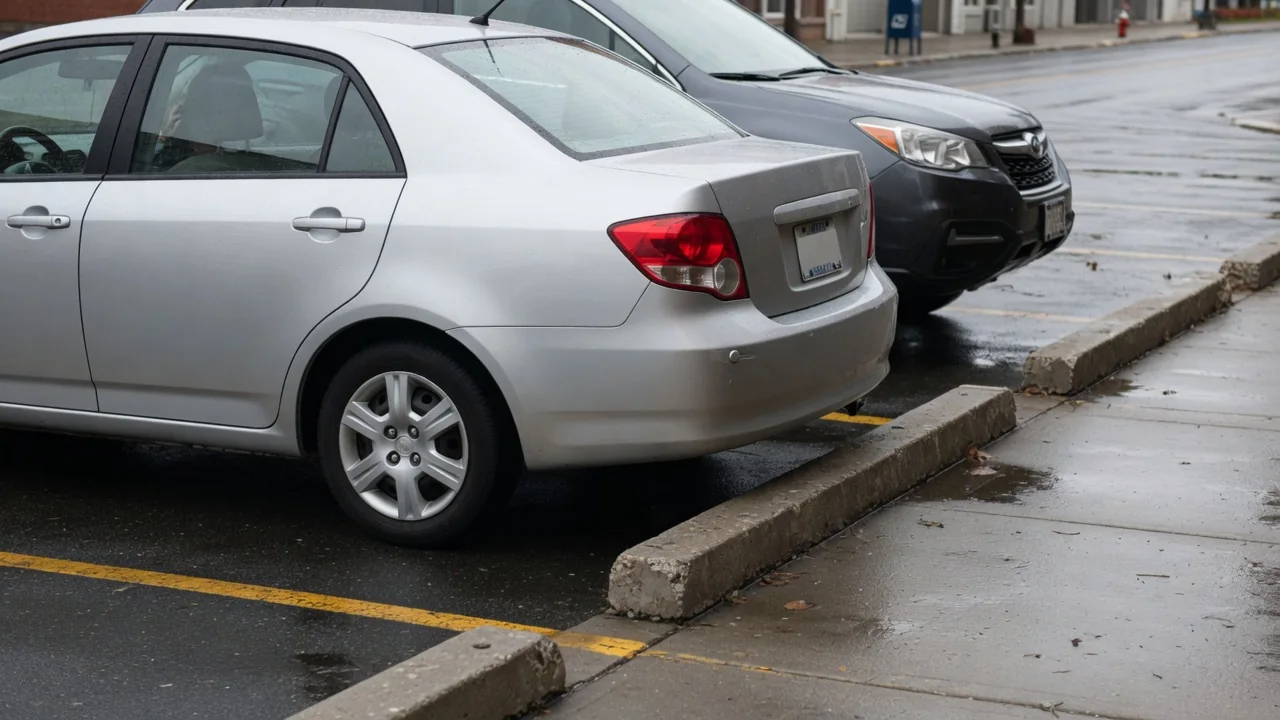
Learning how to judge rear bumper clearance while parking comes down to combining several imperfect views into one reliable picture. Mirrors, the backup camera, parking sensors, and your own eyes each show part of the space behind the vehicle, and each one hides something. Knowing what every reference reveals, and where it misleads, helps you stop close to an obstacle without touching it.
Mirrors and camera
Side mirrors show the lines of a parking space and the flanks of the vehicle, but they rarely show the bumper itself. Tilting a mirror downward while reversing brings the rear wheel and the painted line or curb into view, which tells you how far back the tire sits relative to a fixed mark. Some vehicles tilt the passenger mirror automatically in reverse. The interior mirror gives a sense of distance to taller objects, though the trunk lid, tailgate, or rear headrests block everything close and low.
A backup camera fills in that hidden zone, yet its wide-angle lens bends the image and makes objects look farther away than they are. The colored guide lines on the screen are the most useful reference, because the nearest line usually marks a short distance from the bumper. How short differs between manufacturers, so it is worth learning on your own vehicle. Many cameras also show a sliver of the bumper edge at the bottom of the frame, which gives a true zero point for the picture.
Low obstacles
Low obstacles cause most rear bumper contact because they drop out of sight before the vehicle reaches them. A curb, a concrete wheel stop, a short bollard, or a trailer hitch on the next car can sit entirely below the window line, so the mirrors show nothing at all in the final few feet. Taller vehicles such as pickups and SUVs have a larger hidden area directly behind the tailgate, while a low sedan with a high trunk deck can hide a surprising amount as well.
The camera sees low objects better than the mirrors, but it has its own gap. The lens is typically mounted above the license plate or in the tailgate handle, looking down and outward, so anything tucked very close under the bumper or off to an extreme corner may slip out of frame. Parking sensors can miss narrow posts, thin chains, or items below their detection height. A steep driveway or sloped curb also changes the geometry, making the guide lines read differently than they do on flat ground.
Stop and check
When the picture is unclear, the most dependable method is to stop, secure the vehicle, and step out to look. Seeing the actual gap between the bumper and a wall or another car calibrates your sense of distance far better than any estimate from the seat. Often drivers discover they had much more room than they thought, or noticeably less. That single look turns a vague impression on the screen into a known measurement you can relate back to what the camera and mirrors were showing.
Stopping also has value without leaving the seat. Reversing at a crawl, with the brake covered, gives time to compare the mirror view, the camera image, and the sensor tones before committing to the last stretch. If the sensor beeping becomes a steady tone, or an object touches the nearest guide line, treat that as the point to pause rather than something to push through. Where a passenger is available, having them stand safely to one side and signal the remaining gap removes most of the guesswork.
Everyday Use and Observations
In daily parking, fixed reference points make clearance judgment repeatable. In a garage, you might note where a wall mark or shelf lines up with a side window when the bumper is a comfortable distance from the back wall. In a parking lot, watching the painted line at the end of the space pass a certain point in the lowered side mirror tells you how deep the vehicle sits. These references belong to one vehicle and one seating position, so they need relearning after changing cars or adjusting the seat.
Conditions change what you can observe from day to day. Rain, road salt, and dust blur the camera lens quickly, and a soft or smeared image hides exactly the detail needed for close work, so wiping the lens matters. At night the image becomes grainy and reverse lights reach only a short distance. Low sun can wash out the screen entirely. A loaded cargo area or a hitch-mounted bike rack alters both the view and the true rear length, which the guide lines do not account for.
Limits and Next Steps
No single aid measures clearance precisely. Guide lines are a projection onto flat ground, not a reading of the real gap, and they assume the vehicle is at its normal ride height. Sensors report the nearest surface they detect, which may not be the part that would make contact, such as an overhanging loading dock or a tall truck bumper above the sensor path. Surround-view systems stitch several cameras together, and the seams between images can distort or hide objects near the corners of the vehicle.
The practical next step is a few minutes of practice in an empty lot. Back slowly toward a soft, harmless marker such as an empty cardboard box, stop when the screen and mirrors suggest you are close, then get out and compare. Repeating this builds an accurate link between what the aids show and the real distance. The owner's manual explains what each guide line and warning tone represents on your specific vehicle, and a camera or sensor that behaves inconsistently deserves a professional inspection.