How to Gap a Spark Plug Without a Gauge
The Short Answer
You can gap a spark plug without a dedicated gauge by using common objects of known thickness as a temporary reference, but this is only a rough field adjustment. The gap is the distance between the center electrode and the ground electrode. It must match the specification for your specific engine, usually found on an emissions label under the hood or in the owner’s manual. Without a proper wire-type or feeler gauge, you cannot reliably confirm the gap to the required precision, and you risk misfires, poor fuel economy or engine damage.
When a No-Gauge Method Is Acceptable
A no-gauge approach is best treated as an emergency or temporary solution, such as getting a vehicle running well enough to reach a parts store or complete a short trip. It is not acceptable for installing new performance plugs, correcting a persistent misfire, or servicing engines with precise ignition requirements such as modern direct-injection or turbocharged powertrains. If the vehicle is under warranty or you are unsure of the specification, have a qualified technician perform the adjustment.
What You Need
A clean spark plug removed from the engine; A known flat reference object such as a quality steel pocket ruler, a set of drill bits used as thickness references, or a plastic card measured with a caliper; A spark plug gapping tool, small pliers, or a clean flat surface for adjusting the ground electrode; A bright light and a clean rag
Step-by-Step Procedure
1) Find the Correct Specification
Never guess the gap. Check the underhood emissions control information label or the owner’s manual for the exact gap range for your model year, engine and market. Gap specifications commonly range from about 0.7 mm to 1.1 mm for many gasoline engines, but some designs differ substantially. Using the wrong gap can cause hard starting, pre-ignition, or damage to the catalytic converter.
2) Clean and Inspect the Plug
Wipe the firing end with a clean, dry rag. Check the center electrode and ground electrode for wear, rounding, cracking or heavy deposits. If the plug is visibly worn or damaged, replace it rather than attempting to regap it. Do not use a wire brush aggressively on fine-wire precious-metal electrodes, which are easily damaged.
3) Create a Temporary Thickness Reference
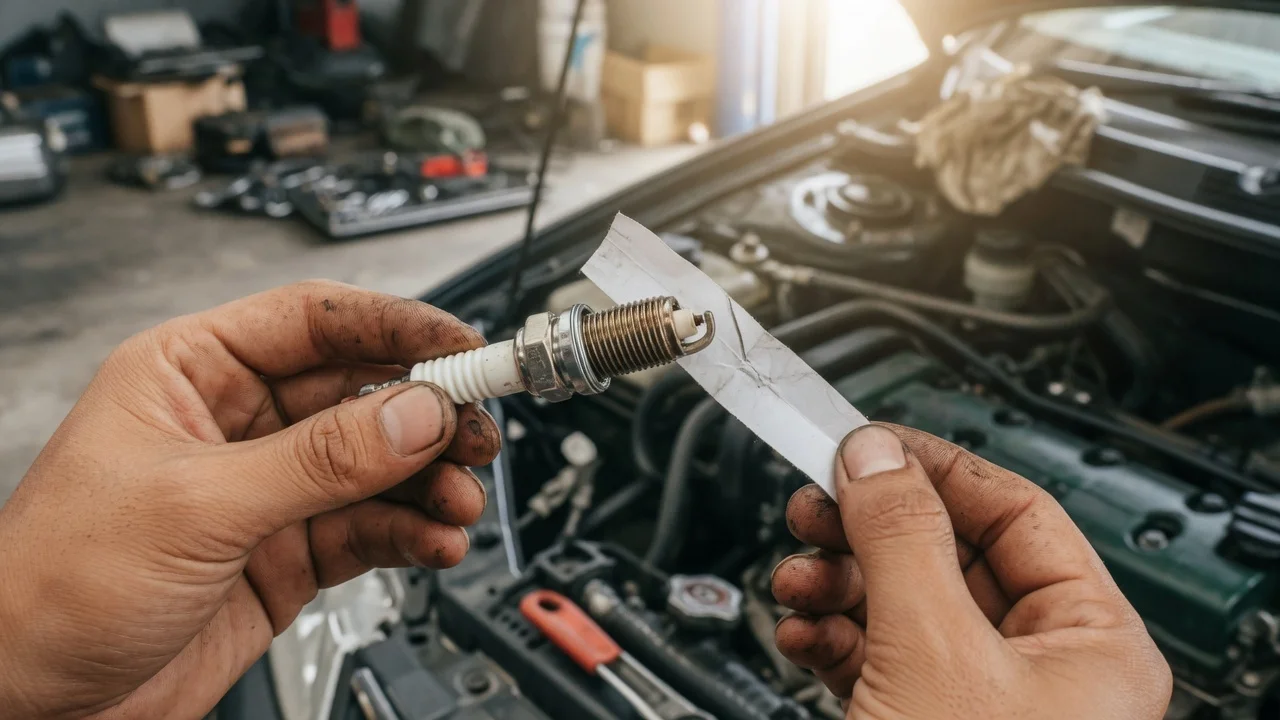
Select a flat object close to the specified gap. If you have a vernier caliper, measure a thin plastic card, piece of stiff packaging or feeler material to confirm its thickness. A drill bit shank can also work if its diameter is measured and close to the target gap. Slide the reference gently between the electrodes. It should pass through with light drag, not force.
4) Adjust the Ground Electrode
If the gap is too narrow, carefully bend the ground electrode outward using the notched end of a gapping tool or the edge of a clean flat surface. If the gap is too wide, tap the ground electrode gently against a clean, non-marring surface or use a small tool to push it inward. Never pry against the center electrode. Make small movements and recheck frequently with your reference object.
5) Perform a Completion Check
Confirm that the reference object slides between the electrodes with light, even drag and without excessive looseness. Look straight at the plug to verify the ground electrode is parallel to the center electrode, not tilted. Reinstall the plug by hand first to avoid cross-threading, then torque it to the manufacturer’s specification using a torque wrench.
Risks and Stop Conditions
Stop and do not attempt adjustment if the plug has a fine-wire iridium or platinum center electrode, if the electrode appears cracked or the insulator is damaged, or if you cannot find a reliable reference thickness. Forcing the ground electrode can break it off inside the engine. If you feel any sudden resistance or see a crack form, discard the plug. Do not adjust the gap on a used plug simply to compensate for wear; replace it instead.
When to Use a Proper Gauge
A wire-type spark plug gauge or a quality feeler gauge remains the correct tool for accurate work. The temporary method is acceptable only until the correct gauge is available. Have a professional confirm the gap and torque whenever the engine exhibits rough running, a flashing check-engine light, or repeated misfire faults after adjustment.