How to Check a Used Car for Flood Damage
The short answer
To check a used car for flood damage, combine a paperwork check with a physical inspection. First, run the vehicle identification number (VIN) through a vehicle history service and look for flood, salvage or water-damage title brands or insurance-loss records. Then inspect the car for physical evidence that water got inside: a musty or heavily perfumed smell, damp or replaced carpet, silt or mud in hidden crevices, rust where it would not normally appear, fogged lights and erratic electrical behavior. Finish with a pre-purchase inspection by an independent, qualified technician.
A flood-damaged car, sometimes called a drowned car, is one that has been partly or fully submerged. The water level matters. A car that only had water around the tires is a very different risk from one where water reached the seats, the dashboard or the engine air intake. Saltwater is generally more harmful than fresh water because it speeds corrosion. Many problems in a flood-affected car, especially corrosion in wiring and connectors, can appear weeks or months later, so a car that runs well on a test drive is not proof that it is safe.
Two conditions change the answer. A clean title does not guarantee a car was never flooded, because not every flooded car is reported to an insurer, and title rules differ by state. And no single sign is conclusive on its own. One rusty bolt or a slightly damp mat can have an innocent cause. A pattern of several signs is what should make you walk away or pay for a professional inspection.
What "level 1" flood damage means
You may see flood damage described in levels, such as level 1, in listings, auction descriptions or insurance discussions. There is no single, universal national standard for these levels in the United States, and different auctions, insurers and sellers use their own scales. Level labels usually describe how high the water rose, with lower numbers typically meaning lower water. Do not assume a low level means the car is safe. Ask the seller exactly what the label means, how high the water reached, whether it was fresh or saltwater, how long the car sat, and what repairs were done. Get those answers in writing.
Before you start
Inspect the car in daylight, when it is dry, and preferably with the engine cold. Ask the seller not to warm the car up before you arrive. Tell the seller you plan to look under carpets and in the trunk. A seller who refuses a reasonable inspection or an independent pre-purchase inspection is giving you useful information.
Useful equipment:
The full VIN, taken from the car itself, not just the listing; A bright flashlight; A small inspection mirror; A clean white cloth or paper towels; Gloves; Your phone camera for photos of anything suspicious; An OBD-II code reader, if you have one, for cars that support it
Step-by-step flood damage inspection
Step 1: Check the history and title
Confirm that the VIN on the dashboard, the driver's door jamb label and the title all match. Then run the VIN through a vehicle history report. The National Insurance Crime Bureau offers a free VIN lookup that can show whether a vehicle has been reported as an insurance loss, including flood losses, by participating insurers. Reports drawing on the federal National Motor Vehicle Title Information System can show title brands recorded by states. Look for brands such as flood, water damage, salvage, rebuilt or junk. The exact wording and rules vary by state.
Watch for a recent title transfer from a state hit by major flooding, or several quick ownership changes across state lines. Moving a car to another state to get a clean title, known as title washing, is a known tactic. Repeat the check yourself, even if the seller supplies a report.
Stop condition: if the title or history shows a flood or water-damage brand that the seller did not disclose, treat the listing as unreliable.
Step 2: Use your nose
Open the doors and trunk and smell before anything else. A musty, mildewy or sour odor is a classic sign of a flooded car. A very strong air freshener, or a heavy shampooed-carpet smell in an otherwise ordinary car, can be an attempt to hide it. Run the air conditioning and heater on every setting and fan speed. A mold smell from the vents points to moisture in the HVAC system.
Step 3: Look for water lines and debris outside
Walk around the car and look for a faint horizontal line of dirt or residue on the body, inside the door panels, or in the engine bay. Check the headlights, taillights and fog lights for fogging, condensation or a line of debris inside the lens. Look for mud, sand, silt or plant matter in places that are hard to clean: behind the bumpers, inside the wheel wells, in seams around the trunk and hood, and in the gaps around the door seals.
Step 4: Inspect the cabin, carpet and seats
Press your white cloth or paper towel hard into the carpet in several places, especially the front footwells and under the seats. Dampness or dirt on the cloth is a warning sign. If you can, lift a corner of the carpet or floor mat and look for moisture, mud, rust or a stained underlay. Carpet that looks much newer than the rest of the interior, or does not match the original color and texture, can mean it was replaced.
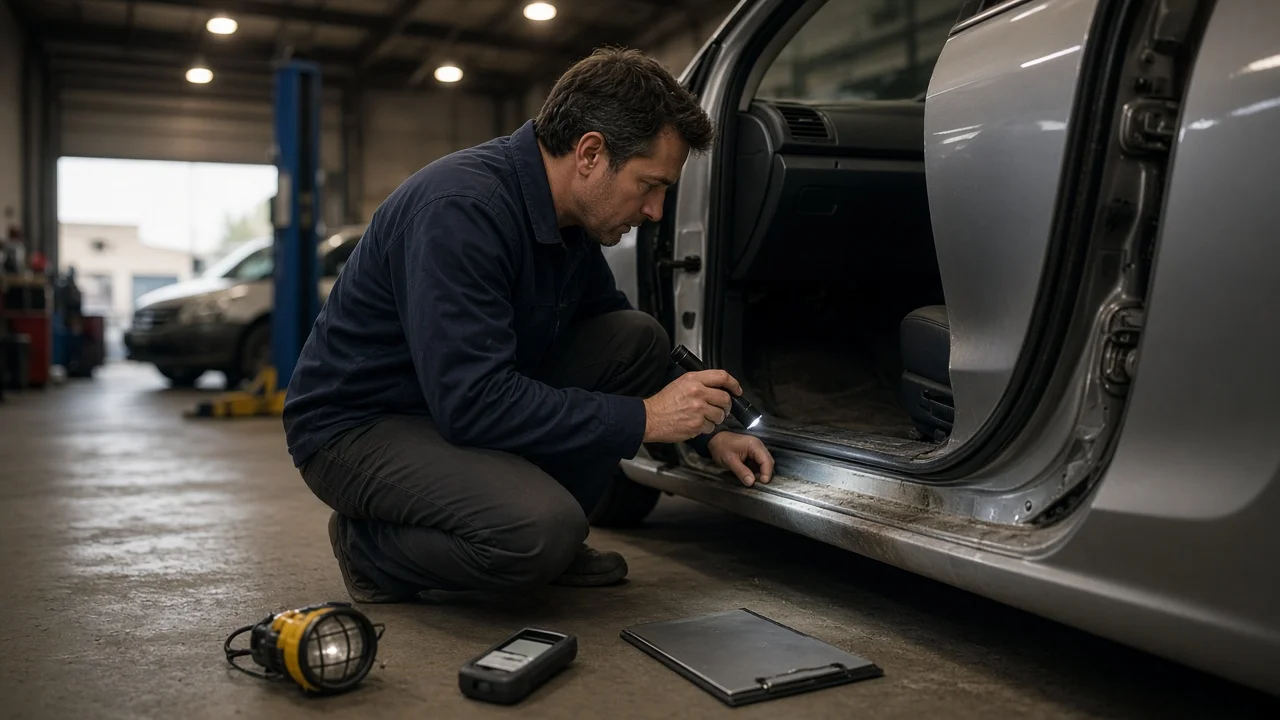
Use your flashlight to look at the seat rails and the bolts holding the seats to the floor. Unpainted metal under the seats should not normally be heavily rusted on an otherwise sound car. Check the seatbelts by pulling each one fully out. Look for water stains, mildew or grit, and make sure each one retracts smoothly. Look at the upholstery and door panels for water stains or tide marks.
Safety: many vehicles have airbag and seatbelt-tensioner wiring under the seats and in the dashboard. Look, but do not unplug, pull or cut any connectors. Disturbing airbag wiring can set off warnings or create a safety hazard. That work belongs with a qualified technician.
Step 5: Look under the dashboard
Shine your flashlight up under the dash on both sides. Look for silt, dried mud, green or white corrosion on connectors, rust on metal brackets or brittle, discolored wiring. Wiring under the dash is rarely cleaned during a cosmetic cleanup, so it often shows evidence that the visible surfaces do not.
Step 6: Check the trunk and spare tire well
Remove the trunk floor cover and look in the spare tire well. Standing water, mud, a rust line, rust on the jack and tools, or a musty smell are strong signs that water entered the car. This area is often missed by people cleaning up a flood car.
Step 7: Inspect the engine bay
With the engine off and cool, open the hood. Look for a water line, silt in crevices, or debris around the radiator and the base of the engine. If you can safely reach it, check the air filter housing for water or debris. Pull the engine oil dipstick and look at the oil. Milky, light brown or foamy oil can mean water or coolant has mixed with the oil. If the car has a transmission dipstick, check it the same way.
Stop condition: if you find water in the air filter housing or milky oil, do not start the engine. Water inside an engine can cause severe internal damage when it is cranked. Leave further diagnosis to a qualified technician.
Hybrids and electric vehicles: do not touch, disconnect or probe high-voltage components. In many vehicles these cables are orange. Flood exposure can damage high-voltage batteries and systems in ways that are not visible, and the risk can include electrical hazards and fire. Any hybrid or EV with suspected flood exposure needs an evaluation by a technician qualified for that vehicle's high-voltage system, following the manufacturer's procedures.
Step 8: Look underneath
Without crawling under a car that is not safely supported, use your flashlight and mirror to look at the underside. Look for heavy rust on parts that would not normally rust much for the car's age and the climate it came from, such as brake lines, fasteners, exhaust hangers and the inside of the frame rails. Look for mud packed into pockets of the frame or suspension. Some surface rust underneath is normal, especially in regions that salt winter roads, so judge it against the car's age and history.
Step 9: Test every electrical function
Turn the ignition on and watch the instrument cluster. Note any warning lights that stay on, especially airbag, ABS or check engine lights, and any lights that never come on during the startup bulb check. Test everything: headlights, high beams, turn signals, brake lights, hazard lights, interior lights, horn, wipers and washers, power windows, power locks, power mirrors, power seats, the infotainment screen, speakers, USB ports, the backup camera and the climate control.
Flood damage often causes intermittent faults: a window that works once and then stalls, a gauge that flickers, or a screen that freezes. If you have an OBD-II reader, check for stored fault codes. A large number of unrelated electrical codes is a warning sign. Note that a recently cleared code memory can hide past faults.
Step 10: Take a test drive
If nothing so far has stopped you, drive the car on a mix of roads. Listen for grinding from the brakes or wheel bearings and watch for rough shifting, hesitation, stalling or warning lights that come on as the car warms up. Afterward, check under the car for fresh leaks and look at the dashboard again.
Step 11: Get a professional pre-purchase inspection
Even if the car passes your own checks, have an independent mechanic you choose inspect it before you pay. Ask them specifically to check for flood damage. A qualified shop can lift the car, look inside components you cannot reach, read diagnostic data and spot corrosion in connectors. For hybrids and EVs, use a technician qualified for that vehicle's high-voltage system.
Common problems in flood-damaged cars
Knowing what can go wrong helps explain why the inspection focuses where it does. Typical problems in flood-affected cars include:
Corrosion in wiring, connectors and control modules, which can cause intermittent or progressive electrical failures; Safety system faults, including airbag and ABS problems; Mold and mildew in carpets, padding, seats and the HVAC system; Rust in the floor, seat mounts, brake components and underbody; Water contamination of engine oil, transmission fluid, differentials or fuel; Internal engine damage if water was drawn into the engine; Damage to high-voltage batteries and components in hybrids and EVs
Many of these problems are delayed. That is why a car that seems fine today can still be a poor purchase.
How to read your results
Your inspection is complete when you have a matching VIN, a clean history check you ran yourself, no meaningful signs from the smell, cabin, trunk, engine bay and underside checks, every electrical function working consistently, a normal test drive, and a written report from an independent pre-purchase inspection.
If you found several warning signs, such as a musty smell plus silt under the dash plus rust on the seat bolts, the safest choice is usually to walk away, even if the title is clean. If you found one minor, explainable sign, ask the seller about it and have the mechanic look closely at that area. If a car has a disclosed flood or water-damage brand and you are still considering it, understand that it may be harder to insure, finance and resell, and price that in only after a thorough professional inspection.
Limits of this guide
This guide covers general inspection principles. It does not give model-specific locations for components, wiring or drain plugs, which vary by make, model year and powertrain. Check the manufacturer's service information for the specific vehicle. Title branding rules and disclosure requirements differ by state, so check with your state's motor vehicle agency if you have questions about a specific title. No specific figures, repair costs or inspection prices are given here, because they depend on the vehicle, the extent of the damage and the shop.