How to Check a Used Car for Flood Damage
The short answer
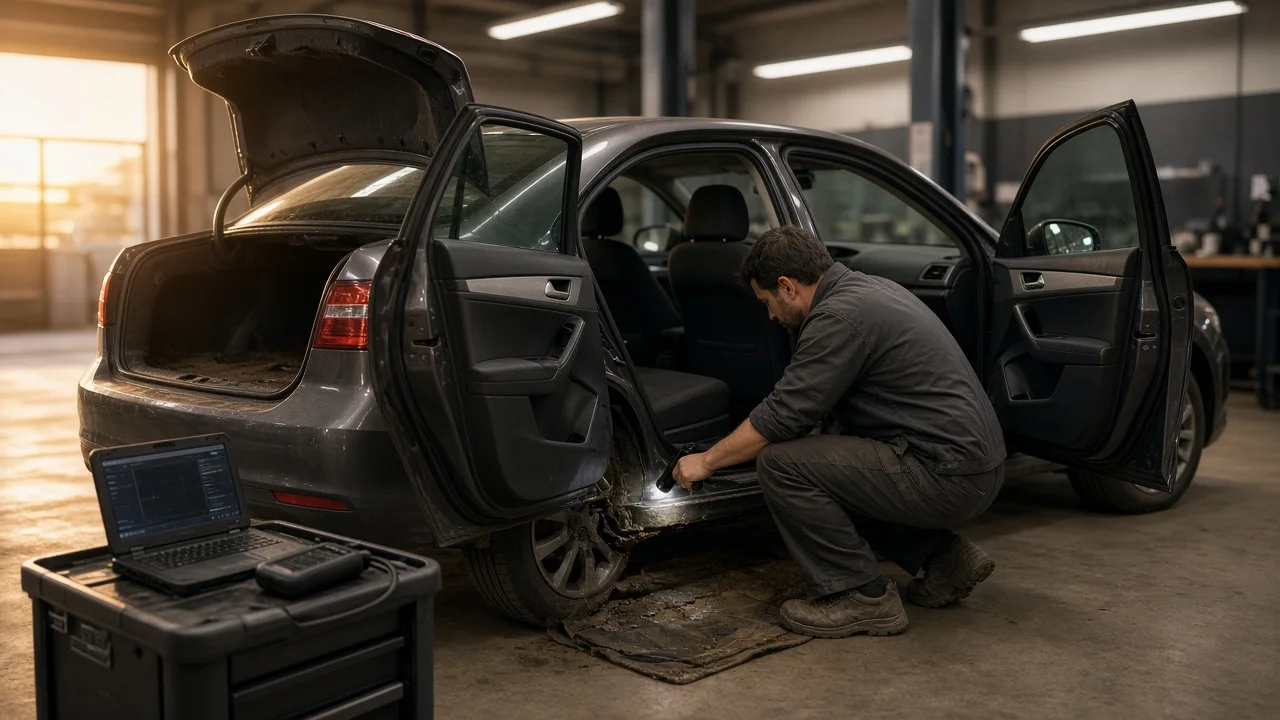
To check a used car for flood damage, combine a paperwork check with a physical inspection. First, run the vehicle identification number (VIN) through title and history sources to look for a flood, salvage or similar title brand. Then inspect the car for signs that water entered places it should never reach: musty or mildew odors, damp or replaced carpet, silt or mud in hidden crevices, a waterline in lights or behind panels, unexpected rust on interior metal, and electrical faults. Finish with a pre-purchase inspection by an independent, qualified mechanic.
A clean title does not prove a car was never flooded. A title brand usually appears only when an insurer declared the car a loss and the event was reported, and branding rules vary by state. A car that was flooded but never claimed, or that was repaired privately, may show nothing on paper. That is why the physical inspection matters even when the history looks clean.
In this guide, flood damage means harm caused when water rises into the cabin, engine bay, electronics or fuel system, as opposed to a minor leak from a worn seal. Saltwater flooding is generally more corrosive than freshwater flooding, and damage can keep developing for months, so a car that seems to run well today can still develop problems later.
Before you start: what you need
The full 17-character VIN, read from the car itself (dashboard plate visible through the windshield and the driver door jamb label), not only from the listing; A bright flashlight, ideally one you can angle into tight spaces; Disposable gloves and, if you are sensitive to mold, a dust mask; A small inspection mirror or a phone camera for seeing under seats and dashboards; Paper towels or a clean cloth to test whether carpet padding is damp; Time to inspect in daylight with the car parked on level ground and the engine cold; Permission from the seller to look under carpets, open the trunk floor and have an independent mechanic inspect the car
Stop condition: if the seller refuses to let you inspect closely or refuses an independent inspection, treat that as a serious warning sign and consider walking away.
Step 1: Check the title and vehicle history
Confirm that the VIN on the dashboard, the door jamb label and the title document all match. A mismatch is a reason to stop the purchase until it is explained.
Look at the title itself for brands such as flood, water damage, salvage, rebuilt or junk. The exact wording and rules differ by state, so check how the state that issued the title labels flood-damaged vehicles. A car that moved between states may have had its record reissued, which is one reason to review the full ownership history rather than only the current title.
In the US, the National Motor Vehicle Title Information System (NMVTIS) collects title brand and total-loss data from states, insurers and salvage businesses, and approved providers sell reports based on it. The National Insurance Crime Bureau also offers a free VIN lookup that can show some insurance total-loss and theft records. Commercial vehicle history reports can add service, registration and accident records. No single source is complete, so checking more than one improves your chances of catching a problem.
Pay attention to registration history: a recent title transfer, a registration in an area that experienced flooding around the time of a known storm, or a car sold shortly after such an event is worth extra scrutiny. This is context, not proof.
Step 2: Use your nose first
Open the doors and the trunk after the car has been closed up for a while, ideally before the seller has aired it out. A musty, mildew or damp-basement smell is one of the most common flood indicators. Be cautious of a very strong air freshener, deodorizer or fresh shampoo smell that seems intended to cover something.
Hazard: if you see visible mold growth, avoid breathing near it and wear gloves and a mask for the rest of the interior inspection.
Step 3: Inspect carpets, seats and upholstery
Press a paper towel firmly into the carpet in the footwells and under the seats; any dampness is a warning sign, especially in dry weather; Lift floor mats and, where the seller allows, pull back a corner of the carpet to check the padding underneath for moisture, staining or grit; Look for carpet that looks newer than the rest of the interior, mismatched color or texture, or carpet that fits loosely; Check seat fabric for water stains, tide lines or discoloration, and look under the seats at the seat rails and mounting bolts; Check the seat belts by pulling them out fully; stains, grit or a musty smell on the hidden part of the belt suggest water reached the retractor; Look at the headliner and upper door panels; water rarely reaches these in ordinary leaks, so stains there are significant
Step 4: Look for silt, debris and waterlines
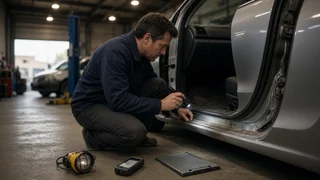
Floodwater carries mud, sand and debris that settles in places cleaning usually misses. Shine your flashlight into the areas below and look for fine silt, dried mud, leaves, grass or a visible line where water stood.
Under the dashboard and around the pedal assembly; Inside the glove box and center console; Under the spare tire and in the trunk well; In the seat tracks and under seat cushions; Behind the plastic trim at the bottom of door openings and kick panels; Inside headlight and taillight lenses, where a fogged lens or a line of residue can indicate submersion; In the engine bay, around the air filter housing, and in crevices of the firewall
A single waterline at a consistent height across several areas is especially telling, because it shows how deep the water rose.
Step 5: Check for unusual rust and corrosion
Some underbody rust is normal for older cars, particularly in regions that use road salt, so judge rust by where it is, not just whether it exists. Rust or corrosion in places normally protected from weather is a stronger flood sign.
Seat mounting bolts, seat frames and seat rails; Screws and brackets under the dashboard; Door hinges, the inside of door frames and trunk hinges; Brake and fuel lines, and the underside of the floor pan; Electrical connectors and fuse box terminals, where green or white crusty deposits indicate corrosion
Hazard: do not crawl under a car supported only by a jack. If you need a close underbody look, ask for the car to be put on a lift by a repair shop.
Step 6: Test the electrical systems
Water damages wiring, connectors and control modules, and the faults can be intermittent. With the seller present, switch on the ignition and test every electrical feature you can find.
Warning lights on the dashboard should illuminate at startup and then go out as designed for that vehicle; lights that stay on, flicker or never appear deserve investigation; Test all exterior lights, interior lights, turn signals and hazard lights; Operate every power window, power lock, mirror and power seat; Test the radio, infotainment screen, speakers, climate controls and fan at all speeds; Try the horn, wipers, washer spray, rear defroster and any heated or cooled seats; Check that gauges move smoothly and that the clock and settings hold after the car has been off
Stop condition: if the car appears to have been submerged very recently, for example standing water inside, wet carpets or water in the engine bay, do not start or crank the engine. Water drawn into the engine can cause severe internal damage. Leave assessment to a qualified technician.
Hazard for hybrids and electric vehicles: high-voltage components, usually marked with orange cables, can be dangerous after water exposure, and flood-damaged lithium-ion battery packs can present a fire risk, sometimes after a delay. Do not touch or attempt to inspect high-voltage parts. If an EV or hybrid has any sign of flood exposure, have it evaluated by a technician trained on that manufacturer's high-voltage system before purchase.
Step 7: Check fluids and the engine bay
With the engine off and cool, pull the oil dipstick. Oil that looks milky, frothy or light brown can indicate water contamination, though it can also point to other problems such as a head gasket fault, so treat it as a reason for professional diagnosis rather than proof of flooding. Look at the air filter if it is easy to access; a water-stained or debris-filled filter is a concern. Note any fresh-looking parts in an otherwise aged engine bay, which may indicate recent replacement after damage.
Fluid checks vary by vehicle. Some transmissions and differentials have no dipstick, and some engines use electronic oil level monitoring. Follow the owner's manual for the specific model rather than assuming a check location.
Step 8: Take a test drive
If nothing so far suggests recent submersion, drive the car under varied conditions. Listen for unusual noises, feel for rough shifting or hesitation, and watch for warning lights that appear once the car warms up. Run the air conditioning and heater, then check whether the windows fog up unusually fast or a musty smell comes from the vents, which can indicate moisture trapped in the cabin or ventilation system.
Step 9: Get an independent pre-purchase inspection
Even a careful buyer can miss well-hidden damage. Ask a mechanic you choose, not one recommended by the seller, to perform a pre-purchase inspection and tell them specifically that you want a flood-damage check. A shop can put the car on a lift, remove trim panels, scan the control modules for stored fault codes and inspect connectors for corrosion. For hybrids and EVs, choose a shop with high-voltage training for that make.
Quick reference: common flood signs
Area | What to look for | How strong a sign; Title and history | Flood, salvage or water damage brand; total-loss record | Strong, but absence does not clear the car; Cabin smell | Musty, mildew odor or heavy masking scents | Moderate to strong; Carpet and padding | Dampness, staining, grit, mismatched or new carpet | Strong; Hidden crevices | Silt, mud, debris, consistent waterline | Strong; Interior metal | Rust on seat bolts, rails, under-dash screws | Strong; Lights | Fogging or residue line inside lenses | Moderate; Electronics | Intermittent faults, warning lights, dead features | Moderate; can have other causes; Engine oil | Milky or frothy appearance | Moderate; needs diagnosis
How to know you are done
Your screening is complete when the VIN matches on the car and title, you have reviewed at least one title-based history source, you have inspected every area listed above without finding unexplained moisture, silt, protected-area rust or electrical faults, and an independent mechanic has inspected the car with flood damage specifically in mind. If any single strong sign appears and the seller cannot document a credible, non-flood explanation, the safest decision is usually to walk away.
Limits of this guide
No vehicle-specific evidence, costs or repair figures were available for this guide, so it does not estimate repair prices or say how much a flood history should reduce a car's value. Title branding rules and seller disclosure requirements vary by state; check with the motor vehicle agency in the state where you are buying if you need the exact legal rules. Fluid check points, electrical layouts and high-voltage safety procedures differ by make, model year and powertrain, so rely on the manufacturer's instructions for the specific vehicle.