Home EV Charger Installation and Wiring
The Short Answer
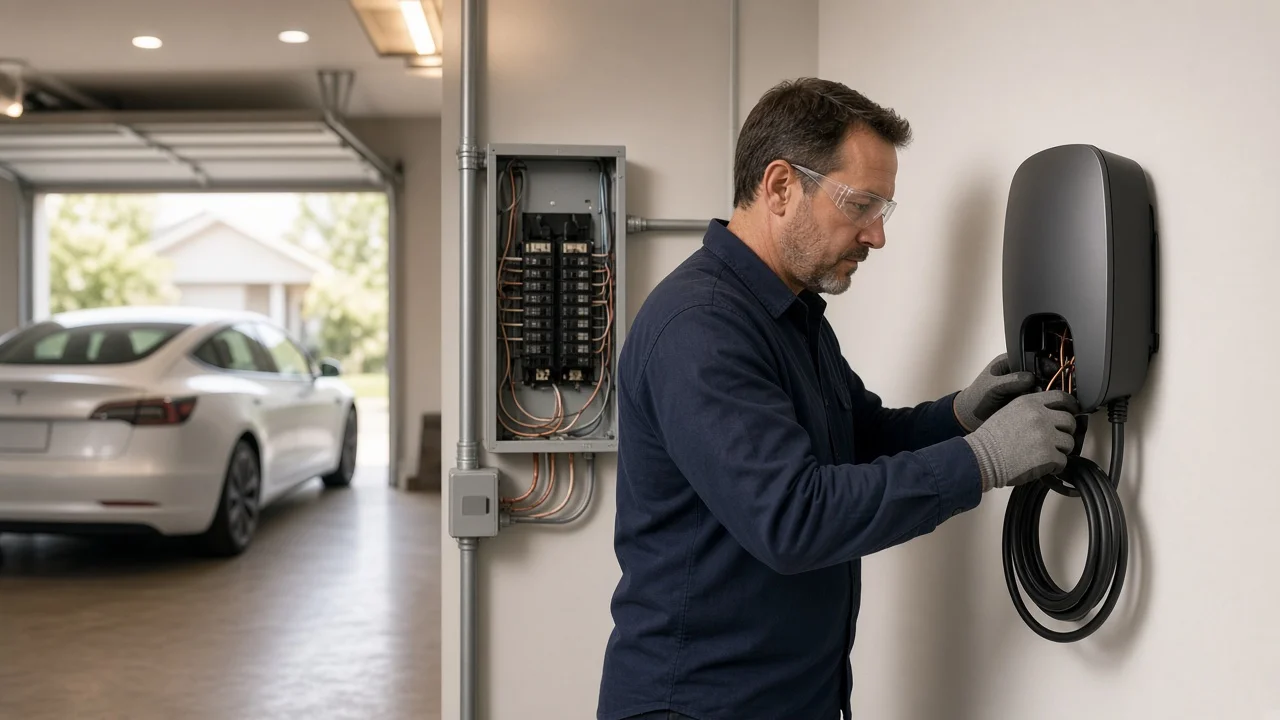
Installing an EV wall charger at home usually means adding a dedicated 240-volt circuit from your electrical panel to a Level 2 charging unit mounted near where you park. The charger is either hardwired directly into that circuit or plugged into a heavy-duty 240-volt receptacle. In most US jurisdictions the work requires a permit, and it is typically done by a licensed electrician who confirms that your panel and service have enough spare capacity for a large, long-running load.
The main qualification is your home's existing electrical capacity. If the panel has room for a new 240-volt breaker and the service can carry the added load, installation is mostly a matter of running wire and mounting the unit. If it does not, the project may involve load management, a lower charging current, a panel upgrade or a service upgrade, which changes the scope considerably. No specific prices, product specifications or local rules were available for this article, so treat the points below as general principles and confirm details with your electrician, permit office and charger manual.
What a Home Wall Charger Is
The wall-mounted unit is technically called EVSE (electric vehicle supply equipment). It does not convert power for the battery; the car's onboard charger does that. The EVSE supplies AC power safely, communicates with the vehicle about how much current it may draw, and cuts power if it detects a fault. Level 1 charging uses a standard 120-volt household outlet and is slow. Level 2 uses 240 volts and is what most people mean by a home wall charger.
How fast a given car charges at home depends on both the EVSE's current setting and the vehicle's onboard charger limit, which varies by model, model year and trim. A charger rated above what the car can accept will not make that car charge faster.
Hardwired Versus Plug-In Installation
Hardwired | Plug-in (240-volt receptacle); Charger is connected directly to the circuit conductors | Charger plugs into a receptacle such as a NEMA 14-50; Generally supports the highest current settings a unit offers | Current is limited by the receptacle and circuit rating; No receptacle to wear out or loosen over time | Unit can be unplugged and moved, but receptacle quality matters for sustained loads; Removing the unit requires an electrician | Easier to swap units if the replacement uses the same plug type
Recent editions of the National Electrical Code require ground-fault protection for receptacles that serve EV charging, which often means a GFCI breaker on plug-in installations. Because many chargers also have built-in ground-fault detection, the combination can occasionally cause nuisance tripping. Hardwiring avoids that receptacle requirement and is often the simpler path for a permanent installation. Which code edition applies depends on what your state or municipality has adopted.
How the Circuit Is Sized
EV charging is treated as a continuous load because it can run at full current for hours. Under US electrical code, the breaker and conductors for a continuous load must be rated for at least 125 percent of the charger's operating current. For example, a charger set to deliver 40 amps needs a circuit rated for at least 50 amps. Many wall chargers let the installer set the maximum current to match the circuit, which is useful when panel capacity is limited.
Wire gauge depends on the circuit rating, the conductor material, the wiring method and the length of the run. These choices should come from code tables and the charger manufacturer's instructions, not general rules of thumb.
Basic Wiring Layout
A typical hardwired Level 2 circuit has two ungrounded (hot) conductors connected to a two-pole breaker, plus an equipment grounding conductor. Many chargers do not need a neutral, but some do, so the manual governs. The simplified layout below shows the general arrangement and is not an installation drawing.
MAIN PANEL WALL CHARGER (EVSE); +---------------------+ +------------------+; | 2-pole breaker | | |; | L1 --------------------------------->| L1 |; | L2 --------------------------------->| L2 |; | Ground bar ---------------------------->| Ground |; | (Neutral only if the manual requires) | |; +---------------------+ +------------------+; |; Charging cable to vehicle
Some setups add a disconnect near the charger, depending on the unit's rating and local requirements. For plug-in installations, the same conductors terminate at the receptacle instead of inside the charger.
Typical Installation Steps
Check the car's onboard charging limit and your parking layout to choose the charger and mounting location. Have an electrician perform a load calculation to see whether the panel and service can support the new circuit. Decide between hardwired and plug-in, and set the charger's current to suit the available capacity. Obtain a permit where required. Install the breaker, run the conductors and mount the charger or receptacle. Configure the charger's current limit, test operation and complete the inspection.
Why an Electrician Is Usually the Right Choice
Some chargers are sold as DIY-friendly, but the work involves high-current 240-volt wiring, code compliance and, in many areas, permit and inspection requirements. A faulty installation can create fire and shock hazards and may affect insurance coverage or charger warranty terms. Using a licensed electrician who pulls the required permit is the conservative, widely recommended approach.
What This Guide Cannot Tell You
No verified figures were available for installation costs, specific charger models, utility rebates or local permit rules, so none are given here. Those vary by location, home and equipment. Your electrician's quote, your local building department and the charger's installation manual are the authoritative sources for your project.