How to Diagnose Bad Brake Rotors
The short answer
Worn or damaged brake rotors usually show up in one of these ways: a pulsing brake pedal, a steering wheel that shakes under braking, grinding or scraping noises, or visible damage on the disc itself. Visible damage includes deep grooves, a raised lip at the outer edge, heavy rust or pitting, blue or dark heat discoloration, and cracks.
Symptoms alone do not prove the rotors are at fault. Pads, calipers, wheel bearings, suspension parts and tires can all produce similar sensations. To confirm a rotor problem, inspect the rotor and measure it against the manufacturer's specifications. The specifications that matter are minimum thickness, thickness variation and lateral runout, which is side-to-side wobble as the rotor turns.
The limits for these measurements depend on the vehicle and the rotor design. Minimum thickness is often stamped or cast into the rotor, and the full limits appear in the vehicle's service information. This guide does not give numeric limits because none were supplied for any specific model.
What a rotor does and what wears it out
A brake rotor, also called a brake disc, is the metal disc that turns with the wheel. When you press the pedal, the caliper squeezes the brake pads against both faces of the rotor, and the friction turns the car's motion into heat. Every stop wears a little material from the rotor and exposes it to heat. Over time this can thin the rotor, score its surface or make its thickness uneven.
People often describe a vibrating rotor as "warped." In many cases the real cause is uneven thickness around the disc. This can come from pad material building up unevenly on the rotor face or from uneven wear. The difference matters because different causes need different fixes.
Matching symptoms to likely causes
Symptom | Possible rotor-related cause | Other plausible causes | What to check next; Pulsing brake pedal when stopping | Uneven rotor thickness or excessive runout | Loose or unevenly torqued wheel nuts; rust or debris between hub and rotor; worn wheel bearing | Measure thickness at several points and check runout with a dial indicator; Steering wheel shakes only under braking | Front rotor thickness variation or runout | Worn suspension or steering components; wheel bearing play | Inspect front rotors first, then check for play in the suspension and bearings; Vibration at speed even without braking | Unlikely to be rotors alone | Tire balance, tire damage, bent wheel, driveline issues | Check tires and wheels before blaming the brakes; Grinding or metal-on-metal scraping | Rotor being cut by pads worn down to their backing plates | Stone or debris trapped behind the dust shield; seized caliper | Inspect pad thickness and look for deep fresh grooves in the rotor; Squeal or squeak | Glazed or scored rotor surface | Pad wear indicator touching the rotor; glazed pads; missing anti-squeal hardware | Look at pad wear indicators and the rotor's surface finish; Pulling to one side under braking | Uneven rotor condition between sides, though rarely the sole cause | Sticking caliper or slide pins; contaminated pads; tire pressure differences | Compare both sides of the axle; check whether one wheel runs noticeably hotter after driving; Blue or dark patches, hard spots, cracks | Overheating | Dragging brake, heavy repeated braking, towing or descending long grades | Check for a caliper or pad that does not release; Rough or orange surface after the car sits | Surface rust, often harmless | Long parking periods or wet conditions | See whether it clears after a few gentle stops
Checks you can make
Do these checks with the vehicle parked on level ground and the brakes cool. Rotors can be hot enough to burn skin after driving. If you need to remove a wheel, support the vehicle on rated jack stands. Never work under a vehicle held up only by a jack.
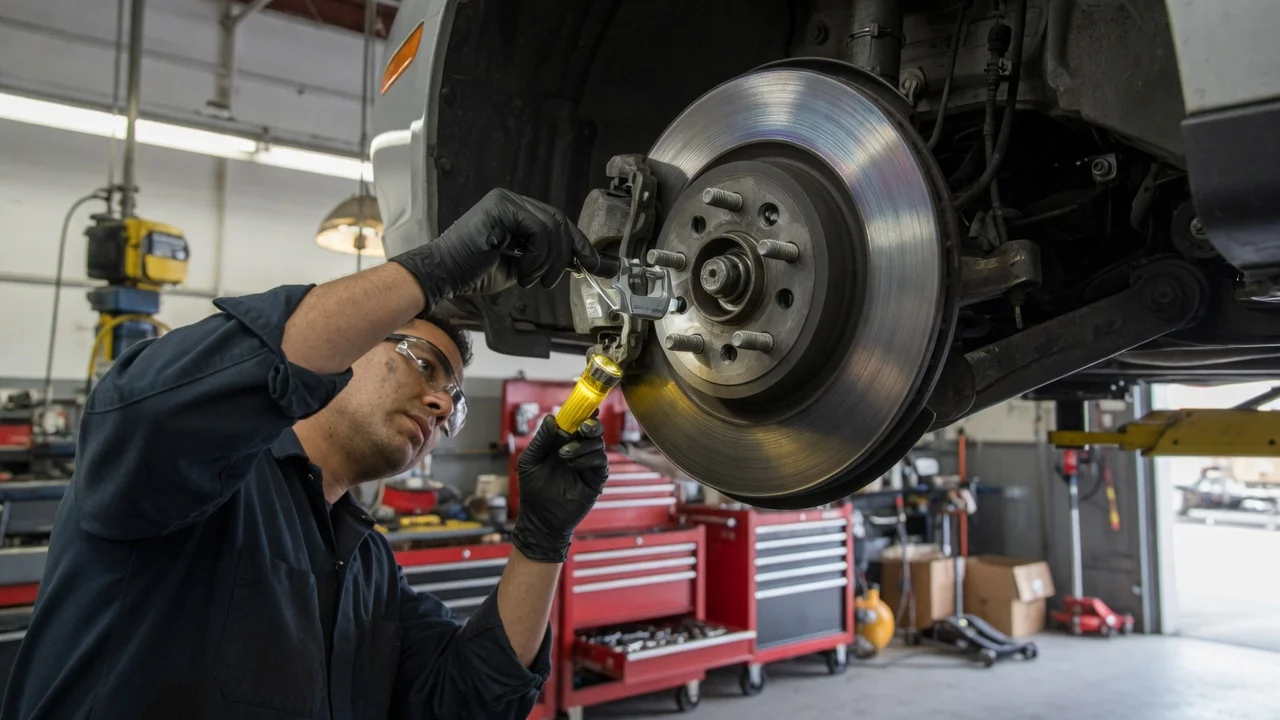
Look at the rotor through the wheel spokes, or with the wheel off. Note scoring, grooves you can catch a fingernail in, a ridge or lip at the outer edge, cracks, and blue or dark heat marks. Check both faces of the rotor. The inner face is harder to see and can be worn very differently from the outer face, for example when a caliper sticks. Check the pads at the same time. Pads worn down to the backing plate damage rotors quickly, so a grinding noise plus thin pads points to both parts needing attention. Compare left and right sides on the same axle. A rotor that is much more worn or discolored than its partner suggests a caliper or slide-pin problem on that side. Notice when the symptom happens. Vibration only while braking points toward the brakes. Vibration while cruising without braking points toward tires, wheels or other components. After a short drive, carefully compare wheel temperatures by holding your hand near each wheel without touching it. One wheel that is much hotter than the others can indicate a dragging brake.
Measurements that confirm the diagnosis
A visual check can suggest a problem, but measurement confirms it. A shop with the right tools, or an experienced home mechanic, will typically take the following readings.
Thickness: measured with a micrometer at several points around the rotor. A reading below the minimum thickness specification means the rotor must be replaced. Thickness variation: the difference between those readings. Too much variation produces pedal pulsation even when the rotor is otherwise thick enough. Lateral runout: measured with a dial indicator while the rotor is mounted and turned. Excessive runout can come from the rotor itself, from rust or debris on the hub mounting face, or from wheel nuts tightened unevenly. It should be measured with the rotor properly secured to the hub.
Each result points to a different next step:
Below minimum thickness: replace the rotor. Above minimum thickness but with surface damage or thickness variation: some rotors can be resurfaced on a brake lathe, but only if enough material will remain afterward to stay within specification. Many shops replace rotors rather than machine them, especially when resurfacing would leave little margin. Thickness within limits but runout too high: check the hub face and the wheel nut torque before replacing parts. A new rotor on a dirty or damaged hub can show the same problem.
Rotors are normally replaced in pairs on the same axle so that braking stays balanced, and new pads are commonly fitted at the same time. Recommendations can differ by manufacturer and vehicle.
Vehicle differences that change the picture
Not every vehicle has rotors at all four wheels. Some use drum brakes on the rear axle, and rotor diagnosis applies only to the disc-braked wheels. Hybrids and electric vehicles use regenerative braking, so their friction brakes see less use. Corrosion and surface deposits can therefore become more of a concern on these vehicles than ordinary wear. How much this matters depends on the model and how it is driven. Performance vehicles with specialized rotor materials, such as carbon-ceramic discs, may follow different inspection criteria, so the manufacturer's guidance takes priority.
Warning lights and fault codes
On most vehicles, no sensor monitors rotor condition directly. A brake warning light, ABS light or stored fault code points to the brake system as a whole, not to a confirmed bad rotor. These warnings can relate to fluid level, pad wear sensors on vehicles that have them, wheel speed sensors, the parking brake or hydraulic faults. Treat any code as a lead for further checks. Do not replace a rotor based on a code alone.
When to stop driving or get professional help
Some signs mean the vehicle should not be driven until the brakes have been inspected. Have it towed or inspected where it is if any of the following apply:
Loud metal-on-metal grinding, which suggests the pads are gone and the rotor is being damaged; A brake pedal that feels soft or spongy, or sinks toward the floor; A red brake warning light on the dashboard; Visible brake fluid leaking near a wheel; A crack running across the rotor's braking surface; A strong pull to one side, or a clear loss of stopping power; Smoke or a strong burning smell from a wheel after normal driving
Get a professional diagnosis if you do not have measuring tools, if vibration continues after rotors have been replaced, if an ABS or brake warning light stays on, or if one wheel keeps overheating. These cases often involve calipers, hydraulics or hub problems that rotor replacement alone will not fix.
What this guide cannot tell you
Numeric limits for rotor thickness, thickness variation and runout depend on the vehicle and rotor part number. Wheel nut torque values also vary by vehicle. None of these figures were supplied for a specific model. Use the rotor markings and the vehicle's service information, or ask a qualified technician, for the values that apply to your car.