Inspecting Brake Rotors for Warping, Wear and Damage
What the essential answer is
A rotor that feels warped is usually producing a pulsing brake pedal, a shudder through the steering wheel, or both, as the pads ride a surface that is no longer uniformly thick or true. Inspection separates that condition from pad wear, a sticking caliper, hub corrosion and wheel-bearing play, then shows whether the disc can be measured, machined within the remaining-thickness limit, or must be replaced. Numeric limits for thickness, thickness variation and lateral runout are not universal. They are stamped on many rotors and listed in the vehicle’s service information, and they change with model year, axle, brake package and market.
What people mean by a warped rotor
Drivers and parts counters still say warped rotors. On a typical one-piece cast-iron disc, a true potato-chip bend is less common than disc thickness variation: high and low spots around the swept face, often from uneven pad deposits, heat spotting, or a rotor that was already out of true at the hub. Lateral runout, the disc wobbling side to side as it turns, can start that process. Pads then knock down the high spots and leave thickness variation, which the pedal reports as pulsation. Two-piece, floating, carbon-ceramic and some coated or composite rotors follow different inspection and service rules; a generic cast-iron machining procedure does not automatically apply.
Symptoms that point to the discs
Pulsation that rises with pedal effort and road speed, a steering shimmy that appears mainly under braking, and a rhythmic grab at one corner are the usual rotor-related clues. A continuous scrape, grinding that does not pulse, a pull to one side without a beat, or a soft pedal more often points to pads, hardware, hoses, fluid or a caliper that is not releasing. Heat after a long descent, a burning smell, or a sudden change after a wheel was removed are useful context, because overheating and incorrect wheel installation are common contributors.
How to inspect the rotors
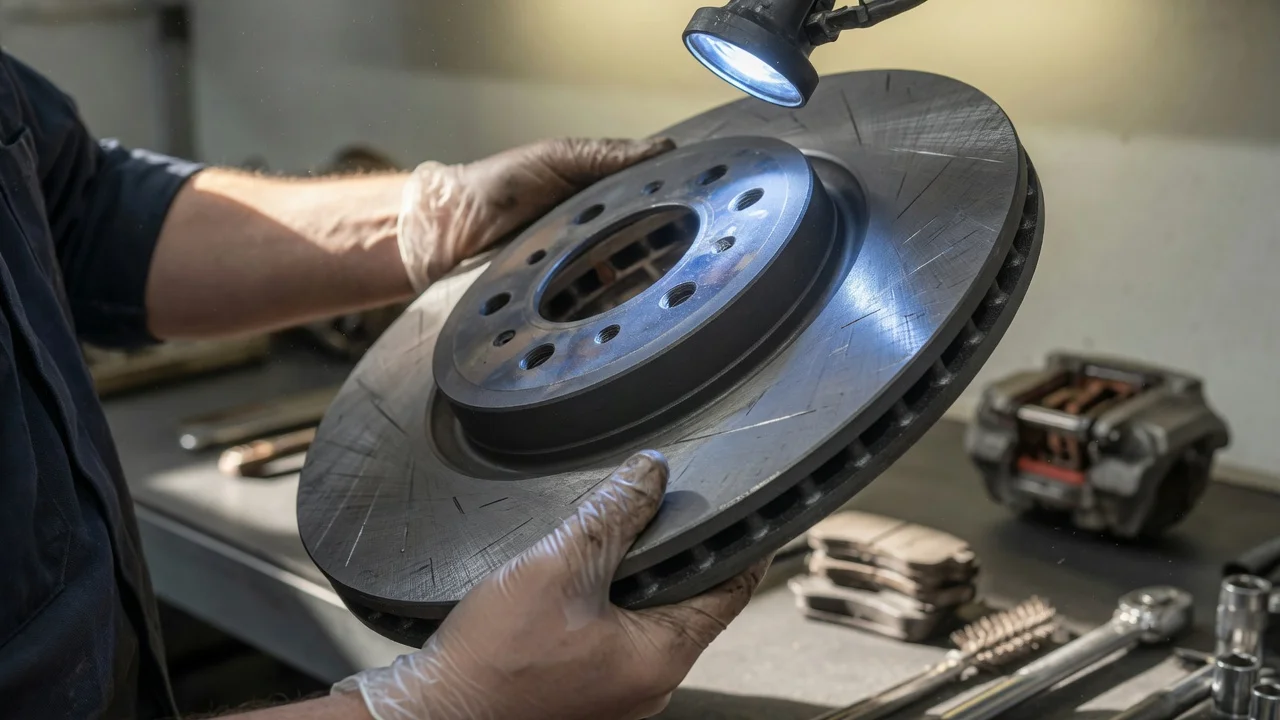
Work with the wheel off, loose dust wiped from the faces, and the vehicle supported so the disc can be turned by hand. Compare both faces of each disc, inboard and outboard; the inner face is easy to miss and often wears first. Look, then measure. A visual pass finds cracks, grooves, bluing, rust ridges and missing chunks. A micrometer or rotor gauge finds remaining thickness and whether thickness changes around the circumference. A dial indicator on a fixed stand, plunger on the swept face, finds lateral runout if it can be mounted square to the disc. Check the hub face and wheel-bearing play before condemning a rotor that sits on a rusty or loose hub.
Both friction faces for grooves, heat tint, cracks, scoring and rust ledges at the pad’s outer edge; Minimum thickness against the figure cast or stamped on the hat, or the discard thickness in service information; Thickness at several points around the disc to reveal variation; Lateral runout at the specified measuring radius, with the rotor held as the service procedure requires and fasteners tightened in the specified sequence; Hub mounting face for rust scale, debris and nicks, plus wheel-bearing end play; Pad condition, slide-pin lubrication and caliper piston movement, because a sticking caliper recreates heat damage
Wear and damage that fail a rotor
Even wear down to the minimum thickness is a replace-or-machine decision based on whether enough material remains. Deep grooves that the pads cannot bridge, cracks especially at the hat-to-disc junction or across a vent, missing pieces of the friction ring, and severe heat checking are replacement conditions on conventional iron rotors. A heavy rust ridge at the outer or inner edge shows the pad has been riding a narrower path; it can knock or make the pad hang up even if the swept area still looks usable. Blue or mottled hard spots are a heat-damage sign associated with local hardness changes. Machining may clean the color and still leave a hard spot that returns as a pulse. Carbon-ceramic discs and some performance two-piece assemblies have maker-specific crack and coating rules; those sit outside a generic iron-rotor inspection.
Thickness, runout and why the numbers are local
This guide does not list a single discard thickness or a single runout limit, because those figures are rotor- and vehicle-specific and are not supplied here as a universal specification. Many iron rotors carry a MIN TH or similar marking on the hat. Service information typically adds a machine-to thickness, thicker than discard, a maximum lateral runout, and sometimes a maximum thickness variation. Measuring below discard, or below the machine-to figure if resurfacing was the plan, means replacement. If the stamped figure or the workshop data for that model year, generation, axle and brake package is missing, obtain those values before cutting or reusing the disc.
Machine, replace or look past the rotor
A disc that is above the machine-to thickness, free of cracks, and within runout after the hub is cleaned can be a candidate for on-car or bench machining, then new pads, with wheel hardware torqued in sequence. A disc at or below the limit, cracked, heat-spotted in a way the maker treats as scrap, or part of an assembly marked non-serviceable is a replacement. If a new or machined rotor still pulses, inspect hub runout, bearing play, uneven lug torque, pad material transfer and a caliper that is not releasing. ABS tone rings, wheel-speed sensors and coated hats need handling that does not nick the reluctor or the coating. Replace or machine in axle pairs unless the service information for that vehicle says otherwise.
A practical next step
Identify the vehicle, including model year and any brake-package or axle code, and read the rotor’s stamped minimum together with the service runout and thickness-variation limits. Inspect all four discs and the pads, not only the corner that pulses. Measure thickness and, if a dial indicator is available, runout on a cleaned hub. Replace any rotor that is cracked, under thickness, or not approved for machining; otherwise machine or replace on that axle with new pads and the specified torque pattern. If the measurements are in specification and the pulse remains, move the diagnosis to the hub, bearings and caliper hardware.