How to Inspect Brake Rotors for Wear and Damage
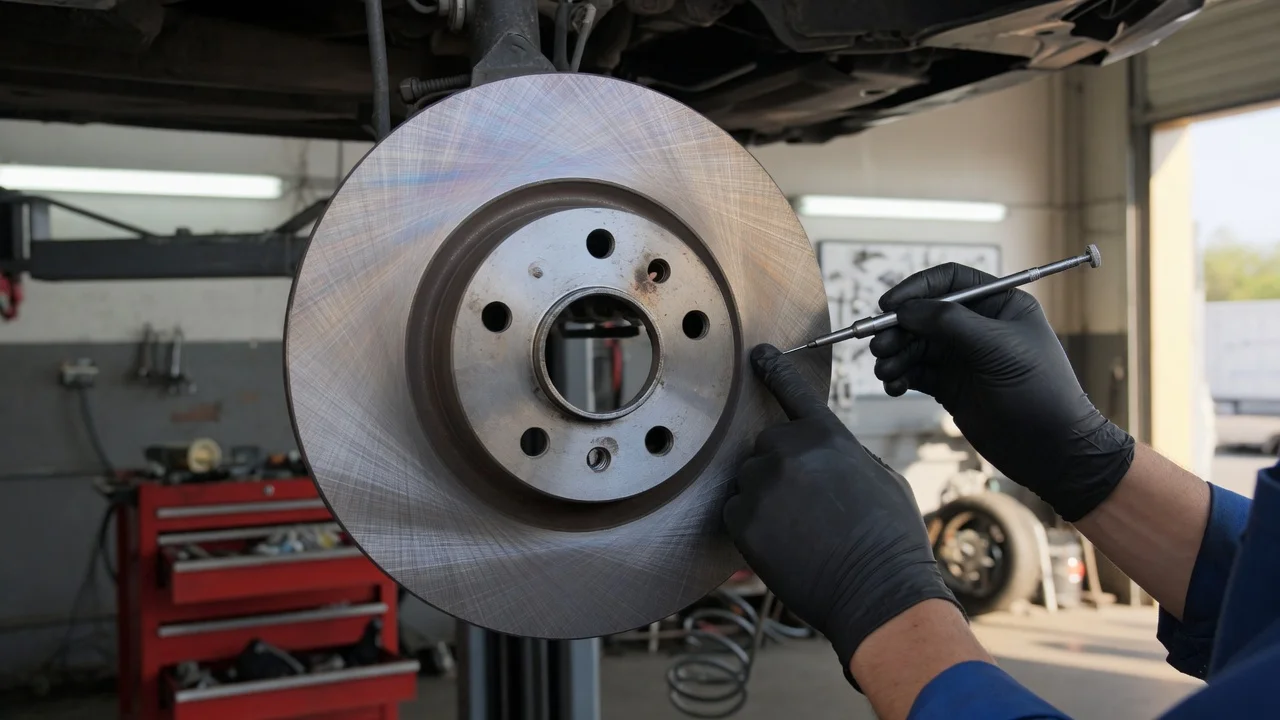
Before you start
Inspection can often be done at home with the wheel removed, but only continue if you can safely lift and support the vehicle and remove the wheel. If you are recording the rotor for a mechanic or parts advisor, use a camera or phone with a clean lens and good light. A bright flashlight helps show surface texture, color changes, and edge details. The rotor may be hot after driving, so let the brakes cool before working near them.
Step-by-step instructions
First, set the vehicle on level ground, apply the parking brake, and chock a wheel that will remain on the ground. If the brake rotor is visible through the wheel openings, you can take initial photos without removing the wheel, but a full surface inspection normally requires wheel removal.
Once the wheel is safely removed, look at the shiny braking surface where the pad contacts the rotor. A smooth surface with light, even wear marks is typical. Turn the rotor slowly by hand if the wheel is off the ground and the drivetrain allows it, so you can inspect the full circle.
Check for visible grooves, scoring, or ridges. Deep lines that catch a fingernail may indicate debris or worn pads. Notice any bluish or darkened patches, which can be a sign of high heat. Also inspect the outer edge for a raised lip, which can form as the rotor surface wears.
For photos or video, focus on one section at a time instead of trying to fit the whole rotor in a single frame. Move the light across the surface to reveal low spots or cracks. A short, close-up video while rotating the rotor can show runout or uneven contact better than a single still image.
If you are inspecting a ventilated rotor, look into the cooling vanes between the friction faces where possible. Debris, heavy rust, or visible cracking in that area is worth showing to a mechanic. Do not insert tools or fingers into moving parts.
Check the output
Review the images at full size before sending them. The rotor surface should be sharp enough to show fine scoring and the edge profile. If a photo is blurred or the flash creates a bright reflection, retake it with the light angled from the side and the lens steadied.
Common problems and next steps
A common issue is mistaking normal surface rust for rotor damage. Light rust can form after rain or washing and may be removed during normal braking. Pitting, deep scaling, or rust that remains after driving is more significant and should be inspected by a mechanic.
If the vehicle pulses when braking, the rotor may be warped or have uneven thickness. A visual inspection alone may not confirm this. Note the symptom and share it with a mechanic along with your photos, because thickness variation and runout often require measurement with a dial indicator.
If you find cracks, deep grooves, or a pronounced edge lip, stop using the vehicle as a conclusion only if a qualified mechanic confirms the part is unsafe. The inspection helps document the condition, but rotor replacement or resurfacing decisions depend on the vehicle and the measured minimum thickness.