Choosing an SPT Turbo Heat Shield: Fitment, Features and Limits
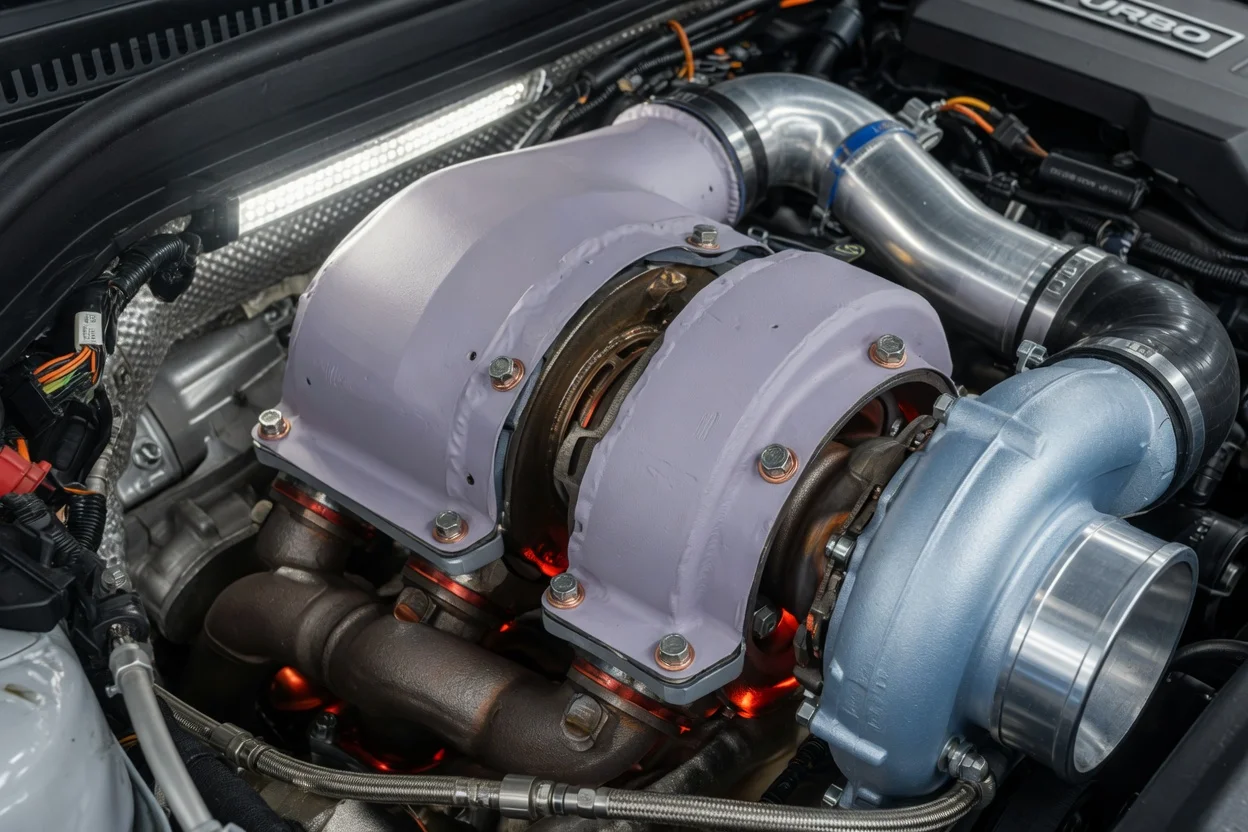
A turbo heat shield sits next to one of the hottest parts of the engine bay, so a part photo is not enough to choose one. Before buying an SPT turbo heat shield, match it to your exact model year and engine variant. Decide what problem you are actually solving, and understand what a shield can and cannot do. This guide covers fitment, material trade-offs, ownership costs and a short comparison checklist.
Define the job the product must do
Start with the reason you are shopping. Most owners fit one of three cases. Some are replacing a factory shield that is cracked, corroded or missing. Some want to stop a rattle. Others want to cut the radiant heat reaching nearby parts, such as intake plumbing, wiring and fluid lines, after other modifications. Each goal points to a different product and a different level of urgency.
Separate what you have observed from what has been confirmed. A metallic buzz at one engine speed, a hot smell after a drive, or a forum post describing the same noise on your model are symptom reports, not verified failures. Write down the symptom conditions: cold or warm engine, idle or under load, a specific rpm band, or only over bumps. Then inspect the area with the engine fully cold. A broken tab, a missing fastener or a crack at a mounting point is a verified failure. If the shield looks intact, the noise may come from somewhere else, such as a downpipe shield, a loose clamp or an exhaust hanger. Also consider your practical limits: whether the car is a daily driver or sees track use, whether you will do the work yourself, and whether the engine bay is still stock.
Check compatibility
Fitment depends on the vehicle, not the brand name. Confirm the listing covers your model, model year and engine configuration. Turbocharged engines in a single model line can use different turbochargers, manifolds and downpipe routing across generations or trim levels. Where you can, compare the shield's part number with the factory part it replaces, and confirm it against your VIN through a dealer parts counter or the service manual.
Then check the physical interfaces. Look at the number and position of mounting points, the fastener thread and length, and the shape that wraps the turbine housing. Check clearance to the wastegate actuator, oxygen sensor, oil and coolant lines, and the downpipe flange. On a car with an aftermarket turbocharger, a modified wastegate, a different downpipe or a relocated sensor, a shield designed for the factory layout may not seat correctly. It may also touch a moving or hot component. Review the service history as well. An earlier repair may have left non-original bolts, missing brackets or damaged threads that will affect installation.
Features that affect the choice
Rigid stamped shields in aluminized or stainless steel are closest to the factory design. Stainless generally resists corrosion better, which matters where roads are salted. However, sheet thickness, forming quality and fastener design affect durability as much as the alloy name does. Multi-layer shields with an air gap or insulating layer can block more radiant heat, but they are bulkier, so check clearance. Soft insulating blankets that wrap the turbine housing are a different kind of product. They can contain more heat, but they change how the housing sheds it and need careful fitment.
Be cautious with labels such as race-proven, maximum heat reduction, or a single temperature-drop figure, unless the seller explains how it was measured. That means stating the vehicle, the probe location, the ambient conditions and the driving cycle. Useful evidence includes a clear fitment list, installation instructions with torque values, photos of the mounting side, stated dimensions and materials, and whether new hardware is included. A finish or color says nothing about performance.
Limitations and ownership costs
Turbo and exhaust fasteners go through repeated heat cycles and often seize. Budget for penetrating oil and extra time. You may also need replacement bolts, washers or studs, and there is a real chance of extracting a broken fastener. Follow the manufacturer specifications for torque and for whether anti-seize is appropriate on each fastener rather than guessing. Work only on a fully cooled engine. If the instructions call for it, recheck the fasteners after the first few heat cycles.
A heat shield does not cool the oil, lower exhaust gas temperature, fix a boost leak or correct a tune. It has no sensor, so no diagnostic code points directly to it. If the check-engine light is on, diagnose that code separately instead of assuming a new shield will clear it. Blankets and insulated shields can soak up oil or coolant from a leak, which hides the leak and creates a fire risk. Fix any seepage before installation, and inspect the shield at routine oil changes. Some insulating wraps can also trap moisture against the housing, so check periodically for corrosion underneath.
Build a practical shortlist
Narrow your options with a checklist rather than a ranking. For each candidate, confirm the following. It lists your model, model year and engine variant. Its mounting points match your turbocharger and downpipe, including any aftermarket parts. It clears sensors, actuators and fluid lines. Its material suits your climate and driving. It includes or specifies the hardware you need. Its instructions give torque values.
Next, compare the evidence behind each listing. A product with a clear fitment table and dimensions is a better bet than one with bolder claims and less detail. If two options fit equally well, compare corrosion resistance, ease of installation and the cost of replacement hardware. After installation, record the part number and date in the vehicle's service history so the next inspection, or the next owner, knows what was fitted.