Choosing a Side-Mount Intercooler: Fitment, Features and Ownership Costs
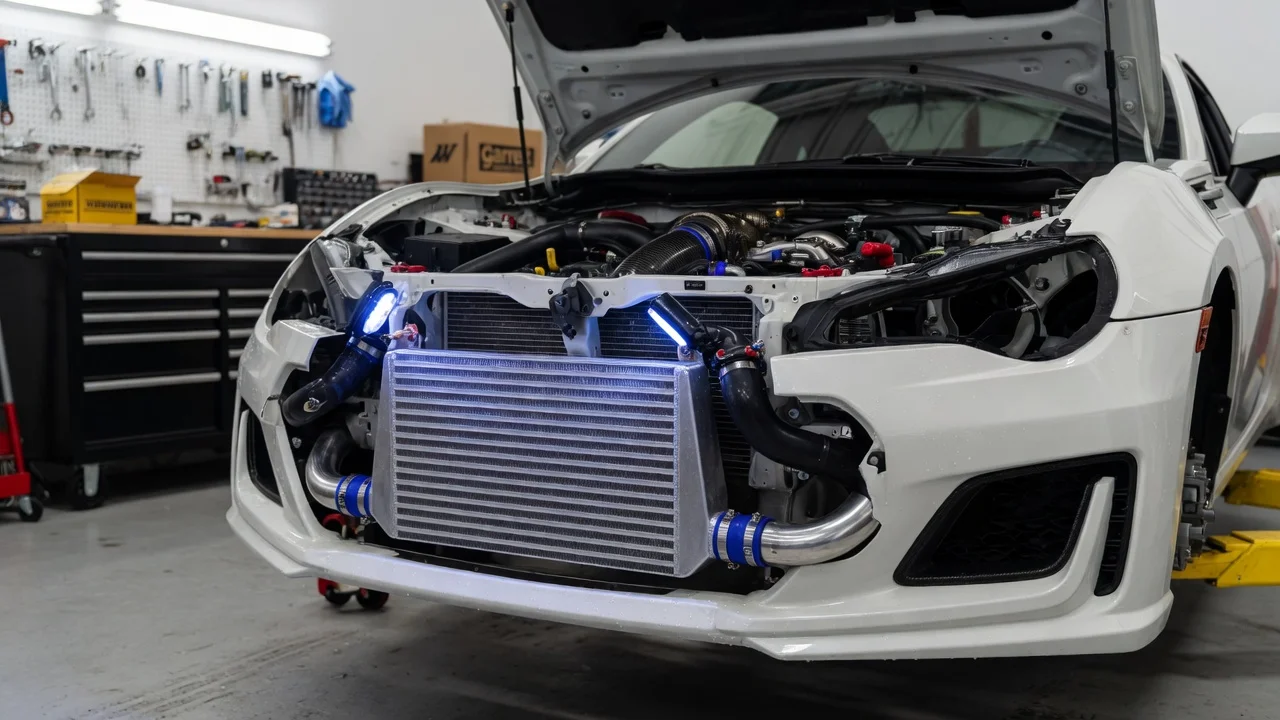
A side-mount intercooler sits behind a bumper corner or near a wheel-well opening rather than across the front of the radiator. Many turbocharged cars use this layout because it fits tight engine bays and keeps charge piping manageable. Whether you are replacing a damaged unit or upgrading for more boost, the right choice depends on what the vehicle actually needs, what fits your exact model year and engine variant, and what the part will cost to own.
Define the job the product must do
Start by deciding whether you need a replacement or an upgrade. An OEM or OEM-equivalent replacement restores factory behavior after a cracked end tank, impact damage or a core contaminated beyond cleaning. An upgrade aims to keep intake air temperatures lower under sustained load, which matters mainly for a tuned engine, track sessions or towing in hot weather. Mixing these goals usually leads to overspending on a part the engine cannot use, or buying a stock-sized unit for a car whose tune needs more cooling.
Separate symptom reports from verified failures. Loss of power, hesitation, a whistle under boost or an underboost code such as P0299 can come from a split coupler, a loose clamp, a leaking diverter or bypass valve, a cracked vacuum line or a faulty sensor, not only the intercooler. Before buying, pressure or smoke test the charge system, inspect tank seams and the core for cracks, and record the diagnostic codes along with the symptom conditions: ambient temperature, load, speed and whether the engine was hot. Review the service history too, because a past turbocharger failure can leave oil in the core. If the system holds pressure and the core is intact, the intercooler is probably not the problem.
Finally, note practical constraints: budget, whether you want to keep the factory bumper and liners untouched, whether the engine is stock or tuned, and any local inspection rules that could apply if bodywork or calibration changes are involved.
Check compatibility
Fitment follows the chassis, model year and engine configuration, not just the model name. The same nameplate can use different intercoolers across engine variants, transmission options or mid-cycle updates, and inlet and outlet orientation may change between them. The most reliable approach is to match the part number on your existing unit, or decode the VIN through a parts catalog, and then compare that against the seller's listed applications. Treat a generic listing that only names the model as unconfirmed.
Then check the physical interfaces. Inlet and outlet diameter and angle must line up with your piping, and the coupler type must match: clamped hoses and plastic quick-connect fittings with O-rings are not interchangeable without adapters. Compare mounting tab positions, overall depth and clearance to the bumper cover, crash structure, wheel liner, fog lights and washer reservoir. If the factory end tank carries a charge-air temperature or pressure sensor port, confirm the new unit has a matching provision. Many larger side-mount units require trimming the liner or bumper support, relocating parts or changing piping, so read the installation requirements before ordering.
Features that affect the choice
Core construction is the first real trade-off. Bar-and-plate cores are generally heavier and more resistant to debris damage, while tube-and-fin cores are lighter and common on factory units. In a side-mount location, frontal area is limited by the opening, so manufacturers often add depth instead. Extra thickness helps less than it suggests, because air passing through the rear rows has already been warmed by the front rows, and airflow into a corner location is often restricted by bumper openings and ducting.
End tanks matter for durability and flow distribution. Plastic tanks crimped to an aluminum core are typical of factory parts and can crack after years of heat cycles; cast or welded aluminum tanks are more durable, provided the welds are clean and the tank shape spreads air across the whole core rather than a few rows. Larger internal volume can slightly soften throttle response, though on most road cars the effect is modest.
Be skeptical of marketing labels. Claims of cooler intake air or added horsepower mean little without stated test conditions: ambient temperature, boost level, vehicle speed, engine variant, tune and run duration. Useful evidence includes pressure drop at a stated airflow, intake temperature logs with those conditions documented, and before-and-after comparisons on the same car and calibration. A bigger core is not automatically better if your engine never produces enough heat to need it.
Limitations and ownership costs
Installation often involves removing the bumper cover and wheel liner, sometimes a headlight or splash shield, so factor in labor if you are not doing it yourself. Budget for new clamps, couplers or O-rings, since reusing aged rubber is a common source of new boost leaks. An upgraded unit may also call for a tune revision. After installation, pressure test the system, clear and recheck diagnostic codes, and confirm sensor readings fall within manufacturer specifications.
Ongoing care is mostly inspection. A low corner mount is exposed to road debris, water and road salt, so fins bend and corrosion builds over time. Check the core and couplers during routine service. A light oil film from crankcase ventilation is normal on many engines, but pooling oil points to a breather or turbocharger seal issue that a new intercooler will not fix.
Understand what the part cannot do. It will not cure leaks elsewhere in the charge path, faulty sensors, a worn turbocharger or a poor tune, and on a stock engine any gain is usually small. A side mount can also heat soak in slow traffic because it relies on airflow through a small opening.
Build a practical shortlist
Before comparing products, confirm the need: a verified failure found by pressure testing and inspection, or a documented cooling shortfall logged under repeatable conditions on a modified engine. Without that, the money is often better spent on couplers, clamps or diagnosis.
For each candidate, compare the same points: an application listing that matches your model year and engine variant, inlet and outlet size and orientation, coupler type, core construction and dimensions, end tank material, sensor provision, included hardware, required trimming or relocation, warranty terms and whether performance claims come with stated test conditions. Set aside any option where a key item cannot be confirmed.
Narrow the field to two or three units. For a stock vehicle, a direct-fit OEM or OEM-equivalent part is usually the sensible choice. For a tuned engine, pick the most modest core that keeps intake temperatures stable in your actual driving, and plan the installation, new seals and calibration as one job.