Choosing a Mishimoto Intercooler: Fitment, Features and Costs
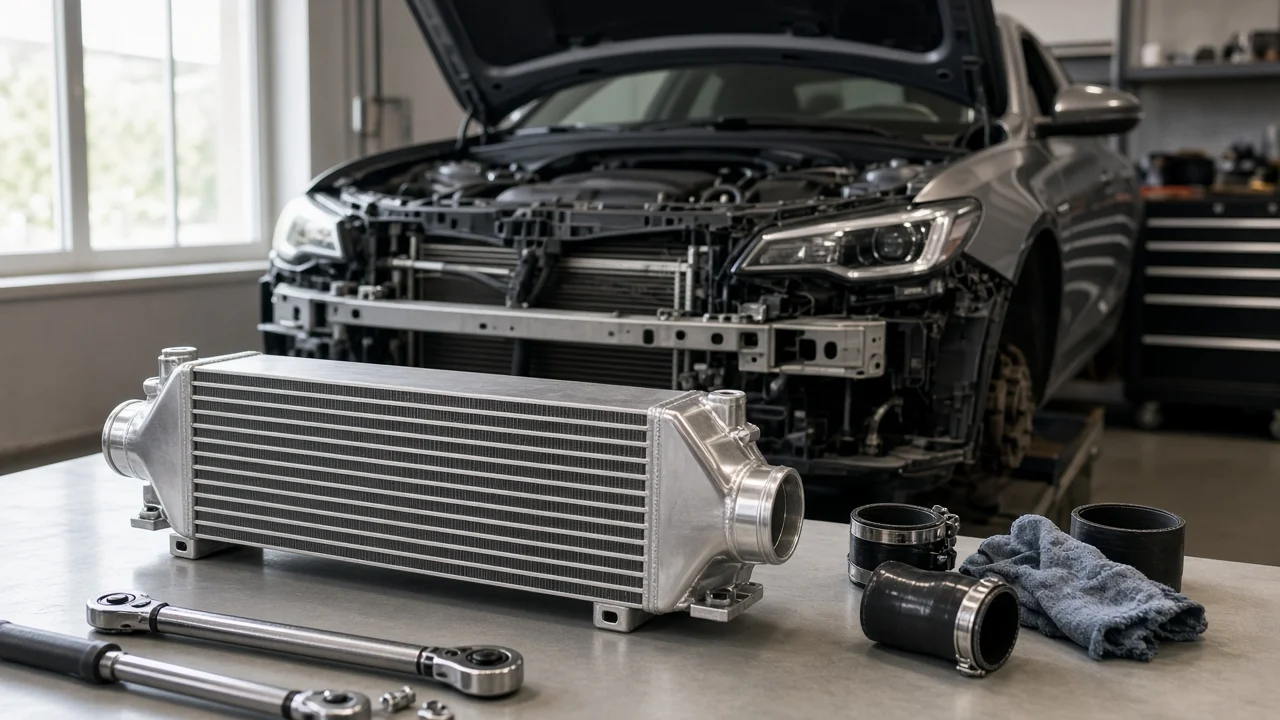
A Mishimoto intercooler is one of the more common charge-air upgrades for turbocharged cars and trucks. The right choice depends on your vehicle, its engine variant and what you actually need the part to fix. This guide covers how to define that job, confirm fitment for your model year, and judge features without relying on marketing labels. It also covers installation and upkeep to plan for before you commit.
Define the job the product must do
Start with the reason for the upgrade. Owners usually fall into one of three groups. Some are replacing a damaged or leaking stock intercooler. Some have an engine that loses power under sustained load, such as towing, track sessions or repeated pulls in hot weather. Others run a tune or higher boost and need more cooling capacity than the factory core provides. Each case points to a different priority. A straight replacement favors exact OEM-style fitment. A tuned engine may justify a larger core and upgraded charge pipes. Also consider how the vehicle is used day to day, whether it sees winter road salt, and how much bumper or grille work you are willing to take on.
Separate symptom reports from verified failures. Sluggish power on hot days, an occasional underboost code or a whistle under load are symptoms. Many of them have causes unrelated to the intercooler, such as a loose coupler, a split charge pipe, a sticking wastegate or a failing boost sensor. A verified failure is something you can demonstrate. Examples include a cracked end tank, a leak located with a smoke or pressure test, or logged intake air temperatures that climb steadily under the symptom conditions while boost holds. Before assuming a new core is the cure, read the diagnostic codes, review the service history and inspect the whole charge-air system. If the old intercooler is full of oil, find the source before installing a clean replacement. Crankcase ventilation and turbocharger seals are typical sources.
Check compatibility
Mishimoto intercoolers are mostly sold as vehicle-specific kits, so fitment depends on the exact year, engine and sometimes body style or trim. Engine configuration matters as much as the model name. Two engines offered in the same truck or car can use different intercooler locations, pipe routing and connection sizes. A generation change can also move mounting points even when the engine carries over. Confirm the listed application against your own vehicle rather than a similar one. Read the installation instructions before ordering to see what must be removed or modified.
Next, check the interfaces. Compare inlet and outlet diameters and the connection style. Some kits reuse factory quick-connect fittings, while others rely on silicone couplers and clamps. Verify that the kit provides a port for the factory boost or temperature sensor in the correct position, and that the mounting brackets match your chassis. Check clearance around the bumper beam, air conditioning condenser, radiator, fog lights, active grille shutters and any front-mounted radar or parking sensors. Top-mount designs must also match the hood scoop and turbo outlet. A listing may say the kit requires bumper trimming, relocated components or separate pipes. Treat those requirements as part of the fitment decision, not an afterthought.
Features that affect the choice
Core construction and size drive most of the real trade-offs. Bar-and-plate cores, which Mishimoto commonly lists, are generally durable and hold heat well. Tube-and-fin designs tend to be lighter. A larger core adds cooling capacity and thermal mass, which helps on repeated pulls. It also adds volume to the charge path and can slightly change throttle response. Pressure drop depends on core design, end-tank shape and pipe sizing, not just core dimensions. A bigger core is therefore not automatically better for a stock or mildly tuned engine. Finish color is largely cosmetic; a black core is simply less visible behind the grille.
Pipe kits deserve separate attention. On some platforms the factory charge pipes or couplers are a known weak point under added boost. On those vehicles, an intercooler upgrade without stronger piping may simply move the failure elsewhere. Check whether pipes are included, sold as a separate kit or required for fitment. Also confirm that the clamps and couplers suit the boost you expect to run.
Treat performance claims carefully. Manufacturer temperature and power figures are useful only when the test conditions are stated. Those conditions include ambient temperature, boost level, engine tune and number of runs. Phrases such as race-proven or maximum cooling are marketing labels, not evidence. For your own vehicle, the most useful proof is datalogged intake air temperature and boost, recorded before and after installation under comparable conditions.
Limitations and ownership costs
Installing most front-mount kits involves removing the bumper cover. Some also require removing the bumper beam, grille or undertray, and some platforms need components relocated. If you are not comfortable with that work, budget for shop time. Either way, plan a smoke or pressure test afterward to confirm every joint seals. Many direct-fit kits are intended to work without a tune, but check the manufacturer specifications for your application. An engine that is already tuned may benefit from a calibration review. Also remember what the part cannot do. It will not repair a boost leak elsewhere, a worn turbocharger, faulty sensors or an aggressive tune with inadequate fueling.
Ongoing costs are modest but real. Couplers and clamps age with heat cycles. Check them after the first few drives and again at each routine inspection. A front-mounted core sits in the path of road debris, insects and winter salt, so look for bent fins and corrosion during regular service. A light film of oil inside a turbocharged intake tract is common, but heavy pooling should be investigated. Finally, review your state's emissions and modification rules. Consider how the change could affect any remaining vehicle warranty claims, especially if you plan to pair the intercooler with a tune.
Build a practical shortlist
Narrow the options with a short checklist rather than a ranking. First, confirm the exact year, engine and trim listed for each kit. Second, note the core type and size, and check whether any published temperature or pressure data includes test conditions. Third, record the connection style and sensor provisions, and whether charge pipes are included or needed. Fourth, read the installation notes for bumper trimming, component relocation and expected labor. Fifth, compare warranty terms and their exclusions.
If two kits pass every check, choose the one that matches your actual goal. For a replacement, that means OEM-style fitment. For towing or heat soak, it means extra capacity. For a tuned engine, it means a complete intercooler and pipe package. After installation, log intake air temperatures under the same conditions that prompted the upgrade. That way you know whether the original problem is solved rather than assuming it.