Brake Vacuum Pump Repair: Assessing Repair Options
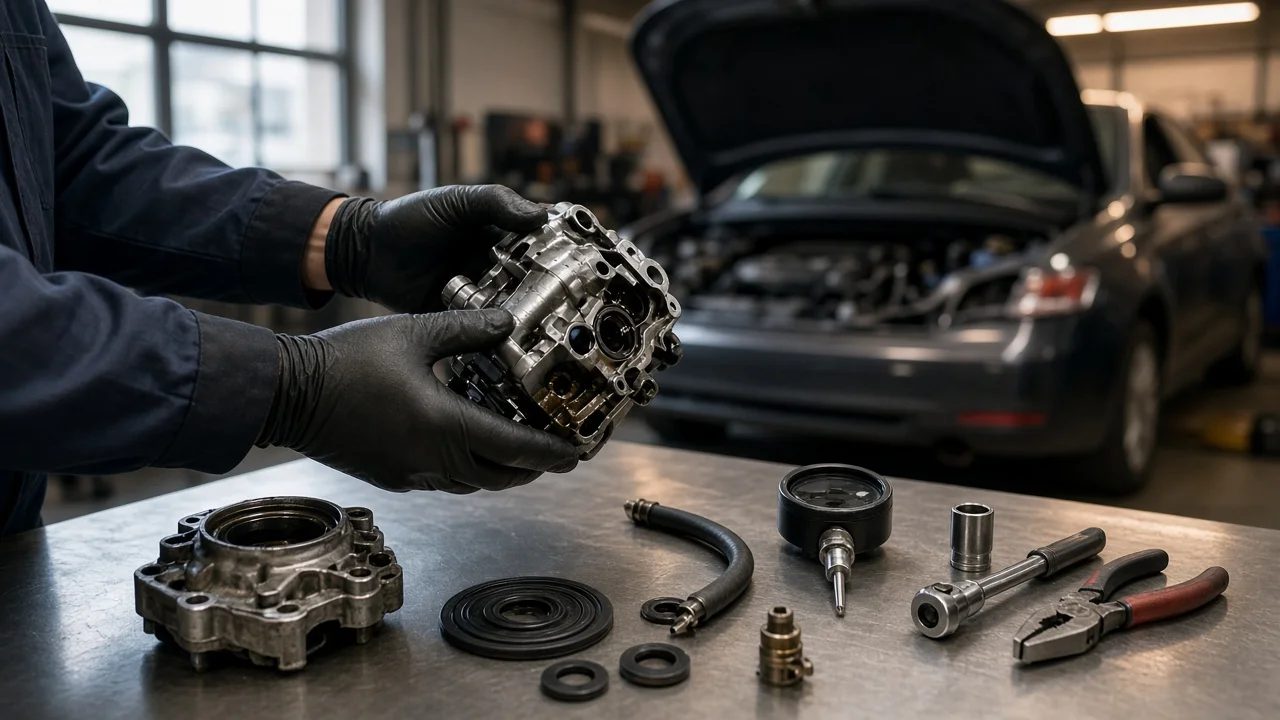
A failing brake vacuum pump usually shows up as a firm, high brake pedal that takes more effort than normal to slow the vehicle. The pump supplies the vacuum the brake booster needs for power assist, so a fault here directly affects stopping distance. This guide explains how to confirm the pump is the actual cause, define what needs repairing on your vehicle, and choose a realistic repair option.
Confirm the fault before repair
Many diesel engines, many turbocharged or direct-injection gasoline engines, and most hybrids and electric vehicles cannot rely on intake manifold vacuum for brake assist, so they use a dedicated pump. It may be mechanical, driven by the camshaft or another engine drive, or electric. Typical signs of a weak pump include a hard pedal that is worst after a cold start or at idle, longer stopping distances, oil seeping from the pump body, unusual ticking or whining, and a warning light or stored fault code on vehicles that monitor booster pressure. If the pedal suddenly becomes hard while driving, stop in a safe place and do not keep using the vehicle until the brakes have been inspected.
Several other faults produce the same complaint: a cracked or loose vacuum hose, a failed one-way check valve, a leaking booster diaphragm, or a faulty pressure sensor or wiring. Gather evidence before buying parts. A simple reserve test helps: with the engine off, press the pedal several times to use up stored vacuum, hold light pressure, then start the engine. The pedal should move down slightly as assist returns. Next, measure vacuum at the booster supply with a gauge and compare it with the manufacturer's specification, noting how quickly it builds and whether it holds after shutdown. Low output measured directly at the pump points to the pump. Good pump output but poor vacuum at the booster points to hoses or the check valve. Good, stable vacuum with a hard pedal points to the booster itself. On electric systems, scan tool live data shows whether the pump is commanded on and what pressure the sensor reports.
Define the repair scope
Identify exactly which pump design your vehicle uses instead of assuming one remedy fits every version. The same model can use different pumps depending on engine code, model year and market, so parts lookup by VIN or engine code is the reliable route. On some diesel engines the vacuum pump is combined with the fuel lift pump in a single tandem unit, which means a fault in that assembly can also affect fuel supply and calls for a different procedure. Electric pumps add a fuse, relay, pressure sensor and control logic, any of which can be the real failure point rather than the pump motor.
Then establish the extent of the damage. An external oil leak at a seal or gasket is a different job from internal wear that reduces output or makes noise, and both differ from a broken drive coupling. If engine oil has been drawn into the vacuum line, the hoses and possibly the booster need inspection as well. It is also worth checking the rest of the brake system during the same visit. Glazed or contaminated friction material on the brake pads, damaged brake rotors or a sticking caliper can all increase pedal effort or stopping distance, and none of them is cured by a new pump. The vacuum system does not involve brake fluid, but a hydraulic fault can be present at the same time.
Compare repair options
There is little to adjust on a vacuum pump itself. The simplest fixes involve the supply side: refitting or replacing a split hose, renewing clamps, or replacing a check valve that no longer seals. These repairs are inexpensive and fully resolve leaks outside the pump, but they leave any internal pump wear unresolved, which is why measuring pump output first matters.
Component repair suits specific faults. Where the manufacturer or a reputable supplier offers a seal or gasket kit, resealing a mechanical pump can cure an external oil leak, although it does not restore worn vanes or a damaged housing. On electric systems, repairing a blown fuse, failed relay, corroded connector or damaged wiring restores operation if the motor and sensor are sound, though the cause of the blown fuse still needs finding. Replacement is the right choice when output is low, the pump is noisy or internally damaged, or no seal kit exists. Correct vehicle fitment is essential, so match the part by number or VIN, whether new or remanufactured. A new pump will not fix upstream problems such as oil contamination in the lines or a faulty pressure sensor.
Specialist service is appropriate for tandem fuel and vacuum pumps, pumps that require removal of timing or drive components, electric systems that need initialization or coding after replacement, and cases where the booster or master cylinder is also suspected.
Requirements and limits
Any pump work needs vehicle-specific service information: the removal procedure, torque values, sealant requirements, whether bolts and gaskets are single use, and how the drive coupling must be aligned on refitting. Useful equipment includes a vacuum gauge, a hand vacuum pump for testing the check valve and booster, a scan tool for fault codes and live data, and a torque wrench. After work on an engine-mounted pump, check the engine oil level and look for leaks once the engine has warmed up.
Owner-level work reasonably covers visual inspection of hoses and connections, the reserve test and reading fault codes. Removing an engine-mounted pump involves the lubrication system and sometimes the timing drive, and mistakes can cause engine damage or loss of brake assist. Unless you have the correct service information, tools and experience, leave internal work and pump replacement to a professional. If brake assist is reduced and the cause is not yet confirmed, have the vehicle towed rather than driven.
Verify the outcome
After the repair, repeat the same checks used for diagnosis so the results can be compared directly. The reserve test should show normal pedal drop on startup, vacuum at the booster should meet the specification at idle and recover promptly after repeated pedal applications, and it should hold after shutdown for the period stated in the service information. On electric systems, clear stored codes and confirm through live data that they do not return. Inspect for oil or vacuum leaks, then carry out a low-speed brake test in a safe, open area before returning to normal driving.
Keep a record of the original symptoms, test readings before and after the repair, part numbers, the invoice and warranty terms. This documentation makes any warranty claim straightforward and gives the next technician a clear starting point if the problem comes back.
If the pedal stays hard even though vacuum supply now tests within specification, the remaining causes are most likely the booster, the master cylinder or friction and hydraulic components, and replacing further pumps will not help. A pedal that feels soft or sinks toward the floor points to a hydraulic fault rather than a vacuum one. In either case, stop using the vehicle and have the braking system diagnosed professionally.