How to Replace a Brake Vacuum Pump
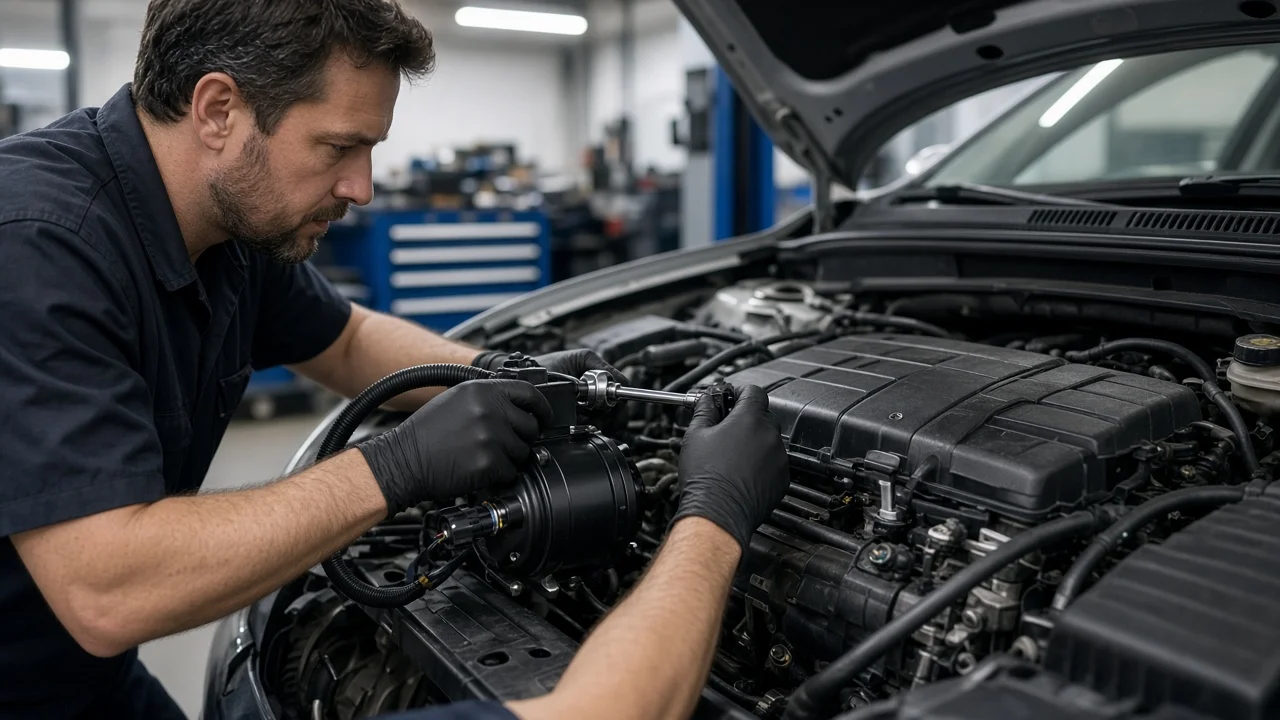
A brake vacuum pump supplies vacuum to the brake booster on engines that cannot produce enough manifold vacuum on their own. These include most diesels, many direct-injection and turbocharged gasoline engines, and many hybrids. When the pump fails, the pedal turns hard and the car needs more distance to stop. This guide covers how to replace a brake vacuum pump, from confirming the diagnosis to checking the finished job, and shows where the work belongs with a professional.
Confirm the part and repair scope
Typical signs of a failing pump are a hard brake pedal with the engine running, a hissing or rattling noise from the pump area, a brake assist warning, stored fault codes, or engine oil inside the vacuum hose. A cracked hose, a faulty one-way check valve or a leaking booster diaphragm can cause the same symptoms, so replacing the pump on symptoms alone is a gamble. Connect a vacuum gauge to the booster supply line and compare the reading and the build-up time with the figures in the vehicle's service information. Then test the hose and check valve separately. Replace the pump only after its output is confirmed low and the rest of the vacuum circuit tests sound.
Vehicle fitment matters because pump designs differ. Many are mechanical, driven by the camshaft and lubricated by engine oil. Some are belt driven. Others are electric units mounted on the body or subframe. Some diesels use a tandem pump that combines the vacuum pump and a fuel pump in one housing. Engine variants within the same model year can differ in drive coupling, port position and mounting, so match the part by VIN or original part number rather than model name. Also check whether the new pump comes with its seals or gasket.
Prepare tools and safe access
Before starting, get the service procedure for your exact vehicle. It should give the removal steps, torque values, seal types and any scan tool routines. A typical job needs a socket set, a torque wrench, trim and hose release tools, new seals, shop rags, a drain tray, a vacuum gauge and, on many electric pumps, a capable scan tool. Work on a cool engine with the vehicle on level ground. Disconnect the battery if the instructions call for it. Reaching the pump may mean removing engine covers, intake ducts or underbody panels. If the vehicle must be raised, support it on rated stands, never on a jack alone.
Some versions of this job are not suitable for inexperienced owners. These include tandem pumps that require opening the fuel system, pumps buried behind timing components, and hybrids or electric vehicles where high-voltage components sit nearby. Treat any job needing dealer-level software the same way. Reduced brake assist is a safety fault. If the pedal is noticeably hard, avoid driving the vehicle and arrange a tow to a repair shop if you cannot do the repair where it sits.
Remove without avoidable damage
On a mechanical pump, photograph or label each hose before disconnecting it. Plastic quick connectors become brittle with heat and age, so release their tabs as designed instead of prying. Disconnect any external oil feed line and keep rags and the tray ready for oil. Remove the mounting bolts in the sequence the instructions give, then pull the pump straight off so the drive coupling does not bind or break. Note how the coupling or drive dog sits in the camshaft slot; a photo saves guesswork during installation. Cover the open port so dirt cannot enter the engine.
On an electric pump, unplug the electrical connector and vacuum hose, then unbolt the bracket and keep the rubber isolators. On either type, inspect the removed parts. Oil inside the hose usually means the pump's internal seals failed. Clean or replace the hose as the instructions direct so oil does not travel to the booster. Check the camshaft drive slot or coupling for wear. A damaged drive surface means a larger repair than a pump swap.
Install and restore the system
Clean the mating surface and fit a new O-ring or gasket. Do not add sealant unless the instructions specify it. If the manufacturer calls for pre-lubricating the pump with engine oil, do so. Align the drive coupling with the camshaft slot as noted during removal. The pump should seat flush by hand with no force. If it does not, follow the procedure for turning the engine or repositioning the coupling. Never use the bolts to pull a misaligned pump into place. Tighten the bolts to the specified torque in the specified sequence.
Reconnect the hoses and confirm each connector clicks fully home. Fit the check valve in the direction marked on its body, which lets air be drawn out of the booster but not back in. On electric pumps, reconnect the connector and battery, clear stored codes, and run any actuation test or initialization the manufacturer specifies. Check the engine oil level and top up if some was lost. The hydraulic circuit is not opened during this job, so brake fluid bleeding is not part of it. Any disturbed fluid line is a separate repair with its own procedure.
Check the completed work
Start with a static test. With the engine off, press the pedal several times until it feels firm, which uses up the stored vacuum. Hold light, steady pressure on the pedal and start the engine. The pedal should drop slightly as assist returns, then stay steady while the engine runs. Recheck vacuum with the gauge against the specified reading and build-up time. An electric pump should start and stop as the service information describes. After a warm idle, inspect the pump flange and oil line for leaks and listen for hissing.
Next, make a low-speed test drive in a safe, empty area before returning to normal traffic, and confirm the brake warning lights stay off. Further diagnosis is needed if the pedal is still hard, hissing continues, oil shows up in the hose again, the pump is noisy, or codes return. A pedal that slowly sinks under steady pressure points to a hydraulic problem, such as the master cylinder, caliper or lines, rather than the vacuum supply. The pump affects only brake assist. Brake pads, rotors and friction material still need inspection against their own wear limits. If anything feels wrong, stop driving and have a professional inspect the brakes.