Parking Brake Cable Repair: Assessing Repair Options
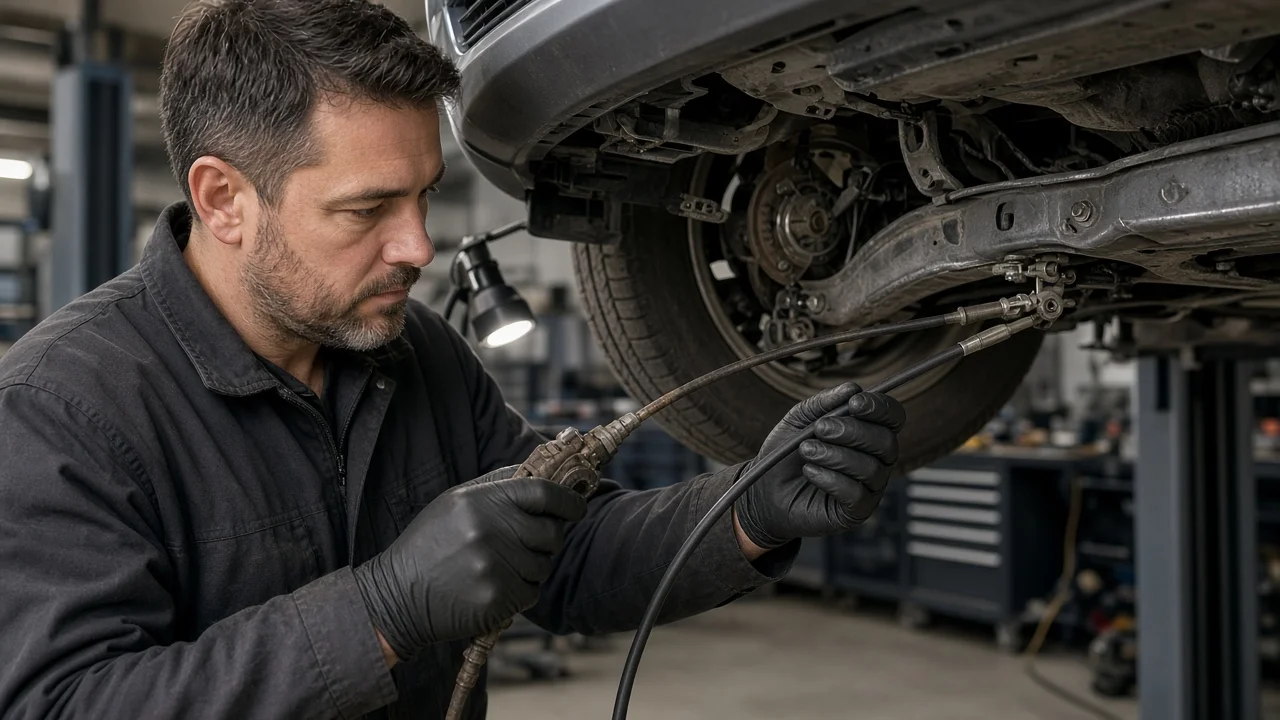
A parking brake that will not hold, drags after release or needs far more lever travel than it used to often points to the cable, but not always. Before you repair a parking brake cable, find out which part of the system has actually failed, how your vehicle's design changes the job, and which fixes are realistic at home and which belong in a shop. This guide covers diagnosis, repair scope, options, requirements and how to confirm the result.
Confirm the fault before repair
Cable faults have a recognizable pattern. Typical evidence includes a lever or pedal that travels much further than normal, a brake that holds on one side only, or a cable that stays taut after release. Visible damage is also common: frayed strands, a kinked or crushed outer sheath, torn boots, and heavy corrosion where the cable enters the backing plate or caliper bracket. A seized cable often leaves one rear wheel dragging. Signs include a burning smell, reduced coasting, or one wheel noticeably warmer than the other after a drive.
Several other faults produce the same complaints. Poor holding can come from worn or glazed rear shoes, friction material contaminated by brake fluid or axle grease, a self-adjuster that has stopped working, or a seized parking mechanism inside a rear caliper. Drums and brake rotors worn beyond their wear limits can cause it too. A red brake warning lamp may relate to low brake fluid or a hydraulic fault rather than the parking brake switch. A useful isolation test is to disconnect the cable at the wheel end with the vehicle safely supported. If the cable then moves freely by hand but the brake mechanism stays stuck or weak, the cable is not the root cause.
Define the repair scope
Start by identifying which parking brake design your vehicle uses. The common designs are: • rear drums, where the cable operates the service shoes through a lever; • rear discs with a parking mechanism built into the caliper; • drum-in-hat systems, where small shoes work inside the hat section of the rotor; • electronic parking brakes, which use either motors mounted on the calipers with no cable, or a central actuator that pulls conventional cables; Cable layouts also differ. Many vehicles use a front cable running to an equalizer, which then feeds one or two rear cables, and some add an intermediate section. The same model can use different cables depending on drivetrain, wheelbase, brake package or transmission. Confirm vehicle fitment by VIN or build data rather than model name alone.
Next, establish how far the damage extends. Check whether the problem is confined to one rear cable or also involves the other side, the equalizer, brackets and retaining clips, or the lever or pedal ratchet. If one cable has seized from corrosion, inspect its partner, which has the same age and exposure, but do not assume it has failed without evidence. A cable that has held the brake partly applied may also have overheated the shoes or brake pads on that wheel. That can widen the job from a cable swap to a brake service.
Compare repair options
Adjustment is appropriate only when the cable is intact, moves freely and lever travel is simply out of specification, for example after rear brake work. Many service procedures require the shoes or the caliper parking mechanism to be adjusted first and the cable afterward. Tightening the cable to compensate for worn shoes or a stuck self-adjuster hides the real problem and can cause drag once the base brakes are corrected. Adjustment cannot fix fraying, internal corrosion or a sheath that binds.
Freeing and lubricating a stiff cable may help briefly, but corrosion inside the sheath usually returns. Do not splice or patch damaged strands, end fittings or sheaths, because this is a safety part. The durable repair is to replace the affected section with a cable that matches your vehicle fitment. Smaller hardware can be replaced on its own when it is the only fault, including return springs, clips, the equalizer, brackets or boots. A new cable still leaves some problems unresolved: worn friction material, a seized caliper mechanism or parts overheated by earlier dragging.
Some systems call for specialist service. Electronic parking brakes typically need a scan tool to enter a service or maintenance mode before the mechanism is released, and some need calibration after repair. Forcing the mechanism can damage the actuator. Book a brake shop in any of these cases: • the system uses a cable-pulling electronic module; • the cable routes above the fuel tank or through exhaust heat shields; • the drum-in-hat shoes need adjustment; • the service brakes are also affected
Requirements and limits
Do not start without the following: • a firm, level surface, wheel chocks, and a jack with rated jack stands or a lift; never work under a vehicle held only by a jack; • hand tools, a torque wrench, and often a small tool to compress cable retaining tabs; • the correct replacement parts for your vehicle; • vehicle-specific service information covering cable routing, attachment points, the adjustment procedure, specifications and torque values; Brake dust should be wet-cleaned with brake cleaner rather than blown out with compressed air.
A failed parking brake means the vehicle may roll. Before and during the repair, secure it with the transmission in park or in gear and with wheel chocks. Do not rely on the parking brake. Stop driving and have the brakes professionally inspected if you notice any of the following: • severe dragging; • a warning lamp combined with low brake fluid; • a change in pedal feel; • any sign the service brakes are affected; If you lack the scan tool, the service information or a safe way to support the vehicle, leave the job to a professional.
Verify the outcome
With the vehicle still supported, apply and release the parking brake several times and check the following: • both rear wheels lock when the brake is applied and turn freely without drag when it is released; • lever or pedal travel falls within specification; • both cables return fully; • the warning lamp comes on when the brake is applied and goes out when it is released; • on electronic systems, the brake applies and releases from the switch, no faults are stored and any required calibration has completed; Then carry out a holding check on a gentle incline in a controlled location, as your service information describes. Finish with a short drive and check for drag, taking care around hot components.
Document the work: replaced parts and their part numbers, adjustment values, shoe, drum or rotor measurements compared against wear limits, and any fault codes. If the brake still holds poorly or drags, the cause most likely lies elsewhere, such as friction material, contamination, the caliper parking mechanism, the self-adjusters or the lever ratchet. Recheck those by measurement rather than adjusting the cable again. If the symptoms remain, have the vehicle diagnosed professionally before relying on the parking brake.