Brake Line Replacement: What the Job Involves
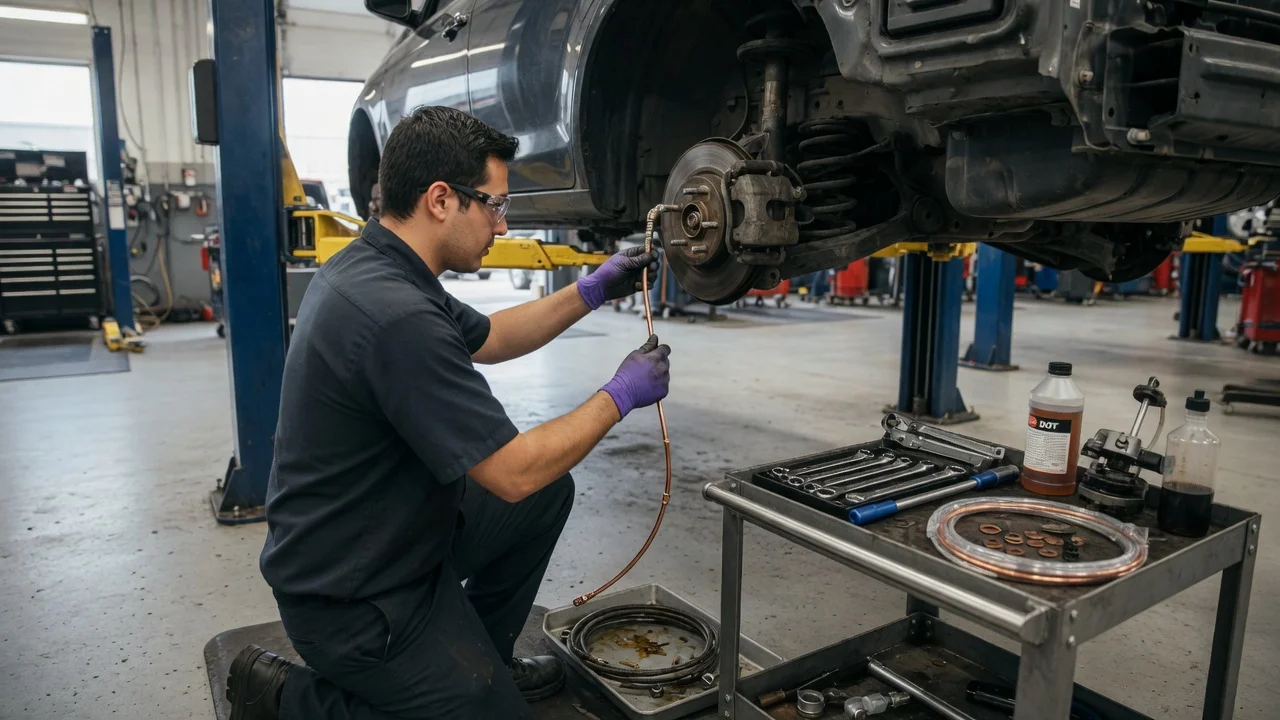
What Brake Line Replacement Means
Brake line replacement is the repair service that removes damaged or corroded hydraulic lines and installs new ones so the braking system can hold pressure and transfer force reliably to the wheels. The job can range from changing one short flexible hose at a wheel to replacing long sections of rigid metal line running along the vehicle body, and the scope materially changes both cost and difficulty.
The work is not a routine maintenance item like a pad change. Most replacement becomes necessary after a leak, visible corrosion, physical damage, or a failed inspection. Because the brakes are split into hydraulic circuits, one failed line can reduce stopping force or cause the pedal to sink, which makes the repair safety-critical rather than optional.
How Brake Lines Work and Why Replacement Matters
Brake lines form the sealed pathway that carries brake fluid from the master cylinder to the calipers or wheel cylinders. Pressing the pedal pushes fluid through the lines, and because liquid is effectively incompressible, that pressure is transmitted directly to the brake components at each wheel. For the system to work, every line and fitting must remain leak-free under high pressure.
There are two main types. Rigid metal lines, usually made from steel or a corrosion-resistant alloy, run along fixed sections of the chassis. Flexible rubber or braided hoses are used where movement occurs, such as between the body and a suspension component. Damage to either type breaks the hydraulic seal, allowing fluid out and air in, which reduces or eliminates braking force on the affected circuit.
Signs That a Brake Line May Need Attention
Several observable symptoms can indicate a brake line problem, though none alone proves the exact failed part. The most direct signs are a brake warning light, a pedal that feels soft or slowly drops toward the floor, reduced stopping power, or visible brake fluid near the wheels or along the underside of the vehicle.
Low or dropping brake fluid level in the reservoir without an obvious pad-wear explanation; Fluid stains, drips, or wet spots on suspension components or the ground; A spongy brake pedal or longer pedal travel than normal; Visible rust, cracking, or swelling on lines and hoses; The vehicle pulling to one side under braking
A brake fluid leak or a pedal that sinks toward the floor is a condition for stopped use. The vehicle should not be driven until the system has been inspected and repaired, because the loss of pressure can become sudden and complete.
What the Replacement Job Involves
The general procedure is to access the failed line, remove the old hydraulic line and its fittings, install the replacement, and then bleed the brakes to remove air from the system. After bleeding, the technician confirms that the pedal is firm and that every connection is dry under pressure.
The main steps are:
Safely lift and support the vehicle; Identify the leaking or damaged line and the fluid circuit it serves; Loosen and remove the old fittings, catching escaping brake fluid; Remove the old line, taking note of its routing and mounting points; Install the new line in the same protected route and secure it with the correct clips; Tighten all fittings to the applicable specification; Fill the reservoir and bleed the affected circuit, then verify pedal feel and leak-free connections
On many vehicles, replacing a short rubber hose is straightforward if the fittings separate cleanly. Rigid metal lines are more involved because the replacement often needs bending to match the original path and may require double-flared ends formed with a dedicated flaring tool. Pre-bent factory lines can reduce that fabrication work but are not available for every model or section.
Tools and Prerequisites
The work requires standard hand tools, brake-system tools, and a way to bleed the brakes. Typical equipment includes a flare-nut wrench to avoid rounding brake fittings, line wrenches or spanners, a tubing cutter, bending and flaring tools for replacement metal line, a container for old fluid, fresh brake fluid of the specification listed for the vehicle, and a pressure or vacuum bleeder or a second person for manual bleeding.
Brake fluid is corrosive to paint, so spills should be cleaned immediately. Applicable tightening values, fluid type, and bleed sequence should be verified against the manufacturer's guidance for the specific vehicle before starting, because these details vary by model and brake system layout.
Strengths and Limitations of the Repair
The main benefit of replacement is that it restores a sealed, full-pressure hydraulic circuit rather than masking the symptom. New line and fresh fluid remove the immediate leak risk and give the system a known service point. A disadvantage is that the job can uncover related problems, such as corroded fittings, seized bleed screws, or a master cylinder that has been damaged by low fluid, which can expand the scope and cost.
A direct fit line or flexible hose is the most accessible case for experienced home mechanics. Fabricating metal line and properly bleeding a modern anti-lock braking system is more demanding, and incorrect flares, routing, or tightening can create a new leak or an interference point with moving parts.
When to Use a Professional
Professional service is appropriate when the failure involves long sections of hard line, damage near the ABS hydraulic unit, corroded or inaccessible connections, or any vehicle whose bleed procedure requires scan-tool actuation of the ABS valves. A shop is also the safer boundary when there is doubt about flaring metal line or completing a full, pressure-tested repair.
Because brake performance depends on every hydraulic connection, the completion check is not a visual inspection alone. The vehicle should hold a firm pedal, maintain fluid level, and show no moisture or pressure leakage at any replacement fitting after a road-speed test in a safe area.