Repair a Damaged Brake Line: What a Safe Fix Involves
The short answer
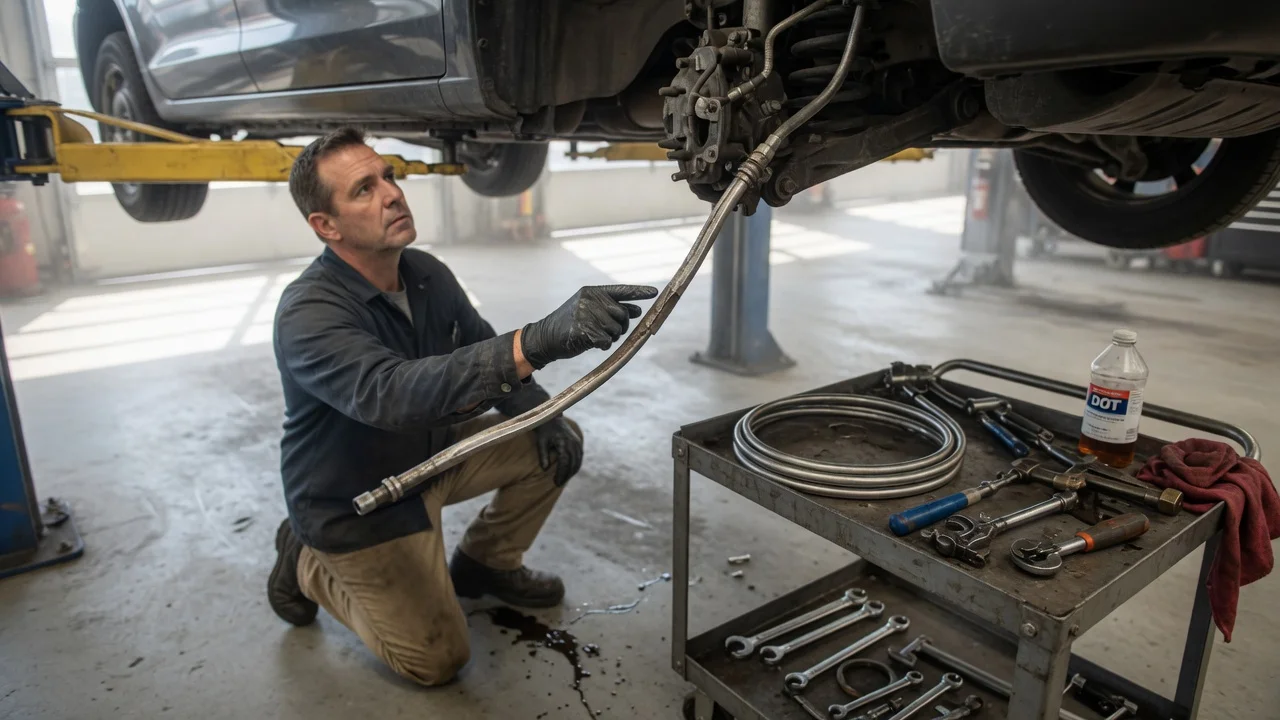
A damaged brake line should be repaired by replacing the damaged section, or the whole line, with new brake-rated tubing joined by correctly flared fittings. It should not be patched with tape, epoxy, sealant or clamps. After the new line is installed, the brake system must be bled to remove air. Brake lines carry fluid under high pressure every time the pedal is pressed, so a repair that seems fine at rest can fail under hard braking.
Several things change the answer for a particular vehicle. These include whether the damage is on a rigid metal line or a flexible rubber hose, the flare type the vehicle uses, the line diameter, and whether the anti-lock braking system (ABS) needs a special bleeding procedure. No vehicle-specific specifications were supplied for this guide. Treat the steps below as general guidance, and confirm details in the service information for your model year and variant.
Confirm the brake line is actually the problem
Brake symptoms can come from several parts of the hydraulic system. Before buying parts, find where the fault actually is. A warning light or fault code is something to investigate, not proof that a specific line has failed.
Fluid on the ground or on a wheel: trace the wet area back to its highest point. A leak at a metal line, a fitting, a flexible hose, a caliper or a wheel cylinder each needs a different repair. Low fluid in the master cylinder reservoir: this points to a leak somewhere or to worn pads. Pad wear lowers the level gradually without any wetness. Soft or sinking pedal: this can mean a line leak, air in the system or an internal master cylinder fault. If there is no external leak, the master cylinder becomes more likely. Visible corrosion on a line: surface rust differs from scaling, pitting or swelling. Flaking or pitted lines may be close to failing even if they are not leaking yet. Kinked, crushed or rubbed line: physical damage can restrict flow or weaken the tube wall even without a leak. Cracked, bulging or chafed flexible hose: flexible hoses are replaced as complete parts and are never repaired.
Stop driving and have the vehicle towed if any of the following apply: the pedal goes to the floor or feels much softer than normal; the brake warning light stays on together with fluid loss; fluid is actively dripping from a line; or the reservoir is empty or near empty. Many vehicles use a dual-circuit system, so some braking may remain after one line fails. Stopping distances can still increase sharply, and the system should not be relied on.
Get a professional inspection if the leak source is unclear, if corrosion is widespread along several lines, or if the damaged section is in a hard-to-reach area such as above the fuel tank or along the frame. Widespread corrosion often means more lines are close to failing, and replacing one section may only move the next failure elsewhere.
Why patches and quick fixes are not acceptable
Tape, epoxy and leak-stop products cannot reliably hold brake pressure. Compression fittings are also widely regarded as unsuitable for brake lines. Many manufacturers advise against them, and they may not pass safety inspection in some regions. A double flare or bubble flare that matches the vehicle's original design is the accepted method for joining rigid brake tubing.
What a brake line repair kit contains
Brake line repair kits vary. Some include a coil of tubing and an assortment of fittings, while others also include a flaring tool and a tube cutter. Before buying, check that the kit matches your vehicle on the points below.
Item | What to match | Why it matters; Tubing diameter | The outside diameter of the original line | A mismatched diameter will not seal in the fittings or flares; Flare type | Double (inverted) flare or ISO bubble flare, as used on your vehicle | The two styles are not interchangeable, and the wrong one will leak; Fitting thread | The thread size and pitch of the original fittings or components | Wrong threads can damage the components they screw into; Tubing material | Coated steel, copper-nickel alloy or stainless steel | Each has different trade-offs in corrosion resistance and ease of bending and flaring; Unions | Connectors rated for brake use, matching the flare type | Joins new tubing to existing line when only a section is replaced
Copper-nickel brake tubing, often sold under the name cunifer, is easy to bend and flare by hand and resists corrosion. Do not confuse it with plain copper plumbing pipe, which is not suitable for brakes. Stainless steel resists corrosion well but is harder to flare and usually needs a better-quality tool. Coated steel is similar to many original-equipment lines. As an editorial judgment, copper-nickel is often the easiest material for a home repair, as long as it is permitted for your vehicle and region.
General repair steps
Raise and support the vehicle securely on stands, never on a jack alone, and wear eye protection. Identify the damaged section and decide whether to replace the whole line or splice in a new section with unions. Replacing the whole line avoids extra joints, which are potential leak points. Limit fluid loss, for example by placing plastic film under the reservoir cap. Keep brake fluid off painted surfaces, because common glycol-based fluids can damage paint. Use line (flare-nut) wrenches to loosen the fittings. Ordinary open-end wrenches tend to round off soft brake fittings. Cut out the damaged tubing squarely with a tube cutter rather than a hacksaw, then deburr and clean the end. Slide the fitting nuts onto the new tubing, facing the right way, before forming the flares. Forgetting this step means cutting off the flare and starting again. Form the flare that matches the vehicle and inspect it for cracks, splits or an off-centre shape. Redo any flare that looks imperfect. Bend the tubing to follow the original route, keeping it clear of exhaust heat, moving suspension parts and sharp edges. Refit the original clips. Tighten the fittings firmly without over-tightening. Use the manufacturer's specification if one is available, as none was supplied here. Top up with the brake fluid type specified on the reservoir cap or in the owner's manual, then bleed the system. Check for leaks with the engine running and firm pedal pressure applied, then test the brakes at low speed in a safe area before driving normally.
Bleeding the brakes after the repair
Opening a brake line lets air into the system. Air compresses, which makes the pedal soft and reduces braking force. The usual approach is to bleed each wheel in the order the manufacturer specifies, often starting with the wheel farthest from the master cylinder. Keep the reservoir topped up throughout so no new air is drawn in.
On some vehicles with ABS or electronic stability control, air that reaches the hydraulic control unit can only be cleared with a scan tool that cycles the unit's valves. Whether this applies depends on the make, model and system design. Check the service information for your vehicle, or have a workshop finish the bleed if the pedal does not firm up after a conventional bleed.
When to leave it to a professional
A careful DIY repair is realistic if you have the correct flaring tool, the matching parts and a safe way to lift the vehicle. A professional is the better choice if you cannot produce consistent, crack-free flares, if the line runs through areas that need major parts removed, if several lines are corroded, or if your vehicle needs scan-tool bleeding. Because the brakes are the vehicle's most important safety system, have the work inspected if you are unsure about any step.
Information gaps to resolve for your vehicle
This guide cannot provide vehicle-specific details. Confirm the following for your model year, generation and market: line diameter, flare type, fitting thread sizes, fitting torque values, the specified brake fluid, the bleeding sequence, and whether ABS bleeding requires a scan tool. Also check local inspection rules on approved repair methods and materials.