Brake Line Flaring Tools: Choosing a Tool for Line Replacement
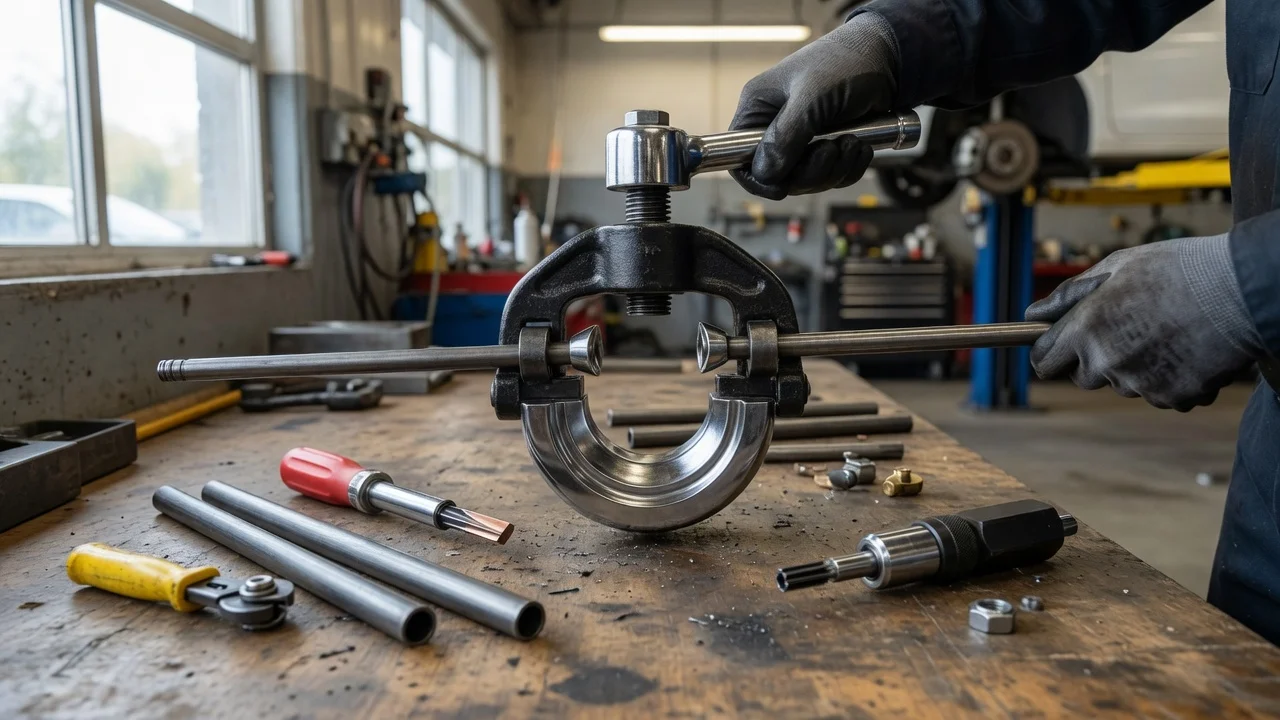
The short answer
Buy a flaring tool that forms the same flare your brake fittings use, in the tubing material and diameter you will install, and that you can operate in the space where the flare will be made. The choice that most often changes the purchase is flare style: SAE double flare (also called inverted flare) versus ISO bubble flare. The next conditions that change it are hard tubing such as stainless steel, and whether the flare must be formed on the vehicle instead of on a bench.
A flare is the formed end of the metal tube that seals against a matching fitting when the nut is tightened. Brake hydraulic lines are not a place for a single, thin flare. The joint has to hold pressure, so the tool must produce the correct finished shape, not merely a look-alike lip.
Identify the flare before you shop
Match the tool to the fitting, not the other way around. Remove a line nut and look at the tube end and the seat in the fitting, or check service information for that model year, market, trim and brake circuit. Many US-market and Japanese vehicles use a double flare that seats in an inverted cone. Many European vehicles use a bubble flare, which is a rounded bulge that seats in a matching cup. Those two shapes are not interchangeable. A double-flare tool will not correctly form a bubble, and a bubble tool will not correctly form a double flare, unless the kit includes separate punches or dies for each style.
Confirm tube diameter on the line you are replacing or on the replacement kit. Dies are size-specific. A kit that lacks the die for your diameter cannot make a usable joint, even if the flare style is right. If the vehicle uses more than one diameter, or you also work on fuel or transmission lines, check that every size you need is in the box.
Unresolved differences are common across markets and years: the same nameplate can use inverted-flare fittings in one region and bubble flares in another, and a later redesign can change the fitting at one end of a line only. If you cannot identify both ends of every line you will replace, stop and match the parts before buying the tool.
What to check before you buy
Suitability for the job comes first. A light bar-style or screw-type kit can be enough for occasional work on annealed steel or copper-nickel tubing when you can cut, deburr and form the flare on a bench. Stainless steel and some harder replacement lines need more forming force; hydraulic kits with the matching dies are the usual path for that material. If a line must be flared while still on the vehicle, a compact in-line or handheld body that clamps the tube without a full bench setup matters more than extra dies you will not use.
Compatibility is a kit check, not a brand check. Look at flare style, tube diameter, and whether the included adapters form a true double flare or only a single flare. Inspect how the clamp holds the tube: the tube must sit at the correct height in the die so the finished flare is concentric and fully formed. A tool that lets the tube slip or sit proud of the die will produce a thin, off-center, or cracked flare that leaks under pressure.
Condition of the rest of the job can cancel a tool purchase. Replacement tubing, flare nuts, and unions have to match the flare and the thread on the caliper, hose, or junction block. Damaged or unknown fittings, rusted hard lines that will not come out cleanly, and a system you cannot bleed and leak-check afterward are reasons to have the lines made or installed rather than adding another tool.
Total cost is the tool plus tubing, nuts, a tubing cutter, a deburring method, brake fluid, and bleed equipment. This brief does not include current advertised or sold prices, so treat any shelf price as incomplete until you add those consumables and confirm what the kit actually contains. Distinguish a complete flare-and-die set from a frame that requires extra punches sold separately.
Flare style on every fitting you will join: double/inverted or bubble, not mixed.
Tube material: copper-nickel and mild steel versus stainless or other hard line.
Tube diameter and whether every required die is included.
Where the flare will be formed: bench, fender, or in place on the chassis.
Matching new nuts and seats; do not assume old nuts will seal on a new flare.
A square cut and a clean inside and outside deburr before the first forming step.
A plan to pressure-check and bleed the circuit after assembly.
A check that should change the decision: if the kit cannot produce the flare style your fittings use, or cannot form your tubing material without crushing or cracking it, do not buy it as a workaround. The next step is a different tool, pre-flared replacement lines, or a shop that can form the ends.
How the main tool types compare
Compare tools on the same criteria: flare styles they can form, force they can apply, how they clamp the tube, and whether you can use them where the cut will be. Figures from mixed kit generations or unlabeled dies are not comparable, so rank by the dies and instructions in the specific set in front of you.
Tool type Best fit Trade-off; Manual bar or screw clamp with double-flare dies Bench work on softer brake tubing when you need SAE inverted flares Limited force on hard tubing; quality depends on clamp height and die fit; Bubble-flare (ISO) dies or a dedicated bubble adapter European-style fittings that seat on a rounded bubble Wrong choice for inverted-flare seats; only useful if those dies are actually in the kit; Combination kits with both punch styles Mixed fleets or unknown future jobs Heavier and easier to use the wrong punch if dies are unlabeled; Hydraulic body with interchangeable dies Stainless or frequent forming, including some on-vehicle work Higher purchase cost and more parts to keep matched; still only as good as the die set; Pre-flared replacement lines or a shop flare One-off repairs, hard-to-reach lines, or no leak-check setup at home You give up reuse of the tool; you still must match flare, length, routing and fittings
If you replace lines on one vehicle with inverted-flare fittings and copper-nickel or mild steel tubing, and you can form the ends on a bench, a well-clamping manual double-flare kit with the correct diameter die is the usual fit. If the fittings are bubble type, that same kit is the wrong tool unless it includes bubble punches. If the tubing is stainless, or you will form flares often, a hydraulic set with the matching dies is the better fit. If you cannot confirm flare style, cannot bleed and inspect the system, or cannot get a square, uncracked flare in a test piece of the same tubing, have the line made rather than forcing a cheaper kit.
After the tool is chosen
Cut the tube square, deburr inside and out, slide the nut on before forming, and follow the tool’s sequence for that flare style. A double flare is formed in two steps so the tube wall folds back on itself; skip the first step and you are left with a weak single flare. Inspect the finished end: it should be even, uncracked, and centered on the tube, with a seat that matches the fitting. Form a practice flare on scrap of the same material and diameter before you commit the last length of a hard-to-replace line.
No prices, kit inventories, or vehicle-specific fitment lists were supplied for this article. Confirm flare type and tube size on the vehicle or replacement parts, read the die list on the kit you are considering, and treat brake-line work as a pressure-holding safety joint: if the flare, nut, or bleed result is uncertain, stop and use pre-flared lines or professional forming.