Brake Line Flaring Tools: Selection and Use for Line Repairs
The essential answer
A brake line flaring tool is a forming kit that shapes the cut end of a rigid brake tube so it seats and seals in a matching fitting. For a line repair, the right tool is the one that can produce the flare family the vehicle actually uses, at the tube outside diameter you are joining, in the tube material you are installing. The wrong flare type, a cracked or off-center seat, or a nut that was not slid onto the tube before forming will not seal under hydraulic pressure.
This guide covers hydraulic service-brake and clutch hard-line repairs on light vehicles: identifying the joint, choosing a handheld or hydraulic kit, preparing the tube, forming the flare, and inspecting it before the circuit is bled. It does not cover flexible-hose crimping, master-cylinder or modulator overhaul, or proportioning-valve work. Vehicle-specific flare type, tube size, material and nut torque are not supplied here; those must be taken from the remaining original tube end and from service information for that model year, market and brake circuit.
Flare type comes first
Two flare families dominate passenger-car and light-truck hard lines, and they are not interchangeable. A double-flare inverted seat will not seal correctly in a bubble-flare fitting, and a bubble will not seal correctly in an inverted double-flare cone. Identify the flare on the remaining original tube or on the component port before you buy or set up a tool.
Flare family Seat How it is formed Typical association; SAE inverted double flare Folded double wall on an inverted cone Two-step: upset a bubble, then finish with a cone Common on many U.S.-market hydraulic brake tubes; ISO or DIN bubble flare Single convex bubble One-step bubble die to the kit stop Common on many European-market tubes; also used on some other-origin vehicles
Country of sale is a clue, not a specification. The same nameplate can use different flare types by model year, assembly plant, circuit (front versus rear, master cylinder versus hose) or aftermarket replacement. If the original end is neither a clear inverted double flare nor a bubble, match the OEM end from service information rather than forcing a common die.
Tube size, fittings and material
Dies and adapters are sized to tube outside diameter. Catalogs commonly list 3/16 inch and 1/4 inch in inch systems and nearby metric diameters such as 4.75 mm and 6 mm. Those sizes are typical, not universal. Measure the tube you are installing and match the die set. A die that is even slightly oversized or undersized will collapse, split or leave an incomplete seat.
Slide every union, nut or hose fitting onto the tube before you flare, with the threads toward the future joint. Once the flare is formed, the fitting cannot pass over it. The nut must match both the flare family and the port thread.
Tube material changes how much clamp rigidity and forming force you need. Low-carbon steel brake tube is the historical default and forms in a sound manual kit when the dies are sharp and the stick-out is correct. Nickel-copper tube, often sold as copper-nickel brake line, forms more readily in a bar-style tool. Stainless steel work-hardens and often needs a stiffer yoke or a hydraulic kit to finish a full, uncracked double flare. Whether a given vehicle may be repaired in a particular alloy is an OEM and regulatory question; the tool only has to be capable of forming the tube you install.
Tool types used for line repairs
Kits differ by how they clamp the tube and how they apply forming force. Named-product ratings, cycle counts and comparative leak-test results are not supplied in this brief. The categories below are the ones parts catalogs and shop practice use when matching a kit to the job.
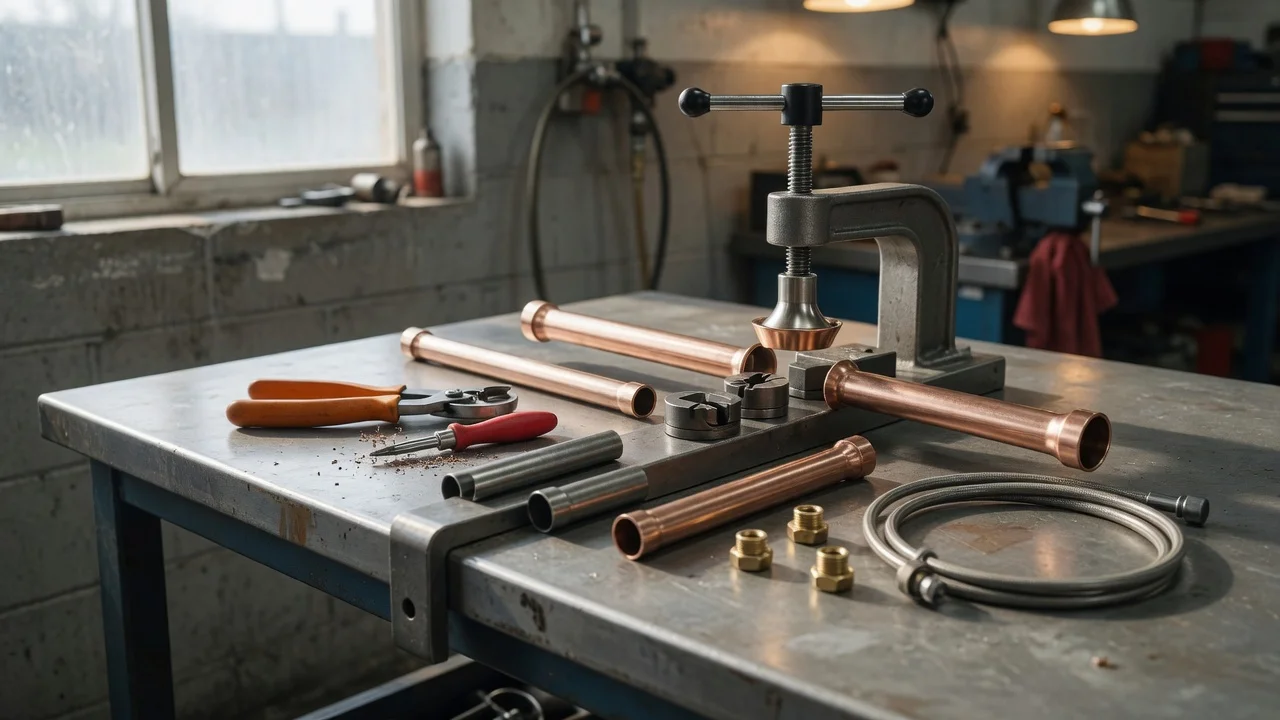
Bar or vise-style double-flaring kits clamp the tube in a split die. A threaded adapter upsets the bubble, then a cone finishes the inverted double flare. This layout covers many mild-steel and nickel-copper SAE repairs when the dies are in good condition and the two-step sequence is followed. Yoke or turret inverted-flare tools add clamp rigidity and a forming screw, often with several sizes in one body. The extra stiffness helps keep harder tube from pushing back, a common cause of short or lopsided flares. Hydraulic flaring tools use a hand pump or a screw-driven ram to push the forming dies. They are the usual choice for stainless tube, repeated production-quality flares, or joints that still need a full seat in a tight engine bay. Bubble-flare (ISO) tools use dedicated bubble adapters or hydraulic bubble dies. A double-flare finishing cone is not a substitute for a bubble die. A hard-line tube cutter, an inner and outer deburring tool, and flare-nut wrenches belong with the same job even when they are sold separately.
How to form a repair flare
The sequence below is the standard two-family shop method. Adapter letters, die numbers and stroke limits vary by maker, so it does not replace the chart that ships with a specific kit.
Depressurize the circuit, capture fluid, and isolate the damaged section so debris and air are less likely to reach valves or the hydraulic modulator. Cut the tube square with a cutter made for hard line. A sawed end is usually crooked and work-hardened, and it flares poorly. Deburr the inside so chips do not stay in the bore, and lightly break the outside edge so the tube enters the die without shaving metal. Install the correct fitting on the tube before any forming stroke. Clamp the tube in the matching OD die so the maker’s specified length protrudes. Too little stick-out yields a thin, weak seat; too much yields a folded or split mushroom. For an SAE inverted double flare, run the bubble adapter to form the upset, retract it, then run the finishing cone until the double wall is seated and concentric. For an ISO bubble flare, use the bubble die in a single stroke to the kit’s stop. Release the die and inspect. The seat should be round, fully formed, free of cracks or gouges, and sized to the fitting cone. Recut if the flare is thin, eccentric, split or incomplete. Assemble the joint, tighten the flare nuts to the vehicle specification, bleed the circuit, and check for seepage under a firm pedal before the vehicle goes back into service. Torque figures are vehicle-specific and are not listed here.
Choosing a kit and the next action
Select for the flare family you confirmed, with dies for every outside diameter you will service, and with enough clamp rigidity for the hardest tube on the vehicle. A complete bar-style double-flaring kit plus a cutter and deburrer covers many mild-steel and nickel-copper SAE repairs. If stainless lines or ISO bubble flares are in the work mix, add matching bubble dies or a hydraulic set rather than improvising with an inverted-flare cone.
Pre-flared replacement line, pre-made barrier hose assemblies and OEM-length hard lines remain valid when a flare cannot be formed in place or when the remaining tube is too short to re-clamp. Use the flaring tool when you are splicing or custom-bending tube to original routing.
Qualifications that change the answer
Hydraulic brake connections are safety-critical. A formed flare is acceptable only when it matches the fitting, the tube and the joint type specified for that vehicle. Compression fittings, soldered joints and generic plumbing flares sit outside normal hydraulic brake practice for this repair.
Anti-lock and electronic stability systems add bleed and contamination constraints. They do not change flare geometry, but a poor flare that sheds particles or admits air is harder to recover from. Where service information calls for line replacement as an assembly, forming a field flare may not be the specified repair.
Gaps in the supplied brief include the absence of a vehicle-by-vehicle flare map, kit brand comparison, measured forming-force or burst-pressure data, and a torque table. Confirm flare family and tube OD on the part in hand, read the die chart that belongs to the kit, and take nut torque and bleed procedure from the vehicle maker’s service information for that model year and market.