Flare Brake Lines: Choosing and Using a Brake Line Flaring Tool
The short answer
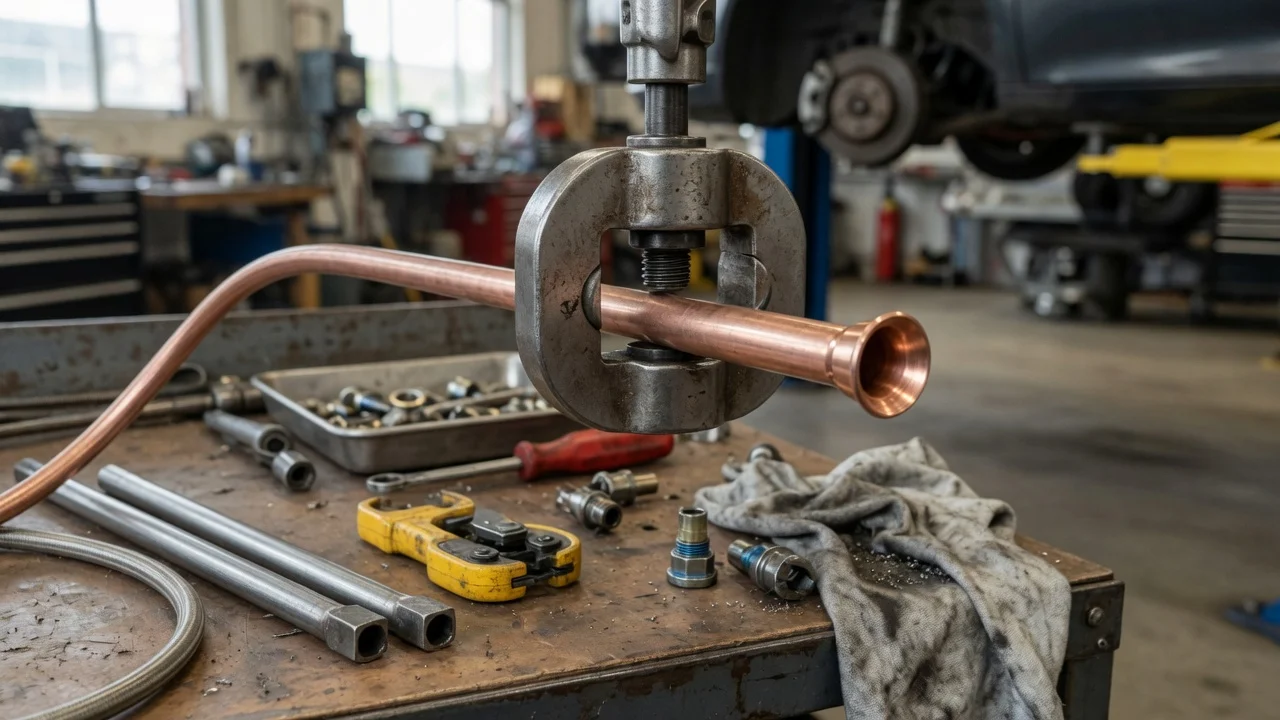
To flare brake lines, you need a flaring tool that produces the specific flare style your vehicle uses, sized for the outside diameter of the tubing. On most vehicles that means either an inverted double flare or a bubble (ISO) flare. A tool that only makes single flares is not suitable for brake lines, because a single flare lacks the strength and sealing reliability a hydraulic brake circuit requires. The flare type depends on the vehicle, so confirm it from the existing fittings or the manufacturer's service information before buying a tool.
What a brake flare is
A flare is the shaped end of a metal brake line that seats against a matching surface inside a fitting, such as a brake hose, proportioning valve, junction block or master cylinder port. When the tube nut is tightened, the flare is pressed against that seat to form a metal-to-metal seal. If the flare is the wrong shape, cracked, off-center or uneven, it can leak under braking pressure.
Double flare versus bubble flare
Flare type | How it is formed | Where it is typically found; Inverted double flare (SAE, 45 degrees) | The tube end is folded back on itself, then formed into a cone, giving a two-layer sealing face | Common on many North American and some Asian vehicles; Bubble flare (ISO or DIN) | The tube end is formed into a rounded bulge rather than a cone | Common on many European vehicles and some Asian vehicles; Single flare | One layer formed into a cone | Not appropriate for brake lines
The regional groupings above are general tendencies, not rules. Manufacturers have used different flare styles across models, markets and model years, and a single vehicle can use more than one fitting type. The reliable checks are the existing line ends, the fittings they mate with, and the service documentation for the specific vehicle.
A double flare and a bubble flare are not interchangeable. Each must seat in a fitting designed for its shape. Similarly, 37-degree AN-style flares used in some aftermarket and motorsport plumbing are a different standard and should not be mixed with 45-degree double-flare fittings.
How a double flare is made
A double flare is formed in two operations. Most tools use the same general sequence:
Cut the tubing square with a tubing cutter rather than a hacksaw, which tends to leave an uneven end. Deburr the inside and outside of the cut, and slide the tube nut onto the line facing the correct direction before flaring. Clamp the tube in the die so the correct length protrudes, usually set by a gauge or the adapter supplied with the tool. First operation: press the adapter, sometimes called a button or op-1 die, into the tube end to fold the material inward into a bubble shape. Second operation: remove the adapter and use the cone-shaped punch to fold that bubble down into the finished 45-degree double flare. Inspect the flare for cracks, splits, off-center forming or an uneven face, and redo it if any are present.
Forgetting to install the tube nut before flaring is a common mistake, since the nut cannot be added once the end is formed. Exact protrusion lengths and steps vary by tool, so follow the instructions that come with the specific kit.
Types of flaring tools
Bar-and-yoke tools: a split clamping bar holds the tubing while a screw-driven yoke presses the adapters. These are widely available and inexpensive, but results depend heavily on technique and on how well the bar grips the tube. Turret or on-vehicle tools: compact designs with rotating adapter heads that can sometimes flare a line in place on the vehicle, which helps when only a section is being repaired. Hydraulic or lever-operated tools: use hydraulic pressure or a lever to form the flare with less effort, and are often favored for harder tubing materials and repeated use. They generally cost more.
As an editorial judgment rather than a tested finding, the choice usually comes down to how often the tool will be used, whether flares need to be made on the vehicle, and what tubing material is involved. No comparative test data was supplied for specific tool brands or models, so this guide does not rank individual products.
Matching tubing size and material
Brake tubing is sized by outside diameter. Common sizes include 3/16 inch, 1/4 inch and 5/16 inch, with metric sizes also used depending on the vehicle. The flaring tool must include dies and adapters for the exact size being worked on. Check the size of the original line rather than assuming.
Material affects how easily a flare forms. Copper-nickel brake tubing is relatively soft and flares readily. Plated steel is firmer. Stainless steel is considerably harder and is more likely to crack or form poorly with basic tools, which is one reason some users choose hydraulic tools or specific dies for stainless line. Whatever the material, it should be tubing rated for brake use. Plain copper plumbing tube is not suitable for brake systems.
Safety and practical limits
Brake lines are safety-critical. After any line repair, the system must be bled to remove air and checked for leaks at every new joint, and the pedal should feel firm before the vehicle is driven. Some jurisdictions or inspection regimes have rules about brake line repairs, such as limits on joining lines with unions, and those vary by location. If you are unsure about flare quality, fitting compatibility or local requirements, have a qualified technician inspect the work.
Information gaps
No source material was supplied with specifications for particular vehicles, tool models, tubing brands or fitting torque values. Flare type, tube size and tightening procedure should therefore be confirmed from the vehicle's service information or the parts and tool manufacturers' documentation.