Identifying a 62TE Transmission Shift Solenoid
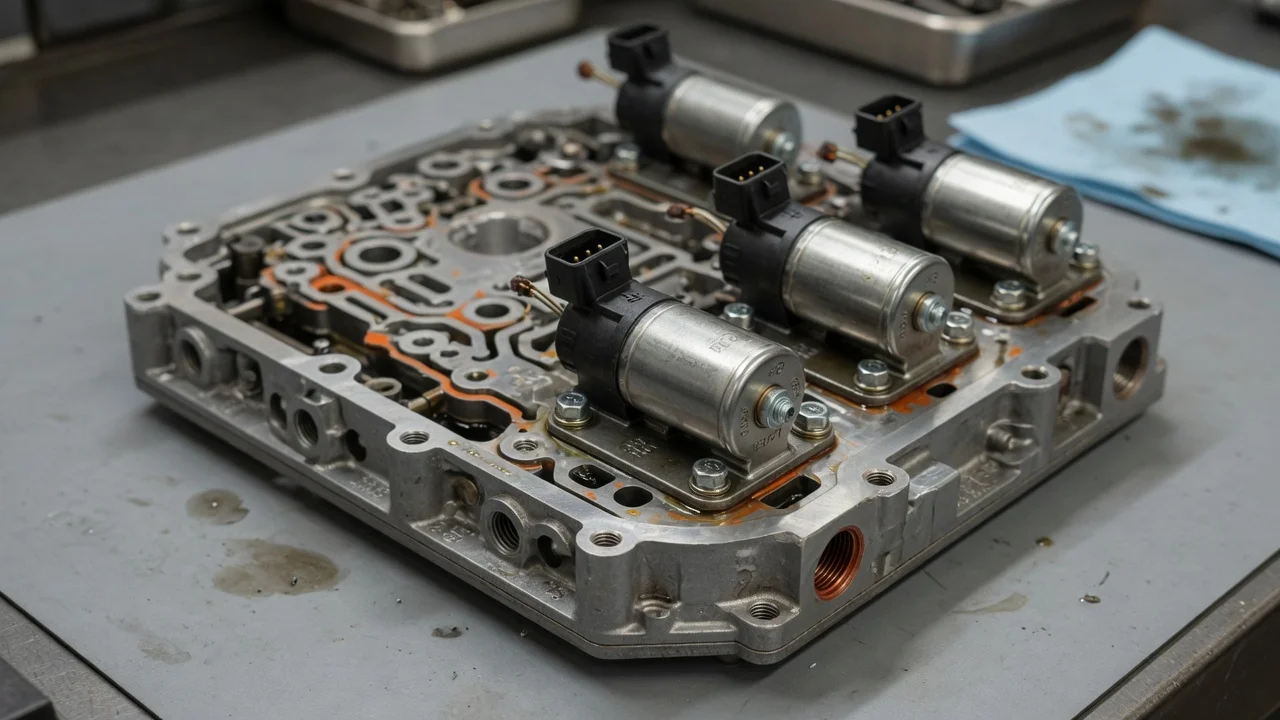
If your Chrysler, Dodge or similar front-wheel-drive vehicle is shifting poorly and a scan tool points toward a solenoid, two questions come next: is the transmission really a 62TE, and which part are you actually looking at? This guide explains how the 62TE controls its gear changes, how to identify the correct solenoid assembly for your vehicle, and why a trouble code is a starting point rather than proof that a part has failed.
The short answer
On the 62TE, the shift solenoids are not separate plug-in parts spread around the valve body. They are grouped into a single solenoid and pressure switch assembly, commonly called the solenoid pack, which mounts on the outside of the transmission case and connects to the vehicle through one harness connector. In practice, identifying the shift solenoid means identifying this complete assembly and matching it to your exact vehicle.
To do that, first confirm the vehicle has the six-speed 62TE, then match the replacement either to the part number on the existing assembly or to a lookup based on your VIN. Keep in mind that the same shifting complaints can come from low or incorrect fluid, a damaged connector, wiring faults, the transmission control module or internal clutch wear, so replacing the pack is not automatically the fix.
How the solenoid pack controls shifting
The 62TE is an electronically controlled six-speed transaxle developed from Chrysler's earlier four-speed 41TE. The transmission control module decides when to shift using inputs such as vehicle speed, throttle position, engine load and fluid temperature. It then energizes solenoids in the pack, which route pressurized fluid to apply or release individual clutches. Shift timing and quality depend on the module controlling those solenoids precisely during each clutch-to-clutch handoff.
Pressure switches in the same assembly report back to the module whether each clutch circuit actually received pressure. When the commanded state and the reported state disagree, the module can store a code and hold the transmission in a fixed limp-in gear to protect it. This is why a solenoid or pressure switch code can appear even when the root cause is low fluid, a restricted filter, a sticking valve or a worn clutch that leaks pressure.
What changes the answer
Transmission type comes first. The 62TE was used across a range of front-wheel-drive Chrysler-group vehicles from the late 2000s into the 2010s, including the Dodge Grand Caravan, Chrysler Town & Country, Dodge Journey, Dodge Avenger, Chrysler Sebring and 200, and the Volkswagen Routan. Several of these models were also offered with a four-speed transmission depending on engine and model year, and later generations moved to different transmissions. A familiar nameplate does not guarantee a 62TE, and a four-speed solenoid pack is not a substitute for a six-speed one even when the two look similar.
Within the 62TE family, the solenoid assembly was revised during production, so fitment can depend on model year, engine and calibration. Aftermarket and remanufactured assemblies sometimes list broad coverage, which makes checking against your VIN or the old part number worthwhile. Fluid specification matters as well: the 62TE uses ATF+4 type fluid, and the wrong fluid can cause shift behavior that resembles a solenoid problem. After a solenoid pack replacement, the factory procedure typically calls for a quick learn with a capable scan tool so the module can relearn clutch apply characteristics, and some vehicles may also need updated module software.
What the owner can do
Start by confirming what you have. The owner's manual, original window sticker or a VIN decode from a dealer or parts counter can identify the transmission, and on vehicles with a manual-shift mode, a gear display that counts up to six is a useful clue. Next, check fluid level and condition using the procedure for your specific vehicle, since check method and temperature requirements vary and not every unit has a conventional dipstick. Note whether the fluid is dark, smells burnt or contains debris.
Read diagnostic codes with a scan tool that accesses the transmission module, not just generic engine codes, and record whether each code is current or stored. Review the service history for recent fluid changes, the type of fluid used and previous transmission repairs. Inspect the connector at the solenoid pack for corrosion, oil inside the plug or bent pins; depending on the vehicle, reaching it may require removing the air box or other components. Write down the shift behavior in detail: which gears are affected, whether it happens cold or hot, and whether the vehicle drops into limp mode.
Repair options then follow the evidence. A confirmed electrical fault inside the pack points to replacing the assembly, followed by a correct fluid top-off and a quick learn. A wiring or connector fault calls for harness repair instead. A module fault may need reprogramming or replacement, and pressure loss from internal wear calls for internal transmission work.
Limitations and next step
This guide cannot confirm fitment for your specific vehicle or diagnose a fault remotely. Electrical test values, connector pinouts and pressure test procedures are vehicle-specific and belong to the service information for your model. A shop with factory-level diagnostic equipment can command individual solenoids, watch pressure switch states in real time and read clutch volume index values that help reveal internal wear, which separates a failed solenoid pack from problems it cannot fix.
If the transmission slips, overheats or shows burnt fluid and debris, a new solenoid pack is unlikely to solve the problem on its own, and professional diagnosis is the sensible next step. Otherwise, confirm the transmission identification, get a VIN-matched part number, verify fluid level and type, and collect complete transmission codes before deciding which repair to pursue.