How to Replace the 62TE TCC Solenoid
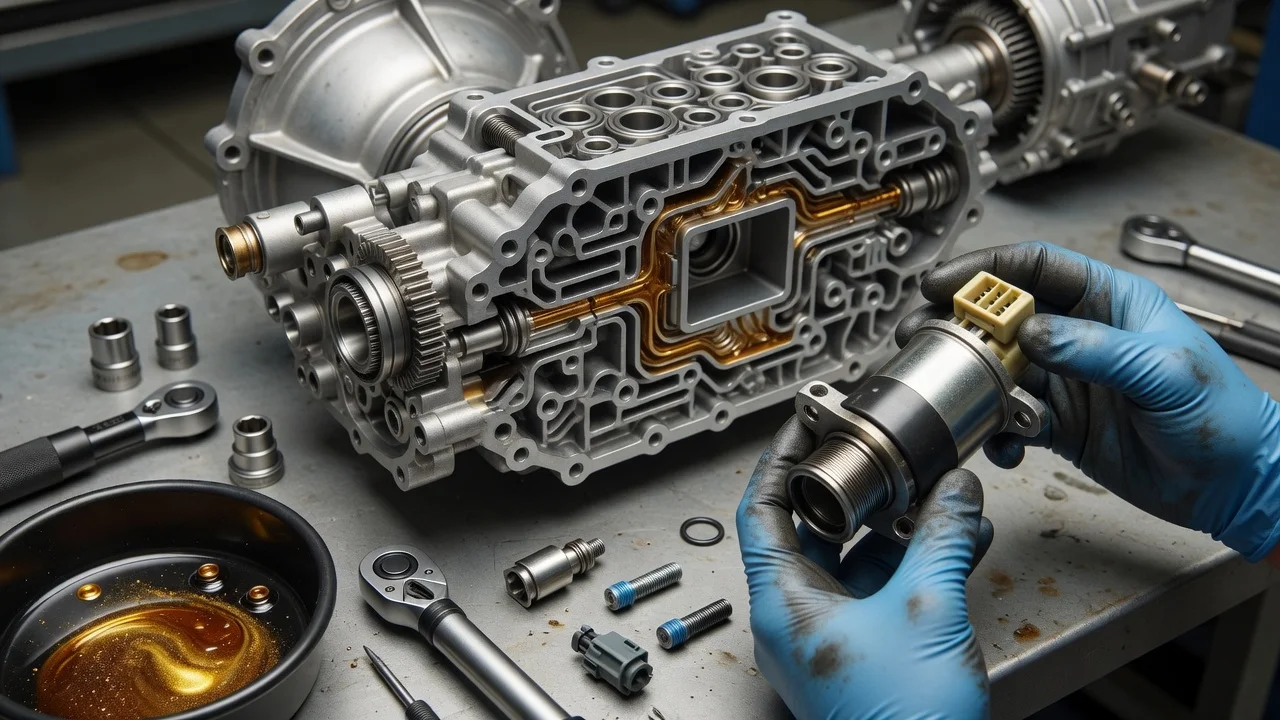
When a Chrysler or Dodge with the 62TE six-speed transaxle sets a converter clutch code or never seems to lock up, the TCC solenoid is a common suspect. Most of the job happens outside the transmission. It is only worth doing once testing points to the solenoid or its circuit, and it is not finished until the transmission control module relearns its clutch values. This guide covers repair scope, preparation, removal, installation and final checks.
Confirm the part and repair scope
Start by confirming the transmission type. The 62TE was used in front-wheel-drive models such as the Dodge Grand Caravan, Chrysler Town & Country, Dodge Journey, Dodge Avenger, Chrysler Sebring and 200, and Volkswagen Routan. Several of these models were also sold with four-speed TE units, so check the VIN or the transmission identification before ordering anything. On the 62TE, converter clutch control is built into the transmission solenoid and pressure switch assembly, often called the solenoid pack, which bolts to the outside of the case. Parts catalogs usually list this as a complete assembly rather than a standalone TCC solenoid, and fitment can change by model year and calibration. Match the part to your VIN.
Do not treat a symptom as proof of a failed solenoid. Diagnostic codes such as P0740 or P0741, shudder at steady cruising speeds, no lockup, or stalling when coming to a stop can also come from low or degraded fluid, a damaged connector or harness, outdated TCM software, a worn converter clutch, or internal pressure leaks. Review the service history for fluid changes, earlier solenoid pack replacements and software updates. Then compare commanded and actual converter slip on a scan tool, and test the solenoid circuit using the values in the service information. If the converter itself is worn, a new solenoid will not cure it. In that case the realistic repair options involve removing the transmission.
Prepare tools and safe access
Get service information for your exact model year and engine. It supplies the access steps, bolt torque values, connector details and the fluid level procedure, and these differ between the minivans, the crossover and the sedans. You also need a scan tool that can read transmission codes and live data and can run the Chrysler transmission Quick Learn or equivalent adaptation. Without that capability you cannot complete the job properly. Beyond that, gather basic hand tools, a torque wrench, a drain pan, shop towels, the new assembly with its seal, and transmission fluid that meets the fluid specification for your unit. 62TE transmissions call for ATF+4, but confirm this in your owner's manual.
Let the vehicle cool, because transaxle fluid and nearby exhaust parts stay hot for a long time. Park on level ground. Disconnect the negative battery cable before touching any transmission electrical connector, and remember that on many applications the battery has to come out anyway. If you lift the vehicle, support it on proper stands. Owners who are not comfortable with electrical diagnosis or scan tool procedures should leave this repair to a transmission shop. A skipped or failed relearn can leave harsh or erratic shift behavior even when the new part is fine.
Remove without avoidable damage
On many minivan and crossover applications, the solenoid pack sits on the driver side of the transaxle, beneath the battery and air intake area. Getting to it usually means removing the battery, battery tray and some intake components, but follow the sequence in the service information for your vehicle. Release the solenoid pack connector carefully. The locking tabs become brittle with heat. Inspect the terminals for corrosion, bent pins or fluid wicking into the connector, since any of these can explain intermittent converter clutch faults by themselves.
Remove the retaining bolts and note where each one goes if their lengths differ. Expect some fluid to drain when the assembly comes off, so keep the pan underneath. Pull the assembly straight away from the case. Do not pry against the sealing surfaces, because a gouge in the case can cause a permanent leak or a pressure problem. Cover the open passages so dirt cannot get in. Look at the old seal and the ports while they are exposed. Metal particles or friction material indicate internal wear that goes beyond the solenoid.
Install and restore the system
Before installing, compare the new assembly with the old one. Check the connector shape, the port layout and the part number or its supersession. Clean the mating surface on the case and fit the new seal or gasket supplied with the part. Do not add sealant unless the service information calls for it. Set the assembly in place, start every bolt by hand, then tighten them in the specified sequence to the specified torque. Overtightening can distort the housing and lead to leaks or pressure problems. Push the connector on until it locks, refit the intake parts, tray and battery, and reconnect the battery.
Replace the fluid that was lost, using your model's level check procedure. On these transmissions the check is normally done with the engine running and the fluid at a specified temperature. Next, run the Quick Learn with the scan tool, following its on-screen conditions exactly, and then clear any stored codes. Some replacement assemblies or older calibrations may also need a TCM software update. Check for one before you assume the job is done.
Check the completed work
Road test the vehicle with the scan tool connected. At steady cruise, the converter clutch should be commanded on, slip should fall close to zero, and engine speed should drop slightly as lockup engages. Check shift behavior through every gear and from park into drive and reverse. After the drive, rescan for codes, inspect the solenoid pack seal for leaks, and recheck the fluid level once the transmission is fully warm.
Some results call for further diagnosis rather than another part. These include the same code returning, shudder that continues, slip that stays high while lockup is commanded, harsh shifts after a completed relearn, and fluid that smells burnt or contains debris. Those findings point toward the torque converter, the wiring, the valve body, internal clutch wear or the TCM. Record the date, part number and relearn in the vehicle's service history so the next technician knows what has already been replaced.