Why Is Surface Preparation Critical Before Bonding Car Parts?
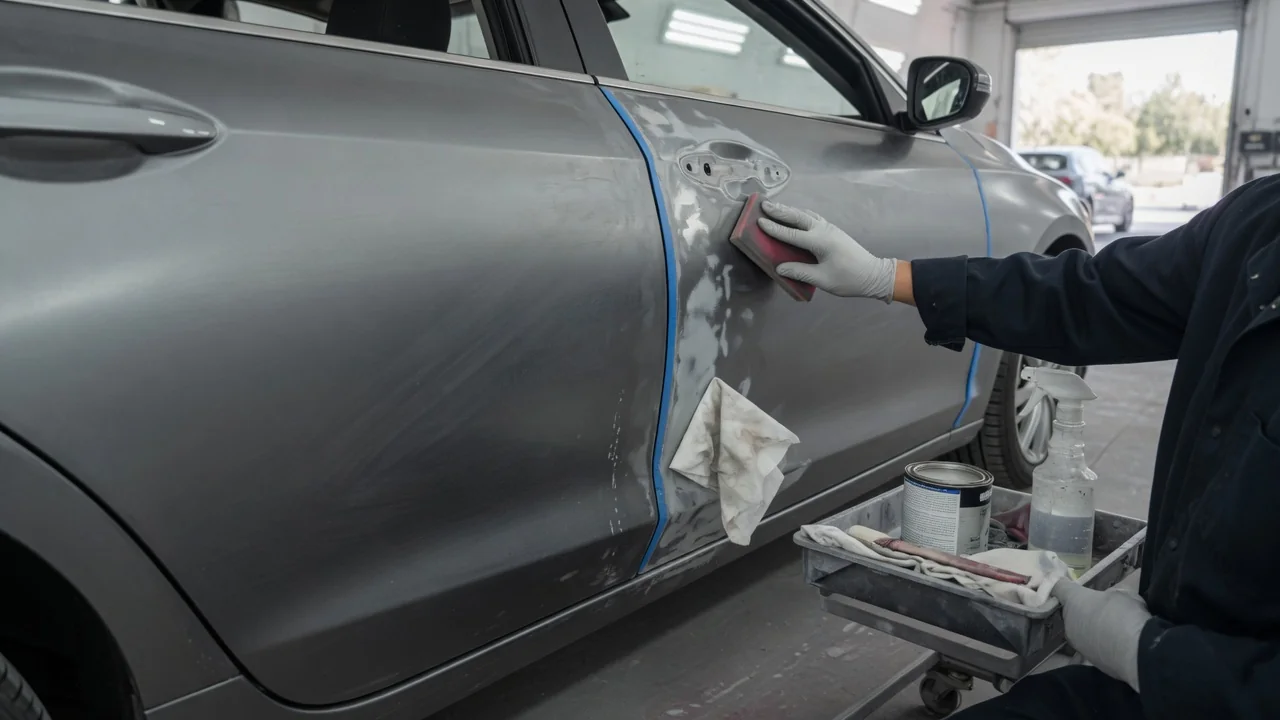
Adhesives and sealants used in car repair perform only as well as the surfaces they touch. Whether you are reattaching trim, bonding a bracket, or sealing a seam, the adhesive grips the outermost layer of the part, not the part itself. Surface preparation decides what that outermost layer is. This guide explains why surface preparation is critical before bonding car parts, focusing on three factors: a clean surface, material compatibility, and a correct cure.
Clean Surface: Removing What Blocks Adhesion
An adhesive bonds by wetting a surface, flowing into its microscopic texture and coming into close contact with it. Anything sitting between the adhesive and the substrate interferes with that contact. Oil, wax, silicone-based protectants, mold release agents left on new plastic parts, road film, and even fingerprints form what is often called a weak boundary layer. The adhesive may stick firmly to that layer, but the layer itself has little strength and little grip on the part underneath. When the joint is loaded, it separates at the contamination, and the adhesive comes away looking almost untouched. Silicone residue is especially troublesome because it spreads easily, resists many common cleaners, and can prevent both adhesives and paints from wetting the surface.
Cleaning is usually done in a deliberate order. Loose dirt and debris come off first, then the surface is degreased with a cleaner suited to the substrate and the adhesive system, wiped with a clean, lint-free cloth, and allowed to flash off completely. Degreasing before any sanding matters: abrading an oily surface can push contaminants deeper into the scratches instead of removing them. Once a surface is clean, it should not be touched with bare hands, because skin oils are enough to recontaminate it.
Mechanical preparation addresses a different problem. Loose paint, rust, corrosion, and crumbling old adhesive are weak foundations, and a new bond can be no stronger than the material it is attached to. Scuffing also removes glossy or oxidized surface layers and increases the area available for the adhesive to grip. After abrading, the dust must be cleaned off again. Not every job calls for stripping down to bare material, though. Some procedures, such as certain urethane glass installations, specify trimming the old bead to a thin, even layer rather than removing it entirely, so the instructions for the specific product and repair take priority.
Material Compatibility: Matching Adhesive, Substrate, and Prep
Cars combine many materials, including steel, aluminum, glass, painted surfaces, composites, and a wide range of plastics, and they do not accept adhesives equally. A key concept is surface energy. Materials with high surface energy, such as clean bare metal and glass, are relatively easy for adhesives to wet. Many automotive plastics, particularly polyolefins like polypropylene and TPO used in bumper covers and interior trim, have low surface energy, so liquids tend to bead up on them rather than spread. On these plastics, a general-purpose adhesive may look bonded and then peel off with little effort. They usually need an adhesive formulated for them or an adhesion promoter applied as part of the preparation. Many plastic parts carry a molded identification code on the back, which helps when choosing the right product.
Metals bring their own considerations. Bare steel begins to corrode once its protective coating is removed, and aluminum forms an oxide layer on its surface. Some adhesives are designed to bond directly to prepared bare metal, while others call for a specific primer first. When bonding to a painted or coated surface, the adhesive's strength is effectively capped by how well that coating adheres to the metal beneath it. Primers, promoters, and adhesives are generally intended to be used as a matched system, and mixing products from unrelated systems can produce poor adhesion even when each product is good on its own.
Compatibility also applies to the cleaners. Some solvents can soften, craze, or stain certain plastics, and some cleaners leave residues that interfere with the adhesive. Using the surface cleaner recommended by the adhesive manufacturer avoids trading one contamination problem for another.
Cure: How Preparation Shapes the Final Bond
Adhesives and sealants reach their final strength through a cure process, and the mechanism varies by chemistry. Two-part epoxies and urethanes cure through a chemical reaction that begins when the components are mixed. Many one-part urethanes and silicones cure by reacting with moisture in the air. Some products set as solvent or water evaporates. Preparation influences each of these. Cleaning solvent that has not fully flashed off can be trapped under the adhesive, and certain contaminants can inhibit the chemical reaction, leaving soft or tacky areas. For two-part products, an incorrect mix ratio or incomplete mixing has a similar effect, because the unreacted portion never reaches full strength.
Timing is part of preparation as well. Adhesion promoters and primers typically have a window during which the next step should be applied; going too early or too late can weaken adhesion. Adhesives have a working or open time, after which they no longer wet the surface properly. Temperature and humidity affect how quickly a product cures, and the manufacturer's technical data sheet states the conditions the product is designed for. Parts usually need to be clamped or fixtured without movement until they reach handling strength, which comes well before full cure. Loading a joint too early can disturb the bond even when the surfaces were perfectly prepared.
Practical Implications and Limits
Understanding these mechanisms helps when a bond fails. If the adhesive peels cleanly away from one surface, leaving that surface bare, the failure happened at the interface, which typically points to contamination, an incompatible material, or a missed promoter or primer. If the adhesive itself tears apart and leaves material on both parts, the interface held, and the cause is more likely the adhesive choice, the mix, or the cure conditions. Reading the failure this way makes it easier to correct the right step instead of simply applying more adhesive.
Good preparation also has limits. It cannot make an unsuitable adhesive work, and it cannot compensate for a joint that is too small, poorly fitted, or loaded in peel when the product is designed for shear. Bonds on structural, safety-related, or crash-relevant parts, including body panels and bonded glass, fall under the vehicle manufacturer's repair procedures, which specify approved products and steps. Materials and methods differ between vehicles, so general guidance like this explains how bonding works but does not replace the repair information for a specific car.
For an owner doing car repair adhesive surface preparation at home, the practical takeaway is to plan the whole sequence before opening any product. Read the technical data sheet, confirm what the parts are made of, gather the matching cleaner and promoter, and arrange clamping in advance so that preparation, application, and fixturing follow each other without long gaps. Work in conditions the product allows, with ventilation and gloves. Gloves protect your skin and also keep skin oils off a surface you have just cleaned.