RV holding tanks: choosing tanks for habitation wastewater
The short answer
The right RV holding tank is the one that fits the available space, matches your existing plumbing connections and is supported securely under your coach or trailer. Capacity matters, but it comes second. A larger tank does not help if its inlet sits in the wrong place, it hangs below safe ground clearance, or the extra weight pushes the vehicle past its rated carrying capacity.
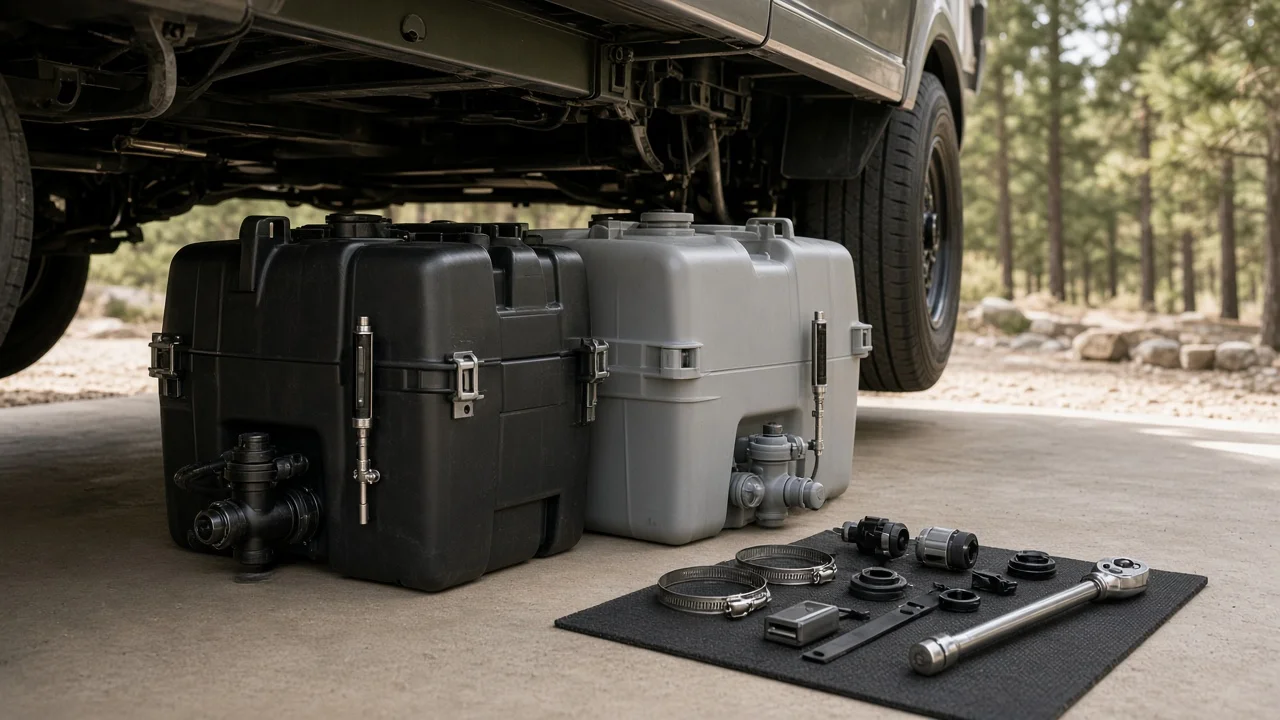
Two conditions change the answer most. First, decide whether you need a black tank, which takes toilet waste, or a grey tank, which takes water from sinks and the shower. Some RVs have a separate galley tank for the kitchen sink. Black tanks need a toilet inlet positioned directly below the toilet. Second, decide whether you are replacing an existing tank or adding a new one. A like-for-like replacement is mostly a matter of matching dimensions and fitting positions. Adding or enlarging a tank also raises questions about weight, mounting points and frame clearance.
What the tanks do
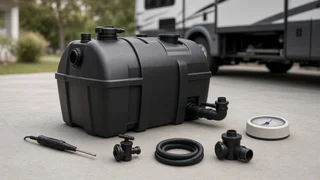
Holding tanks store wastewater until you can empty it at a dump station or a full-hookup site. Each tank has an inlet from the fixture above it, a vent pipe that releases gases and lets the tank drain smoothly, and an outlet. The outlet usually leads to a termination valve, which is the slide valve you open to empty the tank through the sewer hose. Most tanks also have level sensors, and many black tanks have a flush inlet for rinsing out solids.
Motorhomes and towable trailers use the same basic tank designs. Trailers are more likely to have tanks mounted low between or beside the frame rails, sometimes inside an enclosed underbelly. That layout affects access, clearance and cold-weather protection.
What to check before you buy
Physical fit
Measure the installation space directly rather than relying on the tank's listed capacity. Record the length, width and height available. Check for obstructions such as cross members, wiring, fresh-water lines and heating ducts. If you are replacing a tank, measure the old one and compare the measurements with the new tank's drawing. Tanks with the same capacity can have very different shapes.
Check ground clearance as well. A deeper tank can hold more, but it hangs lower and is more exposed to steep driveways, campsite ramps and rough access roads. This matters most on trailers and motorhomes that already have a long rear overhang.
Fitting positions and sizes
Fitting compatibility is the check most likely to rule a tank out. Confirm the following against your existing plumbing:
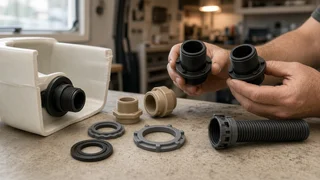
Inlet location, especially the toilet inlet on a black tank, which must line up with the toilet flange above it; Inlet and vent diameters; Outlet position and diameter, and whether it suits your existing termination valve; Which end of the tank the outlet sits at, so the drain lines up with your current sewer connection; Whether you need a flush inlet and where it should go; Whether the tank comes with fittings installed or needs them added on site
Some suppliers can add or move fittings on a standard tank before shipping. If no stock tank matches your layout, ask about this option.
Capacity and weight
Choose capacity based on how long you stay away from hookups and how many people use the RV. Remember that wastewater is heavy. Every extra gallon of capacity adds weight when the tank is full. Check the vehicle's rated carrying capacity and axle ratings before choosing a larger tank. Also think about where the extra weight will sit relative to the axles. On a trailer, tank position can affect tongue weight and towing stability.
Material and construction
Many current RV holding tanks are made from rotationally molded polyethylene. In this process the tank is formed as a single seamless piece. Some older RVs use tanks made from ABS plastic, which is assembled from panels. If you are replacing a damaged tank, find out what material it is made from. That affects whether a repair is realistic and whether a replacement will accept the same fittings and sealing methods. Ask the supplier which material each tank uses and how fittings are attached.
Mounting and support
A full tank puts a lot of load on its supports, and that load increases on rough roads. Find out whether the tank is designed to sit on a support platform, hang from straps or attach by molded-in mounting flanges. Check that your RV has matching support points. Tanks that are poorly supported can crack or pull away from their fittings. Before reusing old straps, brackets or support panels, inspect them for corrosion and fatigue.
Sensors and accessories
Check how the tank level is measured. Some tanks use probes that pass through the tank wall. Others use sensor strips fixed to the outside. Make sure the new tank is compatible with your existing monitor panel, or budget for a new monitoring system. If you camp in freezing conditions, check whether the tank can take a tank heating pad and whether it sits inside a heated or enclosed underbelly.
Model-specific compatibility
If a listing says a tank fits a particular RV, check the exact model year and floor plan. Manufacturers sometimes change tank size, shape or fitting positions between model years or floor plans of the same model. Treat a fitment claim as unconfirmed until it matches your vehicle's details, or until you have checked it against your own measurements.
Installation and total cost
The tank itself is only part of the cost of replacing one. Allow for:
Draining, cleaning and safely removing the old tank; Access work, such as removing underbelly panels or lowering support structures; New fittings, seals, termination valves and pipe sections; Mounting straps, brackets or support panels; Level sensors or a monitor panel, if the old ones are not compatible; Heating pads, if needed; Labor, if you are not doing the work yourself; Shipping, because large tanks can be costly to deliver
No verified prices were available for this guide, so it does not give cost figures. When you compare quotes, check that each one lists the market, date, currency and what is included. One quote may cover only the bare tank, while another includes fittings, delivery or labor. Advertised prices are not the same as what buyers actually paid, and a low tank price can be offset by the cost of fittings or modifications.
Repair or replace?
Before buying a replacement, find out exactly what has failed. Leaks often come from a fitting, seal, termination valve or pipe joint rather than the tank body, and those parts can be replaced on their own. Faulty level readings are often caused by sensors or residue inside the tank, not by tank damage. If the tank body is cracked, whether it can be repaired depends on the material and on where the damage is. Ask an RV service technician or the tank supplier for an assessment before you decide.
Next steps
Write down your RV's make, model, model year and floor plan. Measure the installation space and the existing tank, and photograph the fitting positions. Take that information to tank suppliers or an RV service center to narrow the options to tanks that physically fit and connect. Only then compare capacity, construction and total installed cost.