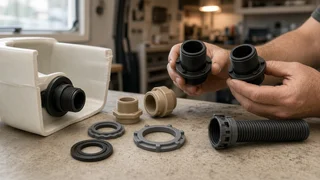
Black Holding Tank for an RV: What to Check Before You Buy
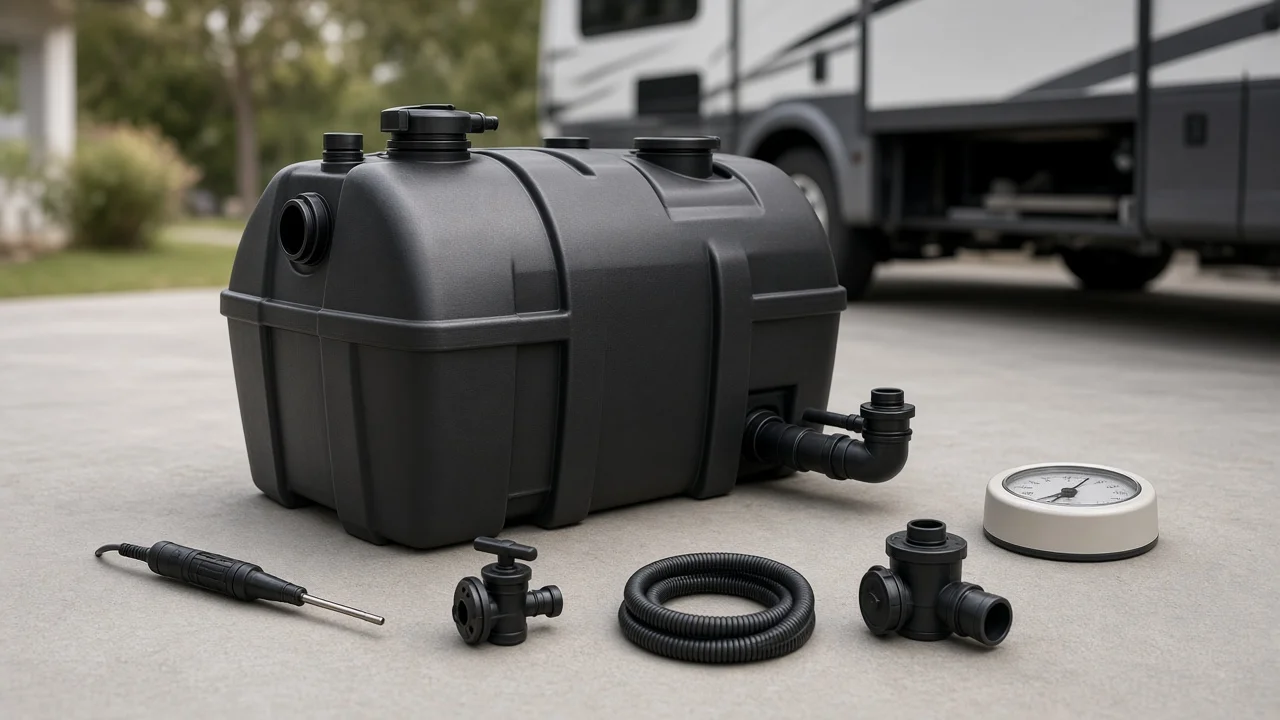
The Short Answer
The right black holding tank for an RV is the one that physically fits the space under your floor, places its toilet inlet directly below the toilet flange, lines up with your existing outlet and termination valve, and has fittings for venting, level sensing and flushing that match your plumbing. Capacity matters, but it comes after fit. A larger tank that forces bends in the toilet drop, blocks the outlet path or overloads the chassis is a worse choice than a smaller tank that drops straight in.
One condition changes this answer: if your RV uses a cassette toilet or a composting toilet, there is no conventional black tank to replace, and adding one is a plumbing conversion rather than a parts purchase. The checks below assume a gravity-flush or similar toilet that drains into a fixed underfloor tank.
What a Black Tank Does and Why It Differs From the Gray Tank
A black tank (the blackwater tank) collects toilet waste and flush water only. The gray tank collects water from sinks and the shower. Because black tank contents include solids and toilet paper, the toilet normally sits directly above the tank so waste falls straight down with no horizontal pipe run where solids could settle. That single requirement drives most of the buying decisions.
Check Fit and Mounting First
Measure the available space under the floor, including depth below the floor and clearance above the ground, frame rails, crossmembers and any underbelly enclosure. Measure the existing tank if you are replacing one, and compare its footprint and height with the replacement listing rather than relying on capacity alone. Confirm how the tank is supported: straps, a cradle, an enclosed belly pan or brackets. A replacement may need the same support method or new hardware. Check ground clearance after installation, especially at the departure angle at the rear of the vehicle, where a low tank or outlet can scrape.
Match the Inlet to the Toilet Location
The toilet inlet on the tank should sit directly under the toilet flange so the drop pipe is short and vertical. Many tanks are sold with inlet positions that can be specified or cut during installation, while others have a fixed molded inlet. Before ordering, measure the toilet flange position relative to the floor edges and the tank footprint, and confirm the tank either has an inlet in that location or allows one to be added.
Confirm the Outlet and Valve Connection
Outlet position: the tank should drain toward the outlet, and the outlet should reach your existing sewer termination point without awkward routing. Outlet size and fitting type: match the diameter and connection style to your current termination valve and sewer hose fittings. Outlet direction: bottom, side or end outlets each route differently; pick one that suits the space available. Valve access: make sure you can still reach and operate the dump valve and replace it later.
Venting, Sensors and Flushing
A black tank needs a vent connection that runs to a roof vent. Without proper venting, odors can push back into the living area and the tank may not drain freely. Confirm the replacement has a vent port where your existing vent pipe can reach it.
Level sensors tell you how full the tank is. Traditional probe sensors pass through the tank wall and can give false readings when waste or paper coats them. Externally mounted sensors that read through the tank wall avoid that contact. If you plan to keep your existing monitor panel, check that the tank has the right number and placement of sensor ports, or that your chosen external sensor system is compatible with the tank material and wall.
A black tank flush (rinse) inlet lets you connect a hose and spray the inside of the tank after dumping, which helps clear solids and keep sensors readable. If your RV already has a flush connection, the new tank needs a matching port, or you will need to add one.
Material and Construction
RV holding tanks are commonly made from polyethylene, often rotationally molded as a single seamless piece, or from ABS plastic, which may be fabricated from joined panels. Seamless construction reduces the number of joints that could leak. Whichever material you choose, fittings must be compatible with it: some fittings are welded or threaded into polyethylene, while ABS fittings are often solvent-cemented. Check what the manufacturer recommends for adding or repairing fittings before you buy.
Capacity and Weight
A larger black tank extends the time between dumps, which matters if you camp without hookups. The trade-off is weight. Water weighs roughly 8.3 pounds per gallon, so a full tank adds significant mass low in the chassis. Before increasing capacity, check your RV's cargo carrying capacity and gross vehicle weight rating, and consider how the added weight sits relative to the axles. Keep the black and gray tank sizes in proportion to how you actually use the toilet, sinks and shower.
Cold-Weather Use
If you camp in freezing temperatures, an exposed tank and valve can freeze. Options include tank heating pads designed for holding tanks and an enclosed, heated underbelly. Confirm the tank material and surface are suitable for the heating pad you plan to use, and that the valve and outlet are protected too.
Quick Pre-Purchase Checklist
Check | What to confirm; Footprint and height | Fits the underfloor space and keeps adequate ground clearance; Toilet inlet | Sits directly under the toilet flange for a straight drop; Outlet | Matches location, size and fitting type of your termination valve; Vent port | Lines up with the existing vent pipe to the roof; Sensors | Ports match your monitor, or tank suits an external sensor system; Flush inlet | Present if you use or want a black tank rinse; Material and fittings | Fitting method is compatible with the tank material; Capacity and weight | Full weight stays within cargo capacity and GVWR; Mounting | Support method and hardware are available; Cold weather | Heating pad compatibility if you camp below freezing
Gaps in This Guide
No specific product data was available for this article, so it does not list tank models, capacities, dimensions, prices or availability. Those details depend on the RV make, model year and floor plan, and on what an individual tank maker produces. Use your RV manufacturer's documentation and the tank seller's drawings to confirm exact dimensions and fitting positions before ordering.
Next Step
Measure the existing tank and its surroundings, mark the toilet flange, outlet, vent and sensor positions, and note your RV's weight ratings. With those measurements, you can compare replacement tanks on fit first and capacity second, or ask a tank supplier to confirm or build a tank to match. If the work involves cutting the floor, rerouting the vent or changing the outlet, an RV service technician can confirm the layout before you commit.