Repair cracked headlight glass
The short answer
A small crack in a headlight lens can usually be sealed as a temporary measure, but a reliable long-term fix normally means replacing the lens or the complete headlight assembly. The right choice depends on three things: what the lens is made of, how far the crack goes, and whether water or dirt has already got inside the lamp.
One qualification changes the answer for many drivers. Most modern cars do not use glass headlight lenses at all. Their lenses are polycarbonate, a tough clear plastic. True glass lenses are mainly found on older vehicles, classic cars with sealed-beam lamps, and some specialist or aftermarket units. Glass and polycarbonate behave differently when damaged, so identify which one you have before choosing a repair.
Glass or plastic: how to tell
Age and type of vehicle: older vehicles and classic cars with round or rectangular sealed-beam lamps often have glass. Most recent mainstream models use polycarbonate. Tap test: glass gives a harder, sharper sound when tapped lightly with a fingernail. Plastic sounds duller. Yellowing or haze: a cloudy, yellowed surface is typical of aged polycarbonate. Glass does not yellow in the same way. Markings: many lenses carry moulded codes or material markings on the lens or housing. The meaning of these markings varies by manufacturer, so check the owner's manual or a parts catalogue for your vehicle.
If you cannot confirm the material from the car itself, look up the part using the vehicle's model year, generation and trim. Lens construction can differ between versions of the same model and between markets.
Identify the type of damage
Not every line in a headlight lens is a crack that needs urgent action. Use these visual checks to separate the main possibilities.
What you see | Likely explanation | What it indicates; A single crack or star-shaped break, often with a chip at the centre | Impact from a stone or debris, or a minor collision | Structural damage. It may spread with vibration and temperature changes. A crack starting at a mounting point or the lens edge, with no impact mark | Stress from a misaligned housing, a damaged mount or an earlier repair | The cause may be in the mounting. Check this before repairing or replacing the lens. A network of very fine surface lines, usually with haze or yellowing | Crazing of a polycarbonate lens, typically from long sun exposure | Surface degradation rather than a through crack. Restoration may help if the lens is not cracked through. A hole or missing piece | Severe impact | Sealing is not realistic. The lens or assembly needs replacing. Fog, droplets or standing water inside the lamp | The seal has failed through a crack, the lens edge, a vent or a damaged rear cap | Moisture can damage the reflector, bulb and electrical parts. Find where it is getting in.
Checks to make before deciding on a repair
Run a fingernail along the line. If it catches, the crack is probably in the lens rather than just on the surface coating. Look at the crack from inside the engine bay, if the rear of the lamp is accessible, to judge whether it goes all the way through. Inspect for moisture after rain or a car wash. Condensation that clears quickly can be normal for some vented designs. Persistent droplets or pooled water point to a leak. Switch on dipped and main beams and look at the beam pattern against a wall. A distorted, scattered or dim beam suggests the crack, moisture or reflector damage is affecting output. Check the housing and mounting tabs for breaks, and check whether the lamp sits evenly in the bodywork. A loose or misaligned lamp can cause stress cracks and incorrect aim. Confirm every bulb or LED section in that lamp still works, including any running lights or indicators built into the same unit.
When to stop using the lamp and get professional help
The beam is visibly scattered, dim or aimed incorrectly. This can reduce your view of the road and dazzle other drivers. Avoid night driving until it is fixed. Water is pooling inside the lamp, or the light flickers or cuts out. Water near electrical connections can cause faults. The lens has a hole or loose pieces that could fall out while driving. The vehicle uses high-intensity discharge (HID, often called xenon) lamps. These run at high voltage. Do not open or probe the lamp yourself; follow the manufacturer's service procedure or use a qualified technician. The lamp has adaptive, matrix or sensor-linked functions. Replacement or disturbance may need calibration or aiming with workshop equipment, depending on the model.
Repair options for a cracked lens
Temporary sealing
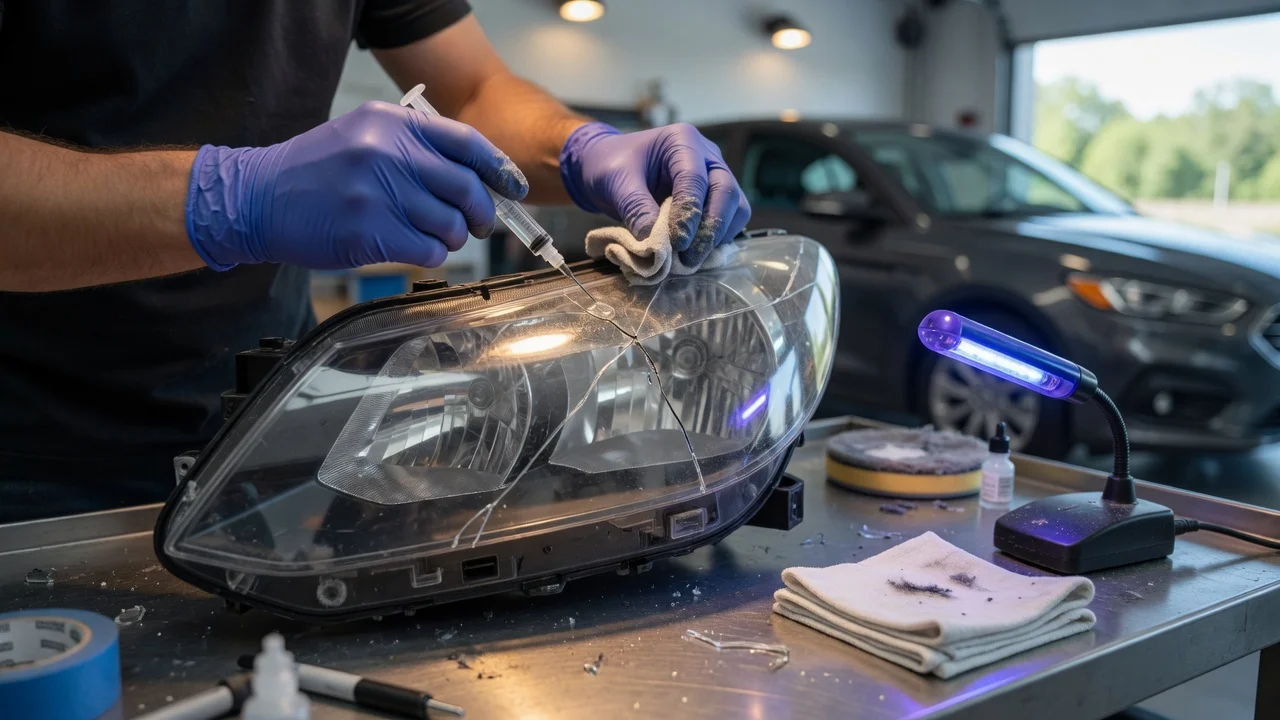
For a small crack in a polycarbonate lens, clear headlight repair tape or a clear lens repair resin can keep water and dirt out until a proper fix is possible. Clean and dry the area thoroughly first, because sealing moisture or grime inside the lamp makes the problem worse. Treat this as a stopgap. A sealed crack can still spread, and tape or resin may affect light output or appearance. Repaired lenses may also fail a roadworthiness inspection, depending on local rules and the extent of the damage.
Glass lenses and sealed beams
Cracked glass is generally not practical to repair durably. On sealed-beam lamps, the lens, reflector and filament form one sealed unit, so a crack means replacing the whole lamp. For other glass-lensed assemblies, check whether a separate replacement lens is sold for your vehicle before assuming the whole unit must go.
Replacing only the lens
Some headlight assemblies are bonded together with a sealant that can be softened to separate the lens from the housing, and replacement lens covers are available for some models. Whether this works depends on the vehicle. Many manufacturers sell the headlight only as a complete assembly, and resealing has to be done carefully to keep moisture out. This route suits a lamp whose reflector, housing and electrics are undamaged.
Replacing the complete headlight
Full replacement is the most dependable option when the crack is large, the lens is holed, moisture has damaged the reflector, or the housing or mounts are broken. Choose a part that matches your vehicle's model year, trim and market, because lamp designs and lighting regulations differ. Have the headlight aim checked after fitting, and check whether your model needs electronic calibration for advanced lighting functions.
Choosing the next step
Small crack, no moisture, beam unaffected: seal it temporarily and plan a lens or assembly replacement. Fine surface crazing with no through crack: lens restoration may be enough, but it does not fix structural cracks. Glass sealed-beam lamp cracked: replace the unit. Moisture inside, beam distorted, or lens holed: replace the lens or assembly, and avoid night driving until it is done. Stress crack from a mounting point: inspect and correct the mounting first, or the new lens may crack too. HID, adaptive or matrix lighting: use a qualified technician for removal, replacement and calibration.
What this guide cannot confirm
No vehicle-specific data was available for this guide. It does not cover individual models, part numbers, repair costs, product test results or the lighting laws of any particular country. Whether a lens-only part exists, whether a repaired lens will pass inspection, and what calibration is required all depend on your vehicle and location. Check these points with the manufacturer's service information, a parts supplier or your local inspection authority.