New brakes squeaking
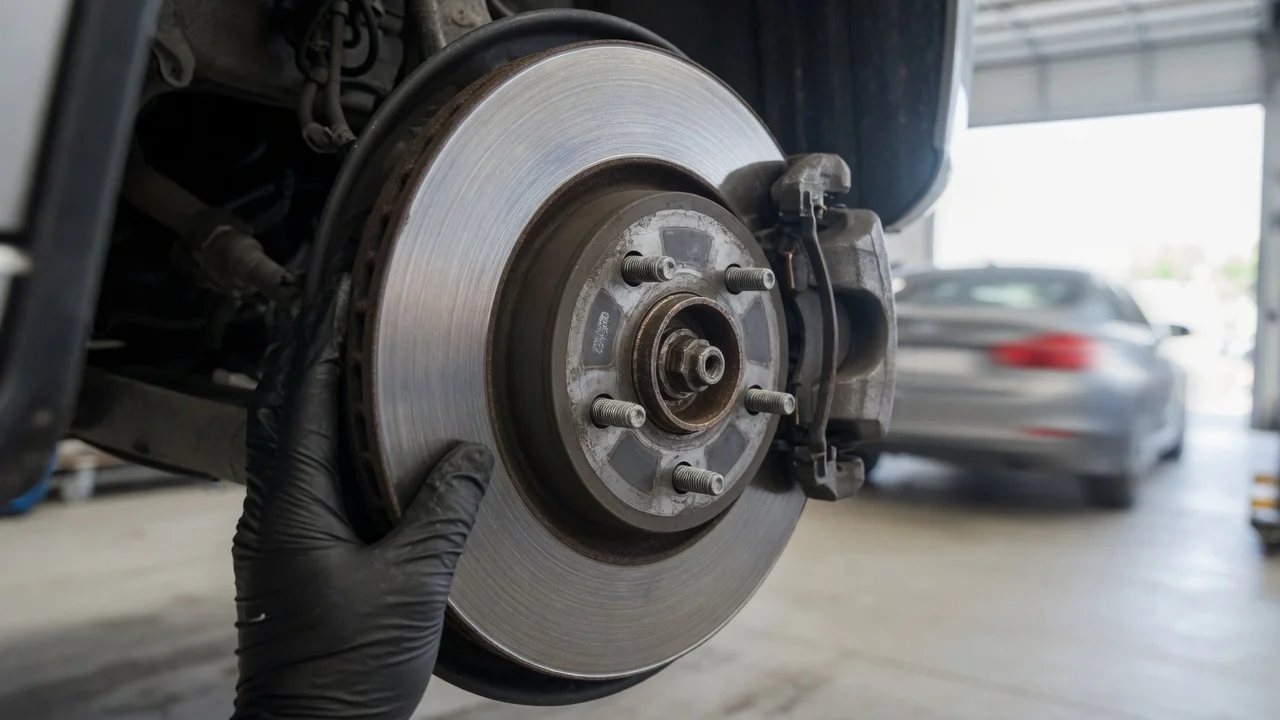
Why new brakes squeak
New brakes often squeak for a short period after pads, rotors, or both are replaced. Light, intermittent noise during the first several hundred miles is commonly a bedding issue: the pad face and rotor need a thin, even transfer layer of friction material before they work quietly and at full bite. That window is typical, not a guarantee that every new job will be silent, and it does not cover grinding, a soft pedal, vibration through the steering wheel or pedal, or a pull to one side.
Whether the noise is expected depends on what was replaced and how. A pad-only job on worn, grooved, or heavily rusted rotors is more likely to squeal than a matched pad-and-rotor set. Pad compound matters as well: semi-metallic and many performance pads are noisier than ceramic or non-asbestos organic (NAO) pads because the metal content in the mix can vibrate against the disc. Hardware is another frequent cause. Anti-rattle clips, pad shims, and caliper slide-pin grease are easy to omit or reuse when they should be renewed; dry pad ears or missing shims let the pad chatter in the bracket. A light rust film on new rotors after sitting overnight can also chirp for the first few stops and then go away. Wear indicators on brand-new pads should not be contacting the rotor unless a pad was installed backward or the wrong pad was used.
Bedding procedures and quiet-mileage claims vary by pad brand, vehicle, and whether the rotors were new, machined, or left in place. There is no single mileage figure that applies to every car. If the installer did not follow the pad maker’s bedding steps, or if the first drives were a series of hard stops from high speed, the pad surface can glaze. A glazed pad looks shiny and glassy and tends to squeal until the surface is corrected. Copper-free pad formulas required in some markets can also be slightly noisier than older mixes; that is a materials change, not proof of a failed part.
How to stop the squeal
Start with the bedding drive if the job is still new and the pedal, stopping power, and steering feel are normal. Use the procedure printed with the pads when you have it. A typical pattern is a series of moderate decelerations from around 30–40 mph (about 50–65 km/h) without coming to a full stop, then a cool-down period with no hard braking. Avoid riding the brakes downhill and avoid one panic stop right after installation. If overnight moisture squeal disappears after a few applications, no extra work is required.
Confirm the pads are the correct part for the axle, facing the right way, and that wear indicators are not touching the disc. Inspect anti-rattle clips, abutment hardware, and shims; replace rusty or missing pieces rather than reusing damaged clips. Clean pad contact points on the caliper bracket and apply a thin film of brake-specific lubricant to pad ears and slide pins only—never petroleum grease on rubber boots or friction surfaces. Check that slide pins move freely and that the caliper is not seized or cocked on the bracket. If only pads were changed, inspect rotor thickness, grooves, and runout; a machined or new rotor is often required when the old disc is scored or below minimum thickness. If the pad face is glazed, the usual fix is to replace the pads and address the rotor surface rather than sanding as a lasting repair.
Persistent squeal after a proper bed-in, especially with vibration, reduced braking, a burning smell, or uneven pad wear, is a reason to have the axle inspected. A shop can measure rotor thickness and runout, check for a sticking caliper, and confirm that the pad compound matches how the vehicle is used. Switching pad type (for example from a high-metallic performance pad to a ceramic street pad) can reduce noise, with a trade-off in high-temperature fade resistance that depends on the vehicle and driving. Do not ignore grinding or metal-on-metal sounds; those point to missing friction material or a hardware problem, not break-in chatter.