How to Measure Engine Oil Level Correctly
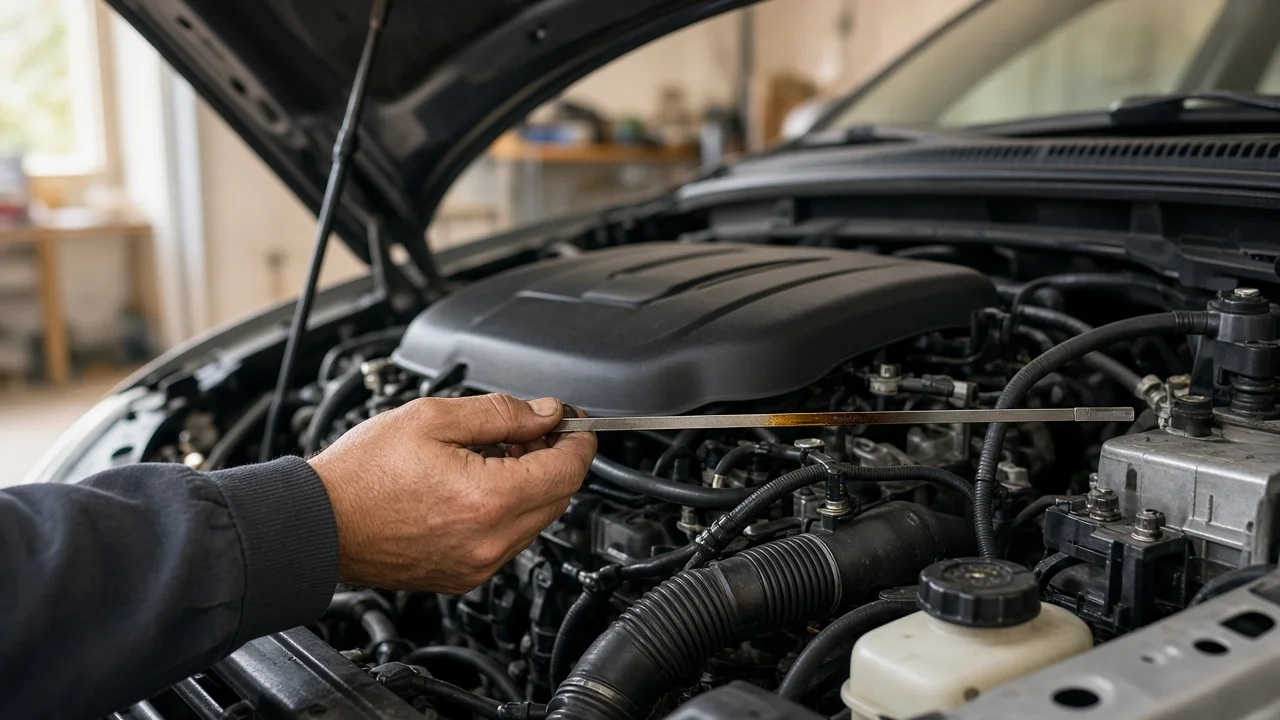
Measuring engine oil level means confirming that the engine holds enough lubricant, without too much, between the minimum and maximum limits the manufacturer sets. On most cars you do this with a dipstick. On a growing number of vehicles you do it through an electronic sensor that reports the level on the instrument cluster or infotainment screen. In both cases a correct reading depends on how and when you check: the vehicle must be level, and the oil must have time to drain back into the oil pan. The steps below cover the general principles. The exact procedure, warm or cold check, waiting time and capacity vary by model year, engine and market, so the owner's manual for your vehicle takes priority.
Why the Oil Level Matters
Engine oil lubricates moving parts, carries heat away and holds contaminants in suspension until the next change. If the level drops too low, the oil pump can draw air, oil pressure can fall and wear increases. Too much oil is also a problem. The crankshaft can whip the oil into foam, which lubricates poorly, and excess oil can be pushed into the crankcase ventilation system or intake. A regular level check catches consumption, leaks and filling mistakes before they cause damage.
Dipstick vs. Electronic Oil Level Measurement
Method | How it works | Where you read it | Main caveat; Dipstick | A metal or plastic blade reaches into the oil pan and shows the oil height against printed marks | On the blade, under the hood | You need level ground and the correct settling time for an accurate reading; Electronic sensor | A sensor in the oil pan measures the level and the vehicle computer evaluates it | Instrument cluster or infotainment menu | The system may need specific conditions, such as engine temperature or time since shutdown, before it shows a value; Combined | The vehicle has a sensor and also keeps a dipstick or guide tube | Either location | Use the method the manual calls primary if the two disagree
Equipment identification is the first step. Look under the hood for a dipstick handle. It is usually brightly colored, often yellow or orange, and may carry an oil-can symbol. If you can't find one, the vehicle probably relies on electronic measurement. The owner's manual will confirm this and show where the oil level menu is located.
How to Check Oil Level With a Dipstick
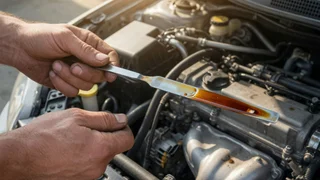
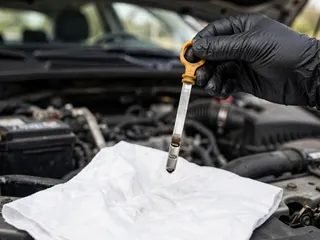
Park on level ground. A slope tilts the oil in the pan and gives a false high or low reading. Follow the manual on engine temperature. Many manufacturers recommend checking with the engine warm and then switched off. Others accept or prefer a cold check. Wait after shutdown. Oil needs time to drain from the upper engine into the pan. The manual specifies the wait time. Checking immediately after shutdown typically reads low. Pull the dipstick and wipe it clean with a lint-free cloth or paper towel. Push it back in fully until it seats. A partially inserted dipstick reads wrong. Pull it out again and hold it horizontal or tip down. Read where the oil film ends against the marks. If the reading looks uneven or unclear, wipe the blade and repeat the check. Reinsert the dipstick fully when you are done.
Reading the Dipstick Marks
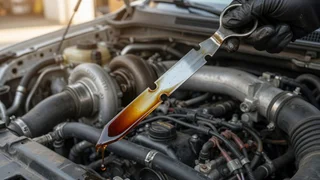
Dipsticks usually show two limits. They may appear as dots, holes, notches, the letters L and H or MIN and MAX, or a crosshatched zone between two lines. Any level between the limits is acceptable. Near the upper mark is ideal. A level at or below the lower mark means you should add oil. A level above the upper mark means the engine is overfilled.
The span between the marks equals a specific volume of oil, and the owner's manual states it. On many passenger cars this is around one quart, but it differs between engines. Don't assume the figure without checking.
How Electronic Oil Level Checks Work
Vehicles without a dipstick measure oil level with a sensor in the oil pan. The reading is usually found in a vehicle status or service menu, and some systems also show a warning when the level is low. Many systems only display a value under defined conditions. Examples include the engine at operating temperature, the vehicle on level ground, or a certain time having passed since shutdown. Some take a moving average while driving. If the display shows that measurement is not currently possible, it typically means those conditions have not been met. It does not mean a fault. When you top up, add oil in small amounts and allow the system time to update before adding more.
Checking Oil Condition at the Same Time
While the dipstick is out, look at the oil. Darkening on its own is normal, because modern oils hold soot and deposits in suspension. Signs that call for a closer inspection include a milky or foamy appearance, which can point to coolant contamination or moisture. A gritty feel, a strong fuel smell or visible metal particles are also warning signs. Color alone is not a reliable guide to when to change the oil. Follow the service interval for your vehicle or the vehicle's oil-life monitor instead.
Topping Up: Choosing the Right Oil
Add oil that meets the lubricant specification for your engine. That specification has several parts: the viscosity grade, such as an SAE rating like 0W-20 or 5W-30; an industry performance standard, such as API or ILSAC categories; and, for many engines, a manufacturer approval code printed on the oil container. Engines with turbochargers, gasoline particulate filters or diesel particulate filters often require a specific approved oil. The owner's manual and the oil filler cap, if it is marked, are the places to confirm what your engine needs.
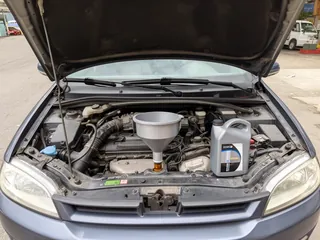
Remove the oil filler cap on top of the engine. Do not use the dipstick tube unless the manual says to. Add a small amount at a time, using a funnel to avoid spills on hot parts. Wait for the oil to drain down, then recheck the level. Stop when the level is near the upper mark. Do not fill past it. Refit the filler cap securely and wipe up any spilled oil.
Oil Level Check vs. Fill Quantity
The fill quantity listed in the manual is the amount of oil needed after an oil and filter change. It is not the amount to add during a routine check. Even after an oil change, the measured level is what counts: oil remaining in the engine and filter means the listed capacity may not match exactly. Fill to slightly less than the listed quantity, run the engine briefly, let it settle, then check and adjust to the upper mark.
What to Do If the Level Is Too High or Keeps Dropping
If the oil is clearly above the maximum mark, have the excess drained rather than driving for long periods. If the level rises over time without any oil being added, fuel or coolant may be entering the oil, and the engine should be inspected. If you have to top up frequently, track how much oil you add and how far you drive between top-ups. Then look for external leaks, such as drips under the car or wet areas around gaskets. Some oil consumption is normal for many engines, and manufacturers define acceptable limits. Rising consumption, blue exhaust smoke or an oil pressure warning call for a professional diagnosis. If the oil pressure warning lights up while driving, stop the engine as soon as it is safe to do so.
How Often to Measure Engine Oil Level
Check at the interval your owner's manual recommends. Many owners also check at regular fuel stops or once a month. Check before long trips, after any oil change or service, and whenever a warning appears. Older engines, engines known for higher oil consumption and vehicles used for towing or hard driving benefit from more frequent checks. Regular checks do not replace the scheduled oil change. They fill the gap between services.