How to Test a Chevy Transfer Case Shift Motor
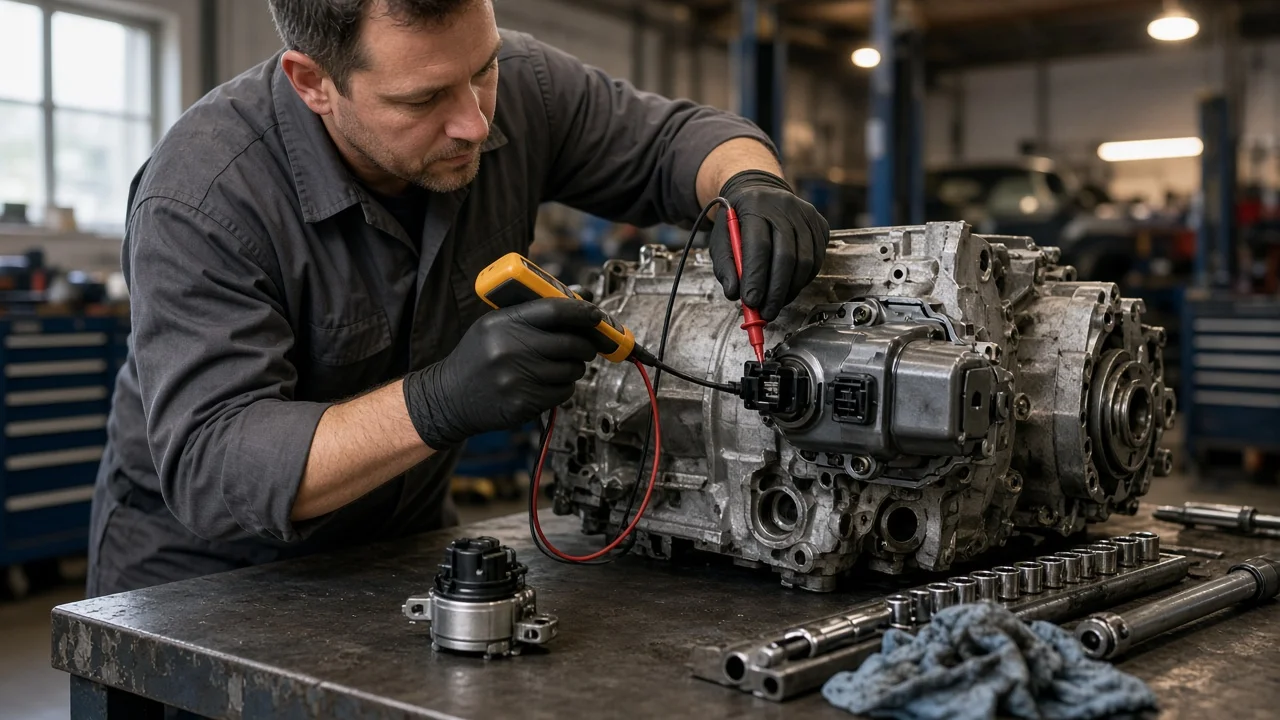
On Chevy trucks and SUVs with push-button or dial-selected four-wheel drive, the transfer case shift motor is the electric actuator that moves the transfer case between ranges. When 4WD stops working, the motor often gets blamed first. The same symptoms can also come from fuses, wiring, the selector switch, the control module or the transfer case itself. Testing in a logical order keeps you from replacing a part you did not need. Confirm each step against the service information for your exact vehicle configuration.
Establish the symptoms
Start by writing down exactly what happens. Note which change you requested, such as 2HI to 4HI, 4HI to 4LO, or Auto mode, and whether the vehicle was moving or stopped. Record whether the problem appears cold or warm, every time or only occasionally, and whether it began after rain, a car wash or deep water. List any warning such as a Service 4WD message, flashing range indicators, or no response at all. Note any clicking, whirring or grinding you hear, and whether the vehicle is stuck in 4WD or will not leave 2WD.
Recent changes and service history matter too. A battery replacement, jump start, lift kit, transfer case fluid service, off-road trip, previous motor replacement or aftermarket accessory wiring can each point the diagnosis in a different direction. Also check the shift procedure in the owner's manual. Many GM systems will not shift into or out of low range unless the vehicle is stopped or moving very slowly, the transmission is in Neutral and other conditions are met. A request refused because those conditions were not met is not a motor failure.
Distinguish plausible causes
The shift motor itself can fail through worn brushes, a worn commutator or a failed internal position encoder, which reports the motor's position to the control module. Evidence that supports the motor includes trouble codes for the motor or encoder circuits, correct power and ground arriving at the motor when a shift is commanded but no movement, and operation that comes and goes after tapping the housing. If command voltage never reaches the connector, the motor becomes much less likely.
Supply and control faults are common competitors. A blown fuse, a failed relay where one is used, chafed harness wiring, low battery voltage or a corroded connector at the transfer case can all stop the motor. That connector sits low on the vehicle, exposed to water, salt and heat. Problems that began after water exposure, or green corrosion in the connector, favor wiring. If the selector switch lights do not respond to presses, or a scan tool shows no change in switch input, look at the switch and the control module before the motor.
Mechanical causes are the third group. Internal transfer case parts such as the shift fork, range sector or shift rail can bind or break, and low or degraded fluid can contribute. On models that use a front axle engagement actuator, the transfer case may shift correctly while the front wheels still do not drive. A motor that runs but leaves the range unchanged, or a shift accompanied by grinding, points toward a mechanical fault rather than an electrical one.
Checks in a useful order
Begin with safe observations that need no special tools. Confirm the shift procedure, check that the battery is healthy and fully charged, and inspect the fuses the owner's manual lists for the 4WD or transfer case circuit. With the vehicle parked on level ground, parking brake set and wheels chocked, have a helper select a range while you listen from beside the vehicle. Never get under a running vehicle unless it is properly supported and secured. With the engine off, inspect the connector at the shift motor for damage, loose locks, water or corrosion.
Next, read trouble codes from the module that controls the transfer case. Basic code readers that only access engine codes may miss these entirely. Record the codes before clearing anything. A capable scan tool can also show live data for selector switch input, encoder position and motor command, and many can command the motor directly. Watching the encoder position change while commanding a shift is one of the most useful tests available, because it shows whether the module sends the request and whether the motor responds.
Electrical testing requires a multimeter and the correct wiring diagram. Backprobe the motor connector while a shift is commanded to see whether command voltage arrives, and whether polarity reverses for the opposite direction on reversible motors. Perform a voltage drop test on grounds rather than relying on a simple continuity check. Bench testing a removed motor should follow the service information for that specific part, since applying power to the wrong terminals can damage the encoder. Any resistance or voltage values must come from the manufacturer specifications, not general rules of thumb.
Interpret the findings
If correct command voltage and a good ground reach the connector and the motor does not move, or moves erratically, the motor is the likely fault. Before ordering one, confirm the transfer case shift shaft moves freely with the motor removed, using the method described in the service information. A seized shaft will stall even a new motor. If command voltage never arrives, the motor is probably fine. Trace upstream through the fuse, wiring, selector switch inputs and control module instead.
Encoder codes, or position data that jumps or does not match the actual range, point toward the encoder. On many applications it is built into the motor and replaced as an assembly, but the wiring between the encoder and the module must be ruled out first. A motor that runs while the range stays the same suggests an internal mechanical problem. If the transfer case shifts and the indicator shows 4WD but the front wheels do not pull, check the front axle engagement system. For intermittent faults, a careful wiggle test of the harness while watching live data can reveal a broken wire.
If replacement is confirmed, install the motor in the position the service information requires. Some vehicles need a calibration or position learn procedure with a scan tool afterward. Clear the codes, then verify every range under the correct operating conditions before considering the repair complete.
Urgency and next action
Stop driving and arrange inspection if you hear grinding or banging from the transfer case, see fluid leaking, smell burning, or feel the vehicle binding, hopping or resisting turns on dry pavement, which suggests it is stuck in 4WD. Be especially careful if a shift stalls partway. A transfer case caught in Neutral disconnects the driveshafts, so the vehicle can roll even with the transmission in Park. Set the parking brake firmly and have the vehicle towed rather than driven.
If the only symptom is that 4WD will not engage and the vehicle drives normally in 2WD, the issue is usually less pressing. Still, avoid conditions where you would depend on 4WD, and do not assume any particular remaining distance is safe until the cause is known.
Whether you continue yourself or visit a shop, gather the year, model, engine and drivetrain, plus the transfer case code from the service parts identification label, often found in the glove box. Bring the recorded symptoms, trouble codes, test results and recent repairs. That information shortens diagnosis and helps ensure the correct parts are ordered.