How to Replace Transmission Cooler Lines
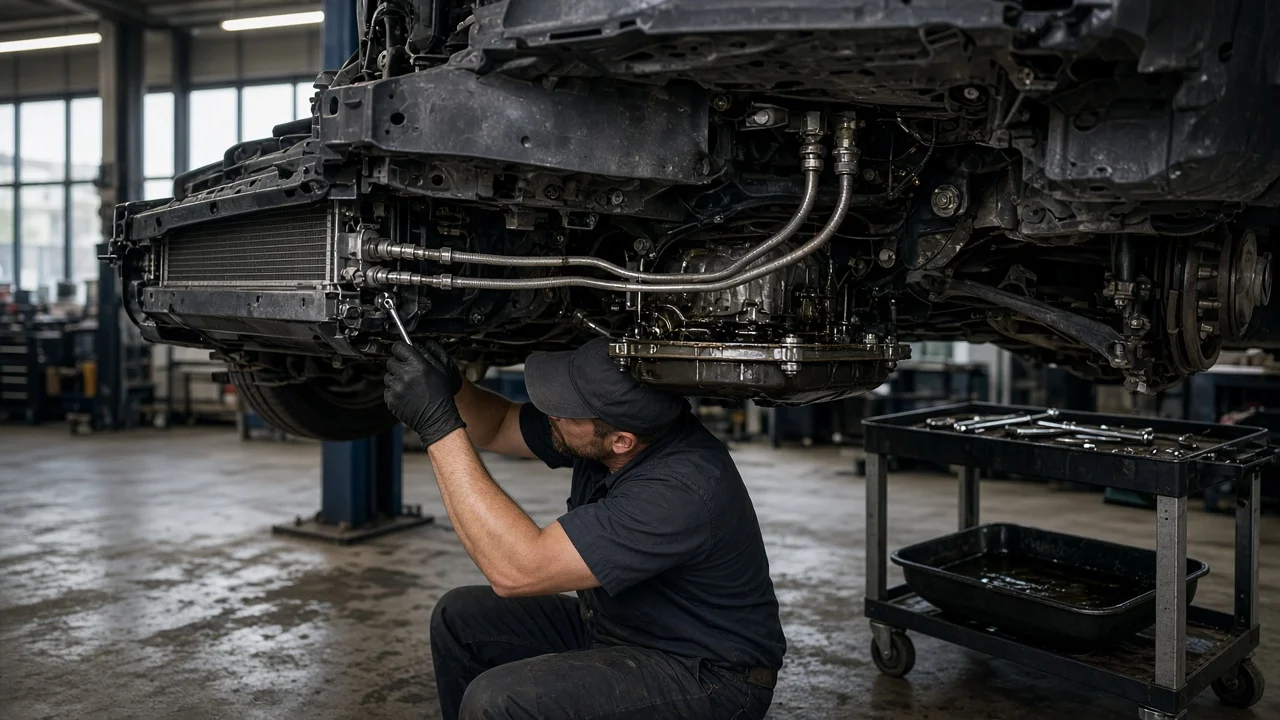
Transmission cooler lines carry fluid between the transmission and its cooler. That cooler is usually a heat exchanger inside the radiator tank, an auxiliary cooler mounted in front of the radiator, or both. A line that weeps, corrodes or kinks can leave the transmission low on fluid or running hot. Replacing the lines is often a manageable job, but fittings, routing and fill procedures differ from vehicle to vehicle. This guide covers how to confirm the repair, remove the old lines cleanly, install the new ones and verify the result.
Confirm the part and repair scope
Start by proving where the fluid is coming from. Fluid runs downhill and gets blown backward by airflow, so a wet line is not always the leaking component. Clean the area around the lines, cooler fittings, transmission case and pan, then run the engine and look again. The leak could be at a line, at a fitting seal, at the cooler or radiator, or at a pan gasket that only looks like a line problem. Some vehicles use a similar-looking fluid in the power steering system, so trace the drip to its source rather than judging by color alone. Fluorescent dye and a UV lamp can help with slow seeps. Shift complaints or stored diagnostic codes may point toward low fluid, but they do not prove the lines have failed.
Next, confirm fitment. Identify the transmission type, whether it is a conventional automatic, a CVT or a dual-clutch unit. Also confirm the engine, the drivetrain and whether the vehicle has a factory towing package, because an auxiliary cooler changes the line layout. Matching the part by VIN is the most reliable approach. Repair options include a complete factory line assembly, an aftermarket replacement assembly, or a repair of a single hose section where the manufacturer allows it. Any hose used must be rated for transmission fluid, temperature and pressure. If coolant has mixed with the transmission fluid, the internal radiator cooler is suspect, and the repair scope is larger than replacing the lines. Review the service history as well. A previous overheat or internal failure can leave debris in the cooler circuit.
Prepare tools and safe access
Get the vehicle-specific service information before you begin. It tells you the fitting types, line routing, tightening specifications, fluid specification and the correct level-check procedure. Typical tools include flare-nut wrenches, a second wrench for holding mating fittings, and disconnect tools for quick-connect fittings. You will also need a drain pan, caps or plugs for open ports, rags, penetrating oil, and a jack with stands or a lift. Buy any new O-rings, retaining clips or sealing washers the procedure calls for, plus enough of the specified fluid to top off. Do not substitute a universal fluid unless the manufacturer approves it for your transmission.
Let the vehicle cool fully, since transmission fluid and radiator components get hot enough to burn. Park on level ground and support the vehicle on rated stands, never on a jack alone. Access can require removing a skid plate, splash shields, an air intake section, or even exhaust or radiator components, depending on the routing. This job may not suit an inexperienced owner on some vehicles. That includes lines that run above a crossmember, fittings crowded near air conditioning lines, and sealed transmissions without a dipstick. Those transmissions are often checked through a fill plug at a specific fluid temperature read with a scan tool, and incorrect filling can cause damage.
Remove without avoidable damage
Photograph the line routing, bracket locations and the direction each end faces before loosening anything. Position the drain pan, clean dirt away from each fitting and apply penetrating oil to corroded threads. On threaded fittings, use a flare-nut wrench on the line nut and hold the mating fitting with a second wrench. This keeps you from twisting the cooler tube or the radiator fitting, and plastic radiator tanks can crack under that strain. Release quick-connect fittings using the method their design requires instead of prying them apart. Some retaining clips are meant to be used only once.
Cap each opening as soon as it is free to limit fluid loss and keep contamination out of the transmission and cooler. Remove any brackets, clips and rubber isolators, noting where each one belongs. Look at the fluid in the old lines. Visible metal particles or a burnt smell suggest internal wear that needs separate diagnosis, though they do not identify the failed part on their own. Before installing anything, lay the new lines beside the old ones and compare them bend for bend and end for end.
Install and restore the system
Supply and return lines are often not interchangeable, so match each end to its correct port using your photos and the service information. Route the lines loosely into position first. Then start every threaded fitting by hand to avoid cross-threading before tightening anything. Tighten flare fittings to the specified value, and do not add thread sealant unless the instructions call for it. Fit new O-rings lubricated with clean transmission fluid. Push quick-connect fittings in until they lock, then pull back firmly to confirm engagement. Banjo fittings normally need new sealing washers.
Reinstall every bracket and isolator. Lines left unsupported can vibrate and chafe, and they must clear the exhaust, belts, steering and suspension components. If the transmission had an internal failure, follow the manufacturer's guidance on flushing or replacing the cooler, because debris left in the circuit can return to the transmission. Refill with fluid that meets the fluid specification, using the stated level-check procedure. That procedure usually specifies the fluid temperature, gear position and whether the engine is running.
Check the completed work
Start the engine and inspect every fitting at idle before driving. With the brakes applied, move the selector through each gear, then recheck and correct the fluid level according to the procedure. Take a short test drive and pay attention to engagement and shift behavior. Inspect the fittings again once the fluid is fully warm, and once more after the vehicle has cooled. Clean off any spilled fluid so that a later leak check gives a clear answer.
Several signs call for further diagnosis rather than assumptions. These include a leak that continues at a fitting, delayed engagement, slipping, harsh shifts, a warning light, newly stored diagnostic codes or high fluid temperature readings. A persistent fitting leak can come from an improperly seated connection, a damaged flare or an incorrect part. Drivability symptoms can have causes unrelated to the lines. Finally, record the transmission cooler line replacement in the service history, including the date, parts and fluid used, so future work starts from accurate information.