How to Replace a Rear ABS Wheel Speed Sensor
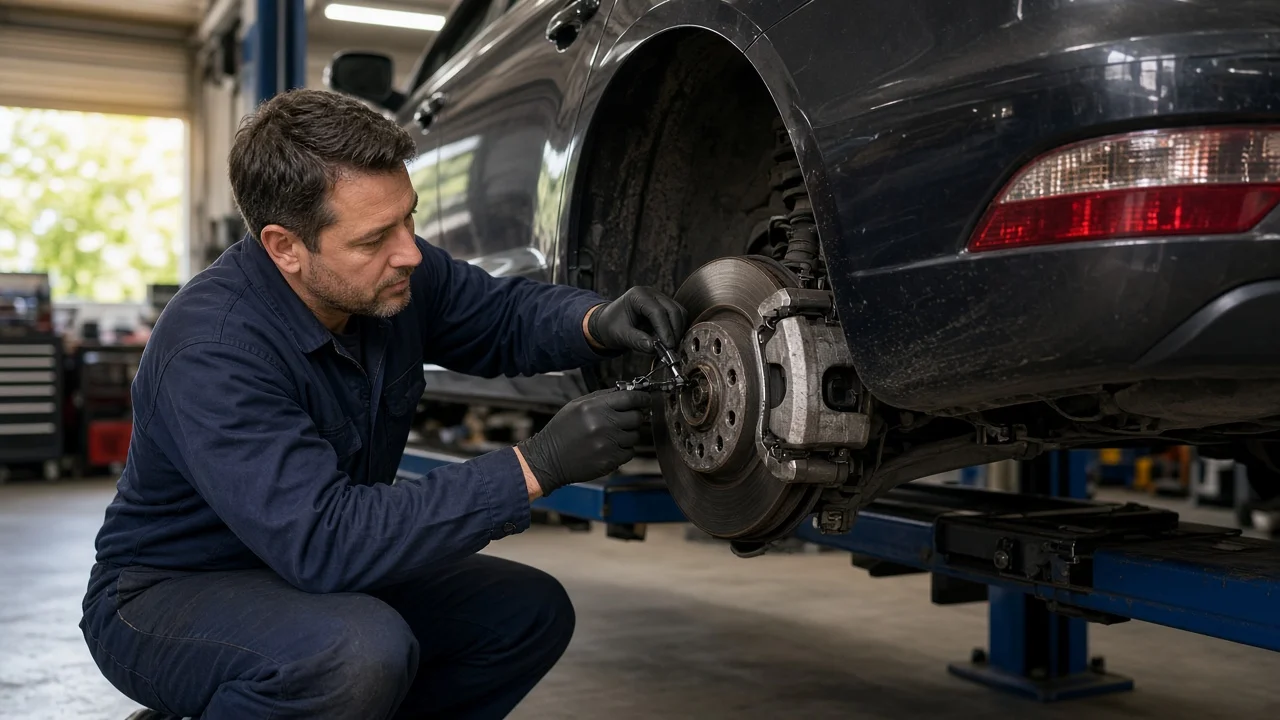
A rear ABS wheel speed sensor tells the anti-lock brake control module how fast its wheel is turning. When the signal drops out or becomes erratic, the ABS warning light usually comes on, and the anti-lock function may be switched off, along with traction or stability control. Swapping the sensor is often a manageable job for a careful owner, but only after the fault is confirmed and the correct part is in hand. This guide covers diagnosis, removal, installation and final checks.
Confirm the part and repair scope
Start with a scan tool that can read ABS codes, not just engine codes. A stored code should point to a specific wheel, such as left rear or right rear, and to the type of fault, such as an open circuit, a short, no signal or an implausible signal. If your scan tool shows live data, compare all wheel speeds during a slow drive. A rear reading that drops to zero or jumps around while the others stay steady supports the diagnosis. Before buying anything, inspect the wiring and connector at that wheel. A chafed harness, corroded terminals, metal debris stuck to the sensor tip, a cracked or rusted tone ring, or excessive wheel bearing play can all set the same codes as a dead sensor, and a new sensor will not cure them.
Vehicle fitment matters more than it looks. Left and right rear sensors often differ in cable length, routing or connector. The correct part can also change with drivetrain, axle design, disc or drum brakes, and production date, so match it by VIN or full vehicle details. On many vehicles the rear sensor is built into the hub bearing assembly, which turns a sensor job into a hub replacement. Some older pickups use a single rear speed sensor mounted on the differential or transmission rather than one at each wheel. Confirm which design you have before planning the repair.
Prepare tools and safe access
Get the service information for your exact vehicle first. It shows where the sensor and its connector are located, how the harness is routed and the retaining bolt torque. It also tells you whether the brake caliper, rotor, drum or other parts must come off for access. Typical tools include a scan tool, a floor jack, properly rated jack stands, wheel chocks, a socket set, a torque wrench, penetrating oil, a trim clip tool and a small wire brush. Work on level, solid ground, chock the front wheels, and never get under a vehicle supported only by a jack.
Some versions of this job go beyond typical driveway work. The sensor may be integrated into a pressed-in hub bearing, the tone ring may be part of the axle shaft or need pressing on, or a seized sensor may have already snapped off in its bore. Extraction and reassembly can then require a press, drilling or axle removal. Owners without that experience and equipment are better served by a professional shop. The same applies if you cannot confirm the diagnosis with a capable scan tool.
Remove the old sensor without avoidable damage
Loosen the lug nuts, raise and support the vehicle, and remove the wheel. Trace the sensor cable back to its connector. The connector may be in the wheel well or along the frame rail. On some vehicles it is inside the cabin under the rear seat or trunk trim, and the cable passes through a body grommet. Photograph the routing and note every clip, bracket and grommet before you disturb anything. Release the connector lock and separate the connector by its housing, never by pulling on the wires, then free the cable from its clips.
Remove the retaining bolt and work the sensor out of its bore. Sensors often corrode in place, so apply penetrating oil and give it time to soak. Then twist the sensor body gently with pliers while pulling. Do not lever against the tone ring or hammer on the sensor, because that can crack the ring or damage the bearing. If the caliper must come off for access, hang it from the suspension with wire instead of letting it dangle on the brake hose. Do not press the brake pedal while the caliper is off. The hydraulic lines stay closed, so there is no brake fluid to drain or bleed. With the wheel off, this is also a good moment to check the brake pads and rotors against the wear limits in the service information.
Install the new sensor and restore the system
Clean the sensor bore and mounting surface so the new part seats fully, and keep rust flakes and dirt from falling inside. Wipe the tone ring clean and look for cracks, missing or damaged teeth, and swelling from corrosion. Lubricate the sensor O-ring or body only if the manufacturer calls for it, and use the specified product, because some instructions prohibit any lubricant. Push the sensor in squarely until it is fully seated, then install the bolt and tighten it to the specified torque. Most modern rear sensors have no adjustable air gap. If your design uses a spacer or an adjustable gap, set it exactly as the instructions describe.
Route the new cable along the original path and refit every clip, bracket and grommet. The cable must not touch the exhaust, rotating parts or moving suspension components. Keep the same slack the factory left for suspension travel. Push the connector together until the lock clicks, and confirm it cannot pull apart. Reinstall any caliper, rotor or drum to specification, refit the wheel, lower the vehicle and torque the lug nuts. If the caliper was removed, press the brake pedal several times before moving to confirm a firm pedal. Many vehicles need no setup after a sensor swap beyond clearing codes. Some require a scan-tool relearn or initialization, so follow the procedure for your model.
Check the completed work
Clear the ABS codes with your scan tool and start the engine. On many vehicles the ABS warning light stays on until the module sees valid signals from every wheel, which only happens once the vehicle is moving. Drive slowly in a safe, open area and watch live data if your tool supports it. The rear wheel reading should rise and fall smoothly in step with the other wheels, with no dropouts. After the drive, scan again to confirm that no codes have returned, and recheck the connector and cable routing.
If the warning light comes back or the same code returns, recheck the part number, the connector seating, the terminal condition and the harness further from the wheel. Faults that appear over bumps usually point to wiring. A code for a different wheel is a separate fault to diagnose. Persistent signal problems with a new sensor can also come from the tone ring or the wheel bearing. If the red brake warning light is on, the pedal feels soft or low, or the vehicle pulls or behaves oddly when braking, stop driving it and have the brakes inspected by a professional.