Choosing an ABS Wheel Speed Sensor for the Correct Wheel Position
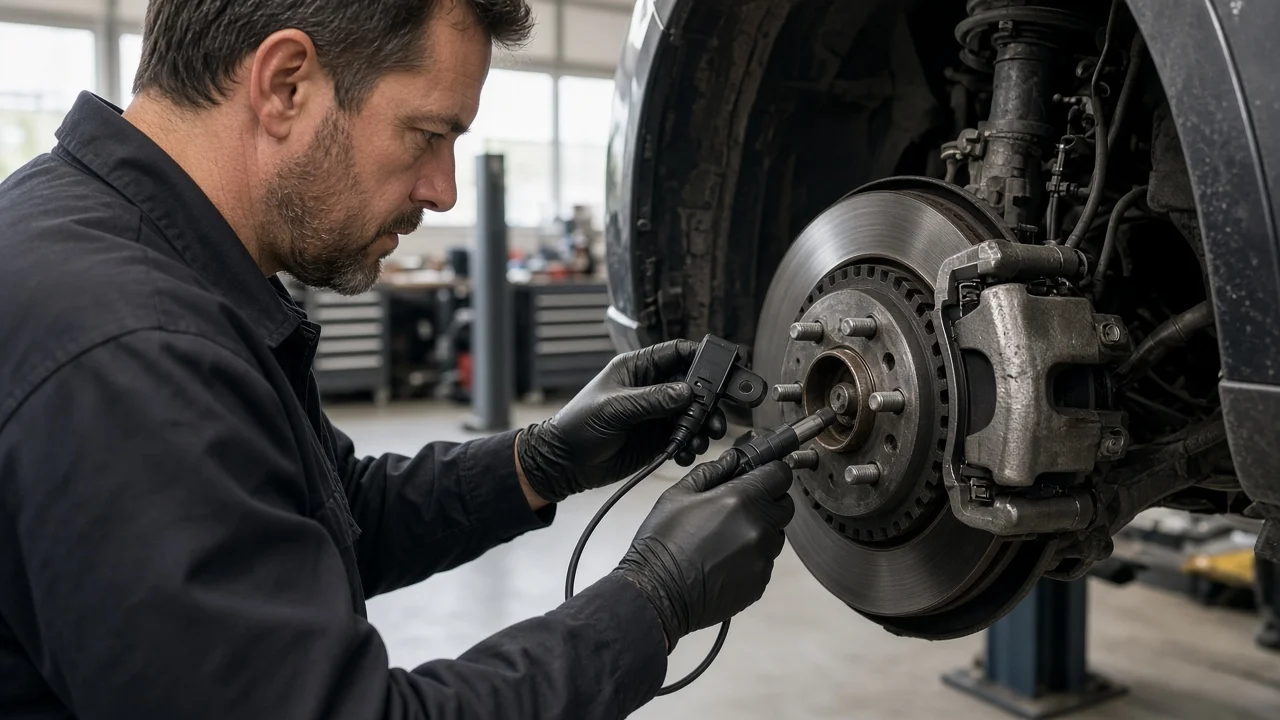
An ABS wheel speed sensor looks like a simple part. Even so, buying one for the wrong corner of the vehicle is one of the most common reasons a replacement does not fit or does not clear the warning light. Front and rear sensors, and left and right versions, often differ in cable length, routing, connector and signal type. This guide explains how to confirm what you need before ordering a new sensor.
Define the job the sensor must do
Start by confirming that a sensor is really the failed part. An amber ABS light, often with traction or stability control lights, usually comes with a stored code that names a specific wheel, such as a left rear or front right signal fault. A scan tool that shows live wheel speeds is the most useful check. The faulty corner typically reads zero, drops out or disagrees with the others while driving. A circuit code can mean a damaged harness or connector rather than a failed sensor. A signal fault can come from a damaged tone ring, a worn wheel bearing or metallic debris on the sensor tip. Replacing a good sensor will not fix any of those problems.
Next, note the practical constraints: the exact vehicle, the drivetrain, and whether you will do the work yourself. On many cars the rear sensor is a separate part bolted into the knuckle. On others it is built into the hub bearing assembly, which turns a simple sensor swap into a bearing job. Some older pickups use a single rear sensor in the differential housing instead of one at each rear wheel. Also check the base brakes. If the red brake warning light is on, the pedal feels different, or you notice fluid loss, stop driving and have the brakes inspected before you deal with the sensor.
Check compatibility for the exact wheel position
Wheel position is the first filter. Front and rear sensors are rarely interchangeable. A front left sensor is also often a different part from the front right one, because the cable leaves the knuckle at a different angle and follows a different path to the body connector. The same applies at the back. On vehicles where both rear harnesses run to one side, the right rear sensor may have a longer lead than the left rear. Some models do use one part for both rear sides, so a listing marked rear left/right can be correct. Confirm that against the catalog for your exact vehicle rather than assuming the two sides are the same.
Match every vehicle fitment detail the catalog asks for: year, model, engine, drivetrain, brake package, and sometimes production date or VIN range, since sensor designs can change within a model year. The most reliable cross-check is the original part number. You can find it on the old sensor body or through a parts lookup by VIN. Then compare the physical interfaces with the part you removed: connector shape and pin count, sensor head shape and mounting hole, cable length, and the number and position of grommets and routing clips.
Signal type matters as much as shape. Passive sensors, usually two-wire inductive units, generate their own alternating signal from a toothed tone ring. Active sensors draw power from the ABS module and often read a magnetic encoder built into the wheel bearing seal. The two types are not interchangeable even when the connectors look similar. A mismatch can set codes or produce no signal at all.
Features that affect the choice
Many listings promise direct fit, OE replacement or factory quantity wire. These labels only help if they are backed by details you can check. A credible direct-fit listing names the original part numbers it replaces and shows the connector, sensor head and full cable with its clips. Factory wire length matters for two reasons. A lead that is too short gets stretched as the suspension moves. A lead that is too long can rub on a tire or driveshaft. The listing should state the length or confirm that it matches the original. Be skeptical of upgraded or heavy-duty sensor claims unless the seller explains what was actually changed.
Some other features are worth comparing on their own merits. A sensor that comes with a new O-ring, grommets, clips or mounting bolt can save a trip if the old hardware is corroded. Some kits include a pigtail connector for repairing a damaged harness, which only helps if the fault really was in the wiring. Where the sensor is built into the hub, you are really choosing a hub assembly, so compare bearing and seal quality rather than the sensor alone. Warranty length and a clear return policy for fitment errors are also practical points, especially when you buy from an unfamiliar brand.
Limitations and ownership costs
A new sensor only reports wheel speed. It cannot fix a cracked or rusted tone ring, excessive bearing play, a chafed harness or a failing ABS module. Removing the old sensor is often the hardest part of the job. A sensor seized in a rusted knuckle can break during removal and leave its head stuck in the bore. On some rear axles, you must remove the caliper and rotor to reach the sensor. If so, hang the caliper so the brake hose is not strained, and do not open the hydraulic system, which would mean bleeding the brake fluid afterward. With the parts off, it is a good time to check the brake pads and rotors against the wear limits in the service information.
Follow the vehicle's service procedure for installation. That usually means cleaning the mounting bore, lubricating the O-ring if specified, torquing the bolt to spec, and fastening every clip so the cable cannot touch moving parts. Keep the sensor tip clean, and do not apply grease or anti-seize to it unless the manual allows it. After installation, clear the codes and test drive with a scan tool connected to confirm that all four wheel speeds agree. Some vehicles need additional steps described in their service information. Costs beyond the part can include hub or bearing replacement, harness repair, diagnostic time, and extra labor if a sensor breaks off in the bore.
Build a practical shortlist
Before ordering, write down the corner named by the code and confirmed by live data. Add the vehicle's year, model, engine, drivetrain and VIN, plus the original part number if you can read it. For each candidate sensor, confirm that it is listed for that exact wheel position, front or rear and left or right, and that it cross-references to the original number.
Then compare the candidates on the same short checklist. Is it active or passive? Do the connector shape and pin count match? Do the cable length and clip positions match the original? Does the head shape and mounting style match? Is hardware included? Is it a separate sensor or part of a hub assembly? What are the warranty and return terms? Rule out any listing that has no connector photo or cannot confirm fitment by part number. If two options pass every check, the remaining differences are usually price, warranty and availability, not performance.
If the warning returns after a correctly matched sensor is installed, the fault lies elsewhere in the circuit, tone ring or module, and swapping more parts gets expensive. At that point, a shop with ABS diagnostic equipment is usually the cheaper route.