How to Clean an ABS Wheel Speed Sensor
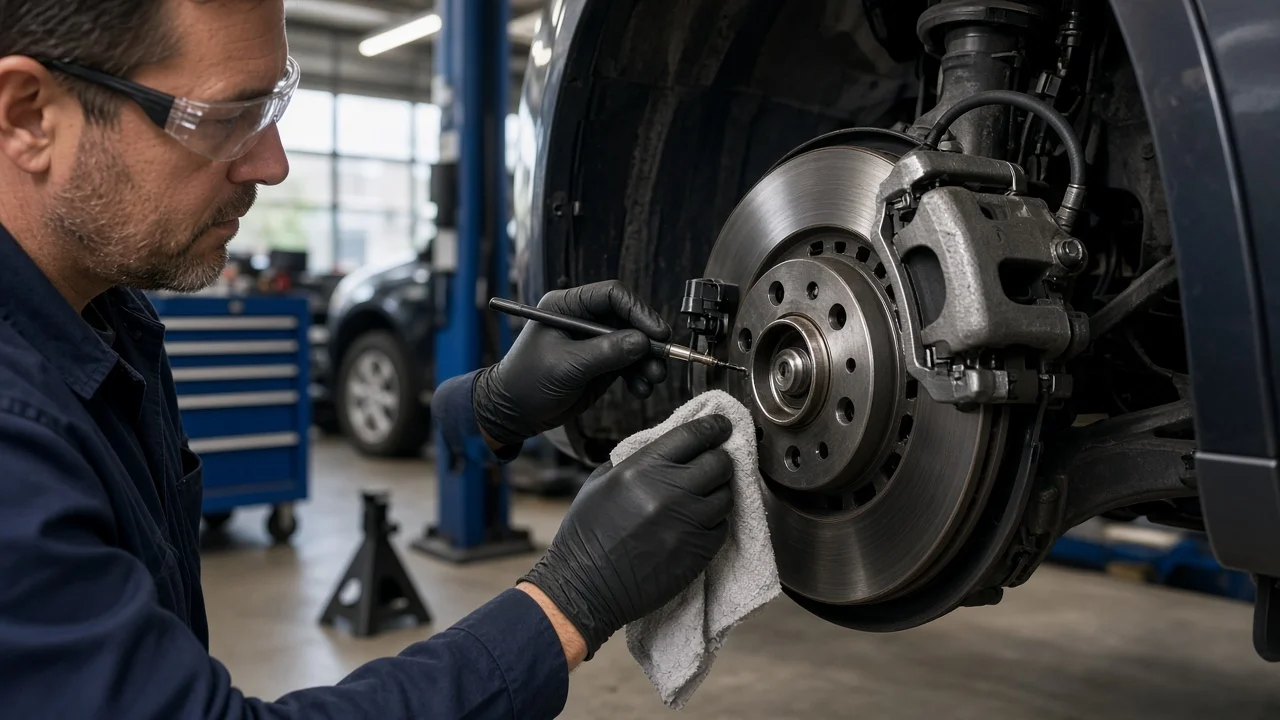
An ABS wheel speed sensor reads a toothed or magnetic ring that turns with the wheel, and the antilock, traction and stability systems depend on that signal. Metallic brake dust, rust scale and road grime can weaken or distort it, which can trigger warning lights or unexpected ABS activation. Cleaning the sensor and its mounting area is a reasonable step when diagnosis points that way, but it only helps when the parts themselves are sound. This guide covers when to do it, what you need and how to confirm the result.
Decide when service is needed
Many maintenance schedules do not list a separate interval for cleaning wheel speed sensors, so check the schedule in your owner's manual or service information rather than assuming one exists. In practice, the sensor and its mounting area are usually inspected whenever the wheel, brake pads, brake rotors or hub are already apart. That is the most convenient time to look at it, because access is already open and little extra labor is involved.
Severe use raises the chance of contamination. Vehicles driven on salted winter roads, in coastal areas, through mud or off road, or with heavy braking that produces a lot of metallic dust tend to collect debris on the sensor tip and in the tone ring. Condition-based reasons for attention include an ABS or traction control light, a stored wheel speed sensor code, ABS pulsing during slow, gentle stops on dry pavement, and erratic readings on systems that use wheel speed for other functions.
Cleaning is not a diagnosis. Read the codes first, because the same light can come from damaged wiring, a corroded connector, a failed sensor, a cracked tone ring or a wheel bearing with excess play. If the red brake warning light is on, the pedal feels low or soft, or the vehicle pulls under braking, stop using it and arrange professional service. An ABS light alone often means antilock function may be disabled while normal braking remains, but confirm what your owner's manual says.
Identify the correct materials
Start with vehicle fitment: model year, drivetrain, brake package and the exact wheel position named in the code. Find out whether your vehicle uses a passive two-wire sensor or an active sensor, and whether the sensor is a separate part or built into the wheel bearing and hub assembly. Integrated designs often cannot be removed on their own, so cleaning is limited to the exterior, the harness and the connector. Your service information should state the removal steps, the fastener torque, whether the sensor may be reused after removal and whether any lubricant is allowed on its body.
Consumables usually include lint-free rags, a cleaner that is safe for plastic and rubber, a soft nylon brush, and any lubricant or replacement O-ring or bolt that the service information calls for. Some aerosol brake cleaners can attack plastic sensor housings and wiring insulation, so check the product label and the manufacturer's guidance. Tools typically include the correct socket or Torx bit, penetrating oil, a plastic trim tool for harness clips, a small pick, a torque wrench, a jack and jack stands, and a scan tool that reads ABS codes and live wheel speed data. A multimeter helps when the service information gives resistance or signal specifications for a passive sensor.
Prepare safely
Park on a level surface, let the brakes cool, set the parking brake where appropriate and chock the wheels that stay on the ground. Lift at the specified jack points and support the vehicle on jack stands before removing the wheel. Switch the ignition off before unplugging the sensor connector, and follow the service information if it calls for disconnecting the battery. This job does not involve the hydraulic system, so leave brake lines and brake fluid alone. If the caliper must come off for access, support it so it does not hang from its hose.
Treat brake dust as a hazard. Do not blow it off with compressed air or dry-brush it into the air; wipe it up damp, and wear gloves and eye protection, adding a suitable respirator if dust is heavy. Work with good ventilation when using solvents. Keep cleaner and lubricant away from pads, rotors and any friction material, because contaminated pads generally need to be replaced. Collect used rags and spent solvent and dispose of them according to local hazardous waste rules rather than pouring anything into drains.
Carry out the service
Trace the sensor cable from the knuckle or axle to its connector and photograph the routing and clip positions. Release the clips, unplug the connector and remove the mounting bolt. Grip the sensor body, not the cable, and twist it gently while pulling straight out. If it is seized by corrosion, apply penetrating oil, allow time for it to work and try again with gentle rotation. Clamping the head hard with pliers often cracks the housing, so be prepared for replacement if a stuck sensor will not come free.
Wipe the sensor tip with a rag dampened with a compatible cleaner and remove any metal particles stuck to it; on many designs the tip is magnetic and holds fine debris. Do not sand, file or wire-brush the sensor face. Inspect it for cracks, melted or swollen plastic, chafed insulation and corroded connector pins. Then clean the mounting bore with a pick and a small brush until the sensor can seat fully. Rust scale under the flange can push the sensor outward and increase the gap to the ring, so this step matters as much as cleaning the tip. Keep debris from falling into the bearing area.
Inspect the tone ring through the bore, or after removing the rotor or hub if your service information requires it. Rotate the hub to see the full circumference and look for missing or damaged teeth, cracks, rust packed between teeth, and a loose or distorted ring. Where the signal comes from a magnetic encoder in the bearing seal, wipe it only, avoid scraping and keep magnetic tools away from it. To reinstall, apply only the lubricant the manufacturer specifies, if any, seat the sensor fully by hand, tighten the bolt to the specified torque, return the cable to its original clips clear of moving parts and press the connector together until it locks. On designs with an adjustable air gap, set it as the service information describes.
Verify and record the result
While the wheel is off, check the brake pads and rotors against the wear limits in your service information. Refit the wheel, tighten the lug nuts to the specified torque and lower the vehicle. Clear the codes with a scan tool; some systems keep the light on until the vehicle reaches a certain speed, so follow the stated procedure. Watch live wheel speed data on a test drive in a safe area: all four wheels should read nearly the same when driving straight. The light should stay off, pedal feel should be normal and ABS should not activate during gentle stops on dry pavement.
Warning signs include the light returning, the same code setting again, one wheel reading drop out over bumps, or an intermittent signal. These point to a remaining fault such as a failing sensor, damaged wiring, a defective tone ring or bearing wear, and cleaning again will not fix them. Any change in braking behavior is a reason to stop and have the system checked professionally.
Keep a short record: date, mileage, wheel position, codes before and after, the condition of the sensor, bore, tone ring and connector, the cleaner and lubricant used, the torque specification applied from service information, any parts replaced and the test drive result. This makes repeat problems easier to diagnose and gives useful context the next time brake work is done on that corner.