How to Replace a CV Axle Boot
Direct Answer
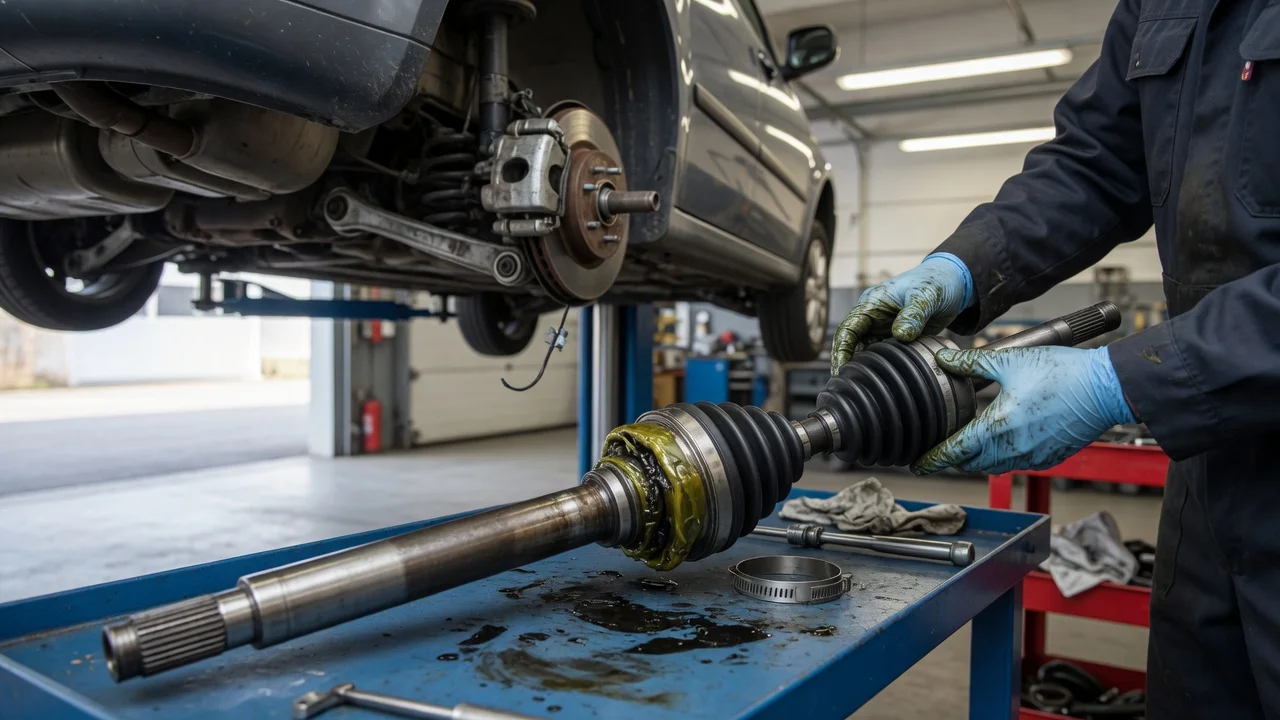
Replacing a CV axle boot means removing the damaged rubber cover from the constant velocity, or CV, joint and fitting a new boot so the joint stays packed with grease and protected from water, dirt and road debris. On most vehicles this requires detaching the axle from the hub or transmission enough to access the joint. The repair can be done with basic hand tools, but the exact procedure varies by vehicle and axle design. The primary scope question is whether the joint is still healthy: if the boot has been torn long enough for contamination or wear, replacing the complete axle assembly may be the better repair.
Repair Options
There are two common approaches. A split boot is cut to wrap around the axle without removing it from the vehicle. It is faster to install but generally less durable, and it is best treated as a short-term repair. A replacement solid boot is more reliable because it forms a continuous seal, but installation usually requires removing the axle or separating the CV joint.
The major decision is the condition of the CV joint itself. A recently torn boot with clean, adequate grease inside is a reasonable candidate for boot replacement. A joint that has been clicking, knocking or exposed to contamination should be assessed carefully, because a new boot cannot restore an already worn joint. In that situation, a replacement axle assembly may be the more cost-effective repair.
Cost
Replacement boot kits are typically inexpensive parts, while complete axle assemblies cost more. The largest variable is labor if the work is done by a shop. Boot replacement can require similar disassembly time to axle replacement, so the total cost difference is not always as large as the parts difference suggests.
Signs a Boot Needs Replacement
A damaged boot often shows as grease sprayed near the joint or on nearby suspension components. In early stages the joint may still operate quietly. A clicking or popping sound during sharp turns is a warning that the joint itself may already be damaged, so stopping and inspecting the axle before driving farther is the safer choice.
Tools and Materials
The required equipment varies by vehicle, but the following are commonly used:
Jack and properly rated jack stands\nWheel chocks\nLug wrench\nSocket set and breaker bar\nTorque wrench\nPry bar or ball joint separator where required\nAxle nut socket matching the vehicle specification\nReplacement CV boot kit with grease and clamps\nCatch pan and brake cleaner or rags\nTorque specifications from a service source
The axle nut and other fasteners have vehicle-specific torque values. Those values must come from a service manual or equivalent technical documentation for the exact vehicle configuration.
Replacement Steps
The following sequence covers the general solid-boot replacement process. Vehicle-specific steps must be confirmed in applicable service information before starting.
Loosen and Lift the Vehicle
Park on a firm level surface, chock the wheels and loosen the wheel fasteners before lifting. Support the vehicle on properly rated jack stands rather than relying on the jack.
Remove the Wheel and Axle Nut
Remove the wheel, then remove or release the axle nut. On some vehicles the nut may be staked or have a locking feature that must be straightened or replaced. Confirm the procedure for the specific vehicle.
Separate the Hub End
Separate the necessary suspension or steering components to allow the axle to be pulled out of the hub. The exact components differ by vehicle. Follow the service information to avoid damaging the joint or surrounding parts.
Remove the Old Boot
Remove the old boot and clamps and clean the exposed joint. Inspect the grease and joint surfaces for contamination or damage. If wear or contamination is found, stop and reassess whether the complete axle should be replaced instead.
Fit the New Boot
Slide the new boot into position and pack the joint with the grease supplied in the kit, or as directed by the service information. Secure the boot clamps correctly and be careful not to twist or overstretch the boot.
Reassemble
Reinstall the separated suspension or steering components and tighten all fasteners in the correct sequence. Use a torque wrench and the published specifications. Replace the axle nut if the service source requires it, then reinstall the wheel and lower the vehicle.
Completion Checks
Before driving, turn the steering from lock to lock and check for noise, binding or contact between the boot and nearby parts. After lowering the vehicle, verify wheel fasteners and the axle nut are torqued. Recheck the boot area after a short drive for leaks or loose clamps.
Hazards and Stopping Points
The work involves lifting the vehicle and releasing suspension and driveline components. Use properly rated supports and keep hands clear of compressed or loaded components. If the joint shows damage, unusual wear or contamination, or if correct torque information cannot be confirmed for the axle nut and suspension fasteners, stop and obtain the required service information before continuing.