How to Install an Auxiliary Transmission Cooler
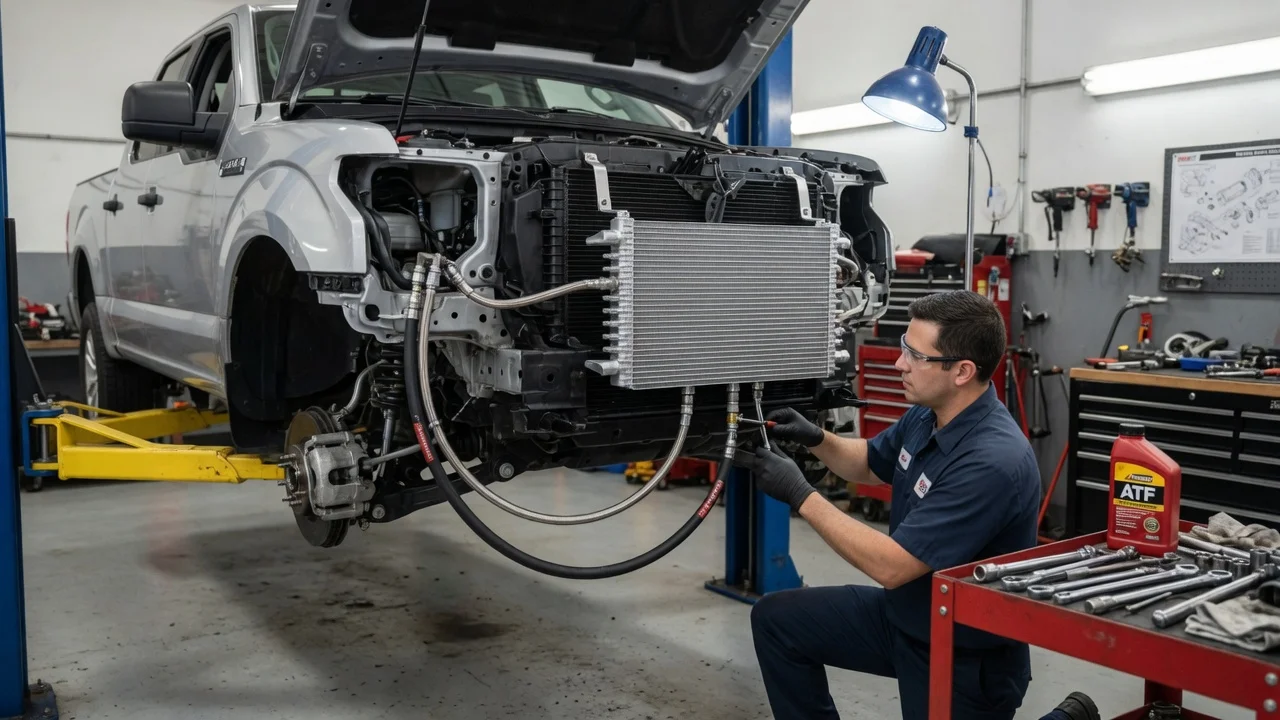
An auxiliary transmission cooler helps an automatic or CVT shed heat that the factory cooler cannot handle during towing, hauling, mountain grades or long stretches of stop-and-go traffic. Adding a transmission cooler is a manageable job on many vehicles, but the right approach depends on the transmission type, the existing cooling circuit and the fluid specification. This guide covers confirming fitment, preparing the vehicle, opening the lines, installing the cooler and checking the finished work.
Confirm the part and repair scope
Start by identifying the exact transmission and how it is cooled from the factory. Some vehicles route fluid only through a cooler built into the radiator tank. Others already have an external air cooler, a thermostatic bypass valve, or a heat exchanger that uses engine coolant to both warm and cool the fluid. Vehicles sold with a towing package may differ from the same model without one. Fitment depends on the space available in front of the radiator and AC condenser, the size of the cooler lines, and the type of fittings used, whether flare nuts, barbed hose ends or quick-connect couplers. Choose a cooler sized according to its manufacturer's guidance for your vehicle weight and use, and confirm the kit includes adapters that match your lines.
Treat the cooler as a preventive upgrade, not a repair. If the transmission already slips, flares between gears, shifts harshly or has stored diagnostic codes, diagnose that first. Read the codes, check the fluid level and condition, and review the service history. High fluid temperature can come from low fluid, a restricted factory cooler, radiator or cooling fan problems, or torque converter clutch issues. Dark, burnt-smelling fluid or debris on the pan magnet suggests internal wear that extra cooling will not reverse. In that case, repair options such as a fluid service, cooler line flushing or internal repair should be settled before adding hardware. If the vehicle is under warranty, check how modifications to the cooling circuit are treated.
Prepare tools and safe access
Get the vehicle-specific service information before you start. You need the cooler line routing, which line carries fluid out of the transmission and which returns it, the correct method for releasing the fittings, and the fluid fill and level-check procedure. Many modern transmissions have no dipstick and must be checked at a fill plug within a specified temperature range, sometimes read with a scan tool. If you cannot perform that check, plan to have a shop handle at least the final level check. Typical tools include line wrenches, quick-connect release tools, a tubing or hose cutter, a drain pan, the correct clamps and mounting hardware, and enough fluid that meets the specification for your transmission.
Work with the engine and transmission cool, because fluid and lines can stay hot long after driving. Park on level ground and support the vehicle on jack stands rather than a jack alone. Some installations require removing the grille, bumper cover or air deflectors, and the cooler often mounts next to the AC condenser, which is easy to puncture. Releasing refrigerant is regulated work and not a do-it-yourself step. If the job requires cutting and flaring steel lines, opening the AC system or relocating major components, it is not suitable for an inexperienced owner.
Remove without avoidable damage
Remove splash shields, air deflectors or the grille as needed, keeping fasteners and clips organized, since plastic retainers often break and should be replaced rather than forced back in. Locate the cooler lines at the radiator. In most auxiliary cooler installations the new cooler is plumbed in series on the return side, so fluid passes through the factory cooler first and then the auxiliary cooler before flowing back to the transmission. Confirm the flow direction from the service information rather than judging by line position or which line feels warmer, because routing varies between designs.
Place the drain pan and expect some fluid loss when a line is opened. On flare fittings, use a line wrench on the nut and a backup wrench on the radiator fitting so you do not twist the fitting or crack a plastic tank. On quick-connect couplers, use the correct release tool instead of prying. If the kit calls for cutting a rubber hose section or a steel line, cut squarely, remove burrs and keep chips out of the system. Cap open lines immediately, because dirt entering the circuit ends up in the transmission. Replace any damaged O-rings or retaining clips rather than reusing them.
Install and restore the system
Mount the cooler where it receives direct airflow, typically ahead of the condenser or radiator, with clearance from the hood latch, horn, sensors and sharp edges. Brackets fastened to solid structure are generally more durable than straps passed through the radiator core, which can wear on the fins over time; if the kit uses straps, follow its instructions and use the supplied pads. Orient the ports as the cooler manufacturer directs, avoiding positions that trap air, and keep the cooler out of the path of road debris below the bumper.
Use hose rated for transmission fluid with the inner diameter the kit specifies, and secure it with clamps seated fully over the barbs, or use the proper adapters for quick-connect and flare fittings. Avoid hose of unknown rating and clamps tightened until they cut into the hose. Route hoses away from the exhaust, belts, cooling fan, steering linkage and suspension travel, secure them with clips, and avoid tight bends that can kink. Tighten fittings to the values given by the kit or service information rather than guessing.
Consider operating temperature as well as cooling. Some transmissions depend on reaching a normal temperature for proper shift quality and fluid condition, so in cold climates or on vehicles with a factory bypass valve, a cooler with its own thermostatic bypass may be the better choice. Reinstall shields and trim, then fill with fluid that meets the exact specification. The added hoses and cooler increase system capacity, so the level will drop after the first run and must be topped off.
Check the completed work
Start the engine and inspect every new joint for leaks at idle. With the brake applied, move through the gear positions as the service procedure describes so fluid fills the new circuit. Then check the level using the manufacturer's method and temperature window, adding fluid as needed. Both underfilling and overfilling can cause shifting problems, so do not skip this step after any transmission cooler installation.
Road test gently at first, watching shift behavior and warning lights, then recheck for leaks and confirm clamps and fittings are secure after a full heat cycle and again after a few days of driving. If your scan tool displays transmission fluid temperature, compare readings under similar conditions before and after the install rather than expecting a specific number. Further diagnosis is needed if temperatures stay high, new diagnostic codes appear, the transmission slips or shifts harshly, fluid keeps disappearing, or the fluid looks milky, which can indicate coolant contamination from the radiator cooler. Record the installation in the service history so future technicians know the cooling circuit was modified.