How to Inspect Weatherstripping Around Car Openings
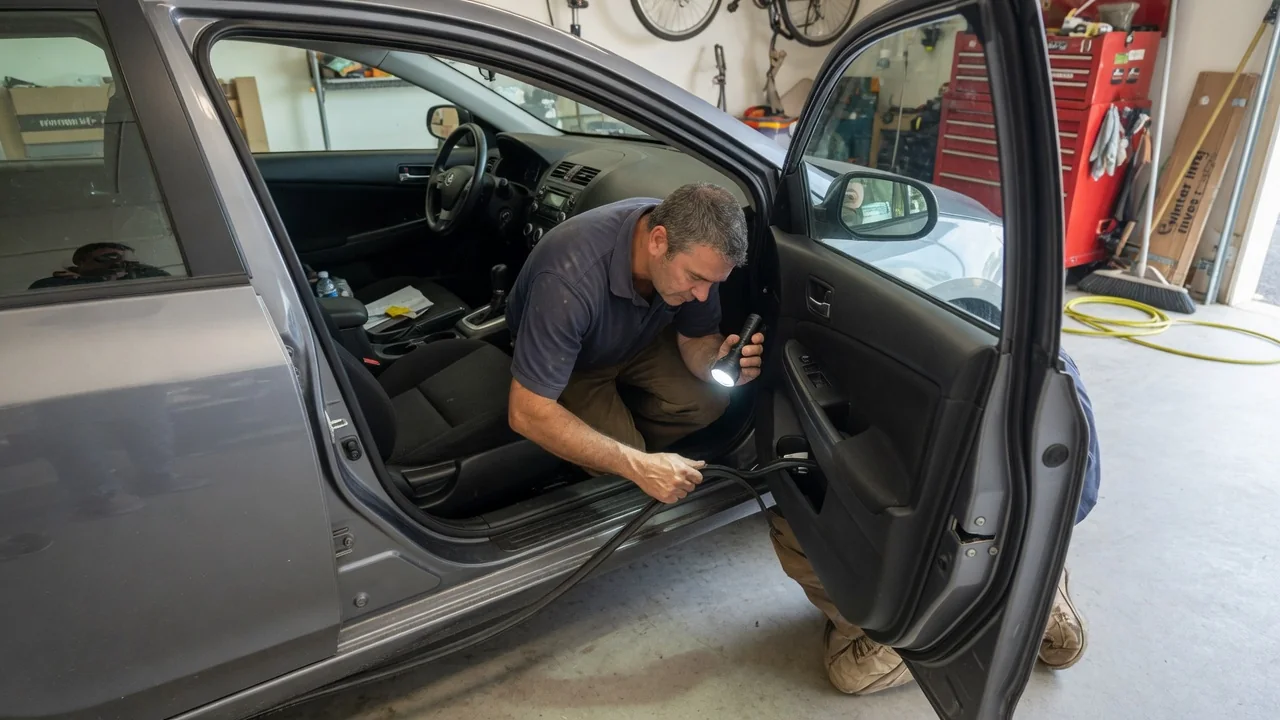
Door, trunk, hatch, and sunroof seals keep water, dust, and road noise out of the cabin, yet they age quietly until a damp carpet or a whistle at highway speed gives them away. Learning how to inspect weatherstripping around car openings takes only your eyes, your fingertips, and a few unhurried minutes at each opening.
Tears and compression
Open each door fully and follow the rubber seal around the entire frame, looking closely at the corners, the lower sill, and the area near the hinges. These spots flex and rub the most, so splits, missing chunks, and loose ends tend to show up there first. Seat belts caught in the door, shoes dragging over the sill, and cargo sliding past a trunk seal are common causes of cuts. A tear does not need to be large to matter, because water follows the smallest gap along the seal.
Compression damage is easier to feel than to see. Pinch the seal gently between thumb and finger at several points and compare how it responds. Healthy rubber feels soft and springs back to a rounded shape, while tired material stays flat, feels hard, or shows a shiny crushed band where the door meets it. Hollow bulb seals can collapse on one side only. Seal designs differ between vehicles, with some mounted on the body, some on the door, and some in both places, so check every layer.
Clean contact areas
A seal can only work against a smooth, clean surface. Look at the painted flange or door edge where the rubber lands and you will often find a line of grit, pollen, leaf fragments, or old wax buildup. That debris holds the seal slightly open and grinds into the rubber every time the door closes. Run a fingertip along the contact band; it should feel smooth and even, without sandy texture, sticky residue, or raised rust blisters under the paint.
Wiping the seal and its mating surface with a soft damp cloth and mild soapy water makes the inspection far more reliable, because dirt can hide hairline cracks and also mimic damage. Dry the area afterward and look again in good light. Pay attention to drain openings at the bottom of doors and in trunk or sunroof channels, since blocked drains send water where a sound seal cannot stop it. Drain locations vary by vehicle, and the owner's manual or a technician can point them out.
Confirm leaks
Before blaming a seal, gather evidence that it is actually the leak path. A simple check is to close the door on a strip of paper and pull gently; steady resistance suggests firm contact, while paper that slides out freely points to a weak spot. Repeat the check at several positions around the opening and compare one side of the car with the other. Uneven results at one corner can also indicate door or latch alignment rather than worn rubber.
A gentle water check adds another clue. With someone sitting inside, let a low-pressure stream from a garden hose run over one area at a time, starting low and working upward so the entry point is easier to isolate. Avoid high-pressure spray, which can force water past seals that are perfectly healthy. Inside, look for drips, damp trim, or water trails. Remember that water can travel along panels before it appears, so the wet spot is not always directly below the fault.
Everyday Use and Observations
Daily driving offers plenty of hints if you know what to notice. A new whistle or rush of wind noise at speed, especially from one door or the top of a window, often signals a seal that no longer sits flush. A door that suddenly closes with less effort or a hollow sound may have lost seal compression, while one that needs a harder push could have a seal that has shifted out of its channel or folded over.
Moisture clues deserve equal attention. Foggy windows that take a long time to clear, a musty smell, damp floor mats after rain or a car wash, and water pooled in the spare wheel well all suggest that something is getting in. In cold climates, seals that freeze to the door can tear when pulled open, so recheck them after winter. Convertibles, frameless-door cars, and vehicles with panoramic roofs have more complex sealing, and their normal noise levels and seal layouts differ from a typical sedan.
Limits and Next Steps
A visual and touch check has clear limits. It can show obvious tears, hardening, and flattened sections, but it cannot prove where water enters or rule out other causes. Leaks that look like seal failures sometimes come from clogged sunroof or cowl drains, windshield bonding, body seams, taillight gaskets, or a door that sits out of adjustment. Treat what you find as evidence to weigh, and avoid replacing a seal on suspicion alone when the rubber still feels supple and seats evenly.
If a seal is clearly torn, permanently crushed, or pulling away from its mounting, replacement is usually the sensible path, and the correct part and attachment method depend on the specific vehicle. Persistent leaks with no visible cause are worth taking to a body shop or technician, who can use tools such as smoke or ultrasonic leak detection. Until then, dry out wet carpet promptly, because trapped moisture encourages mold, corrosion, and electrical problems beneath the floor covering.